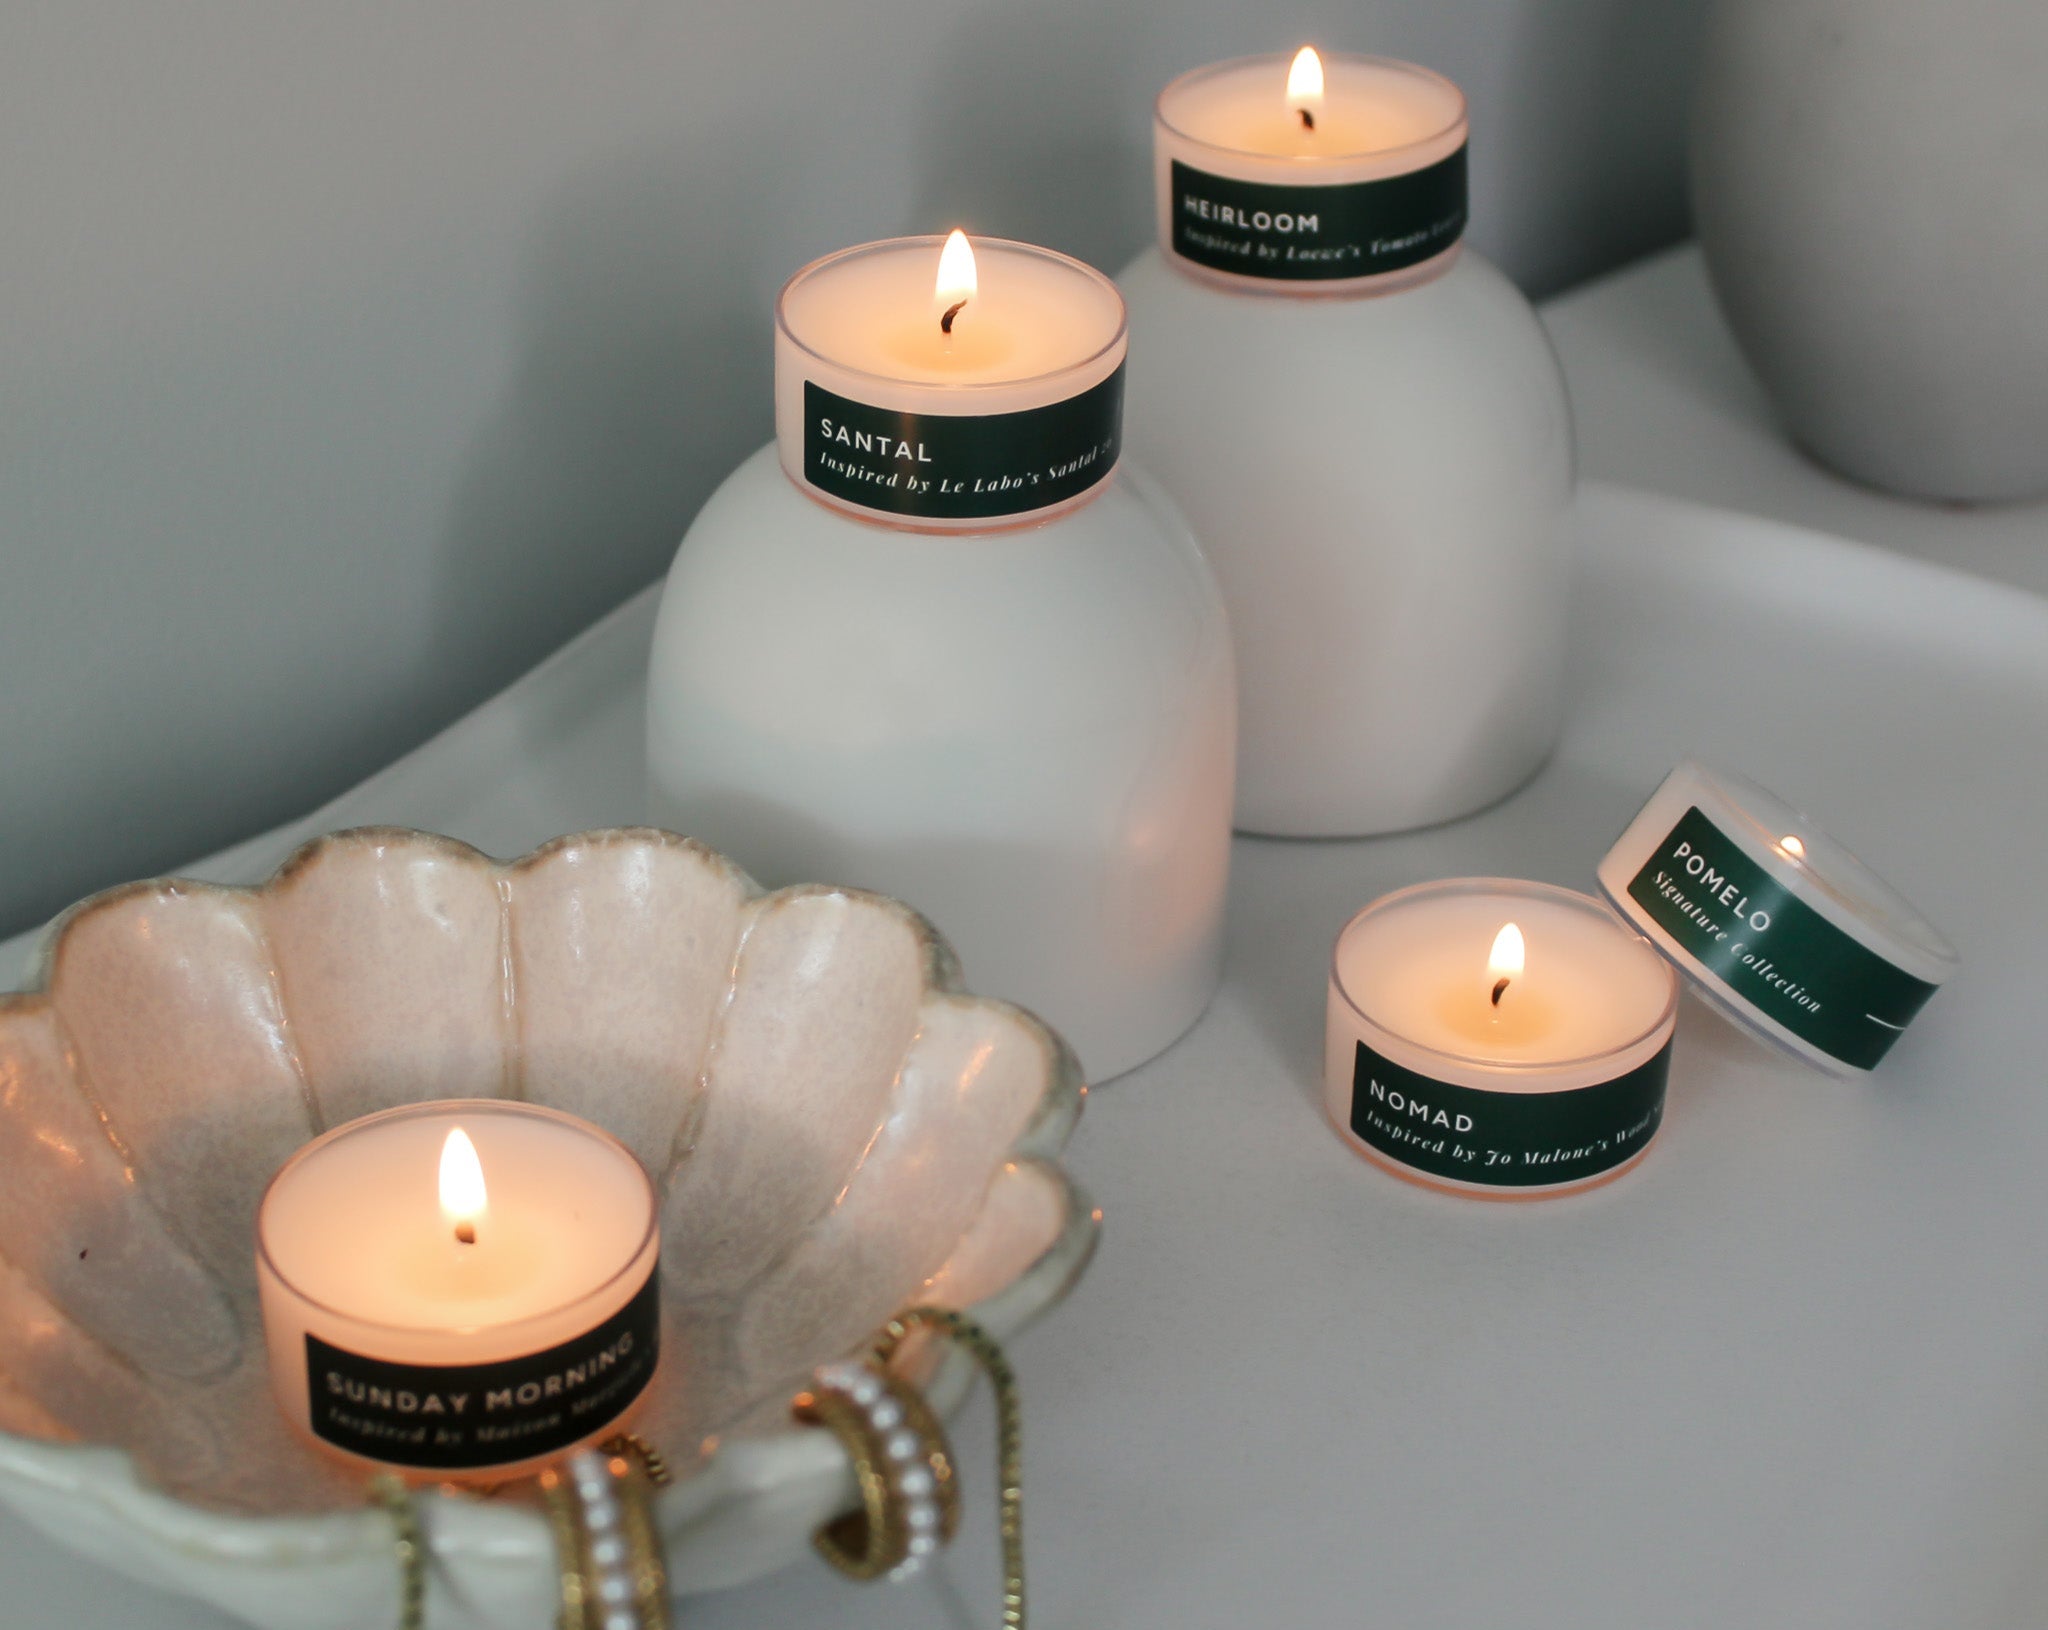
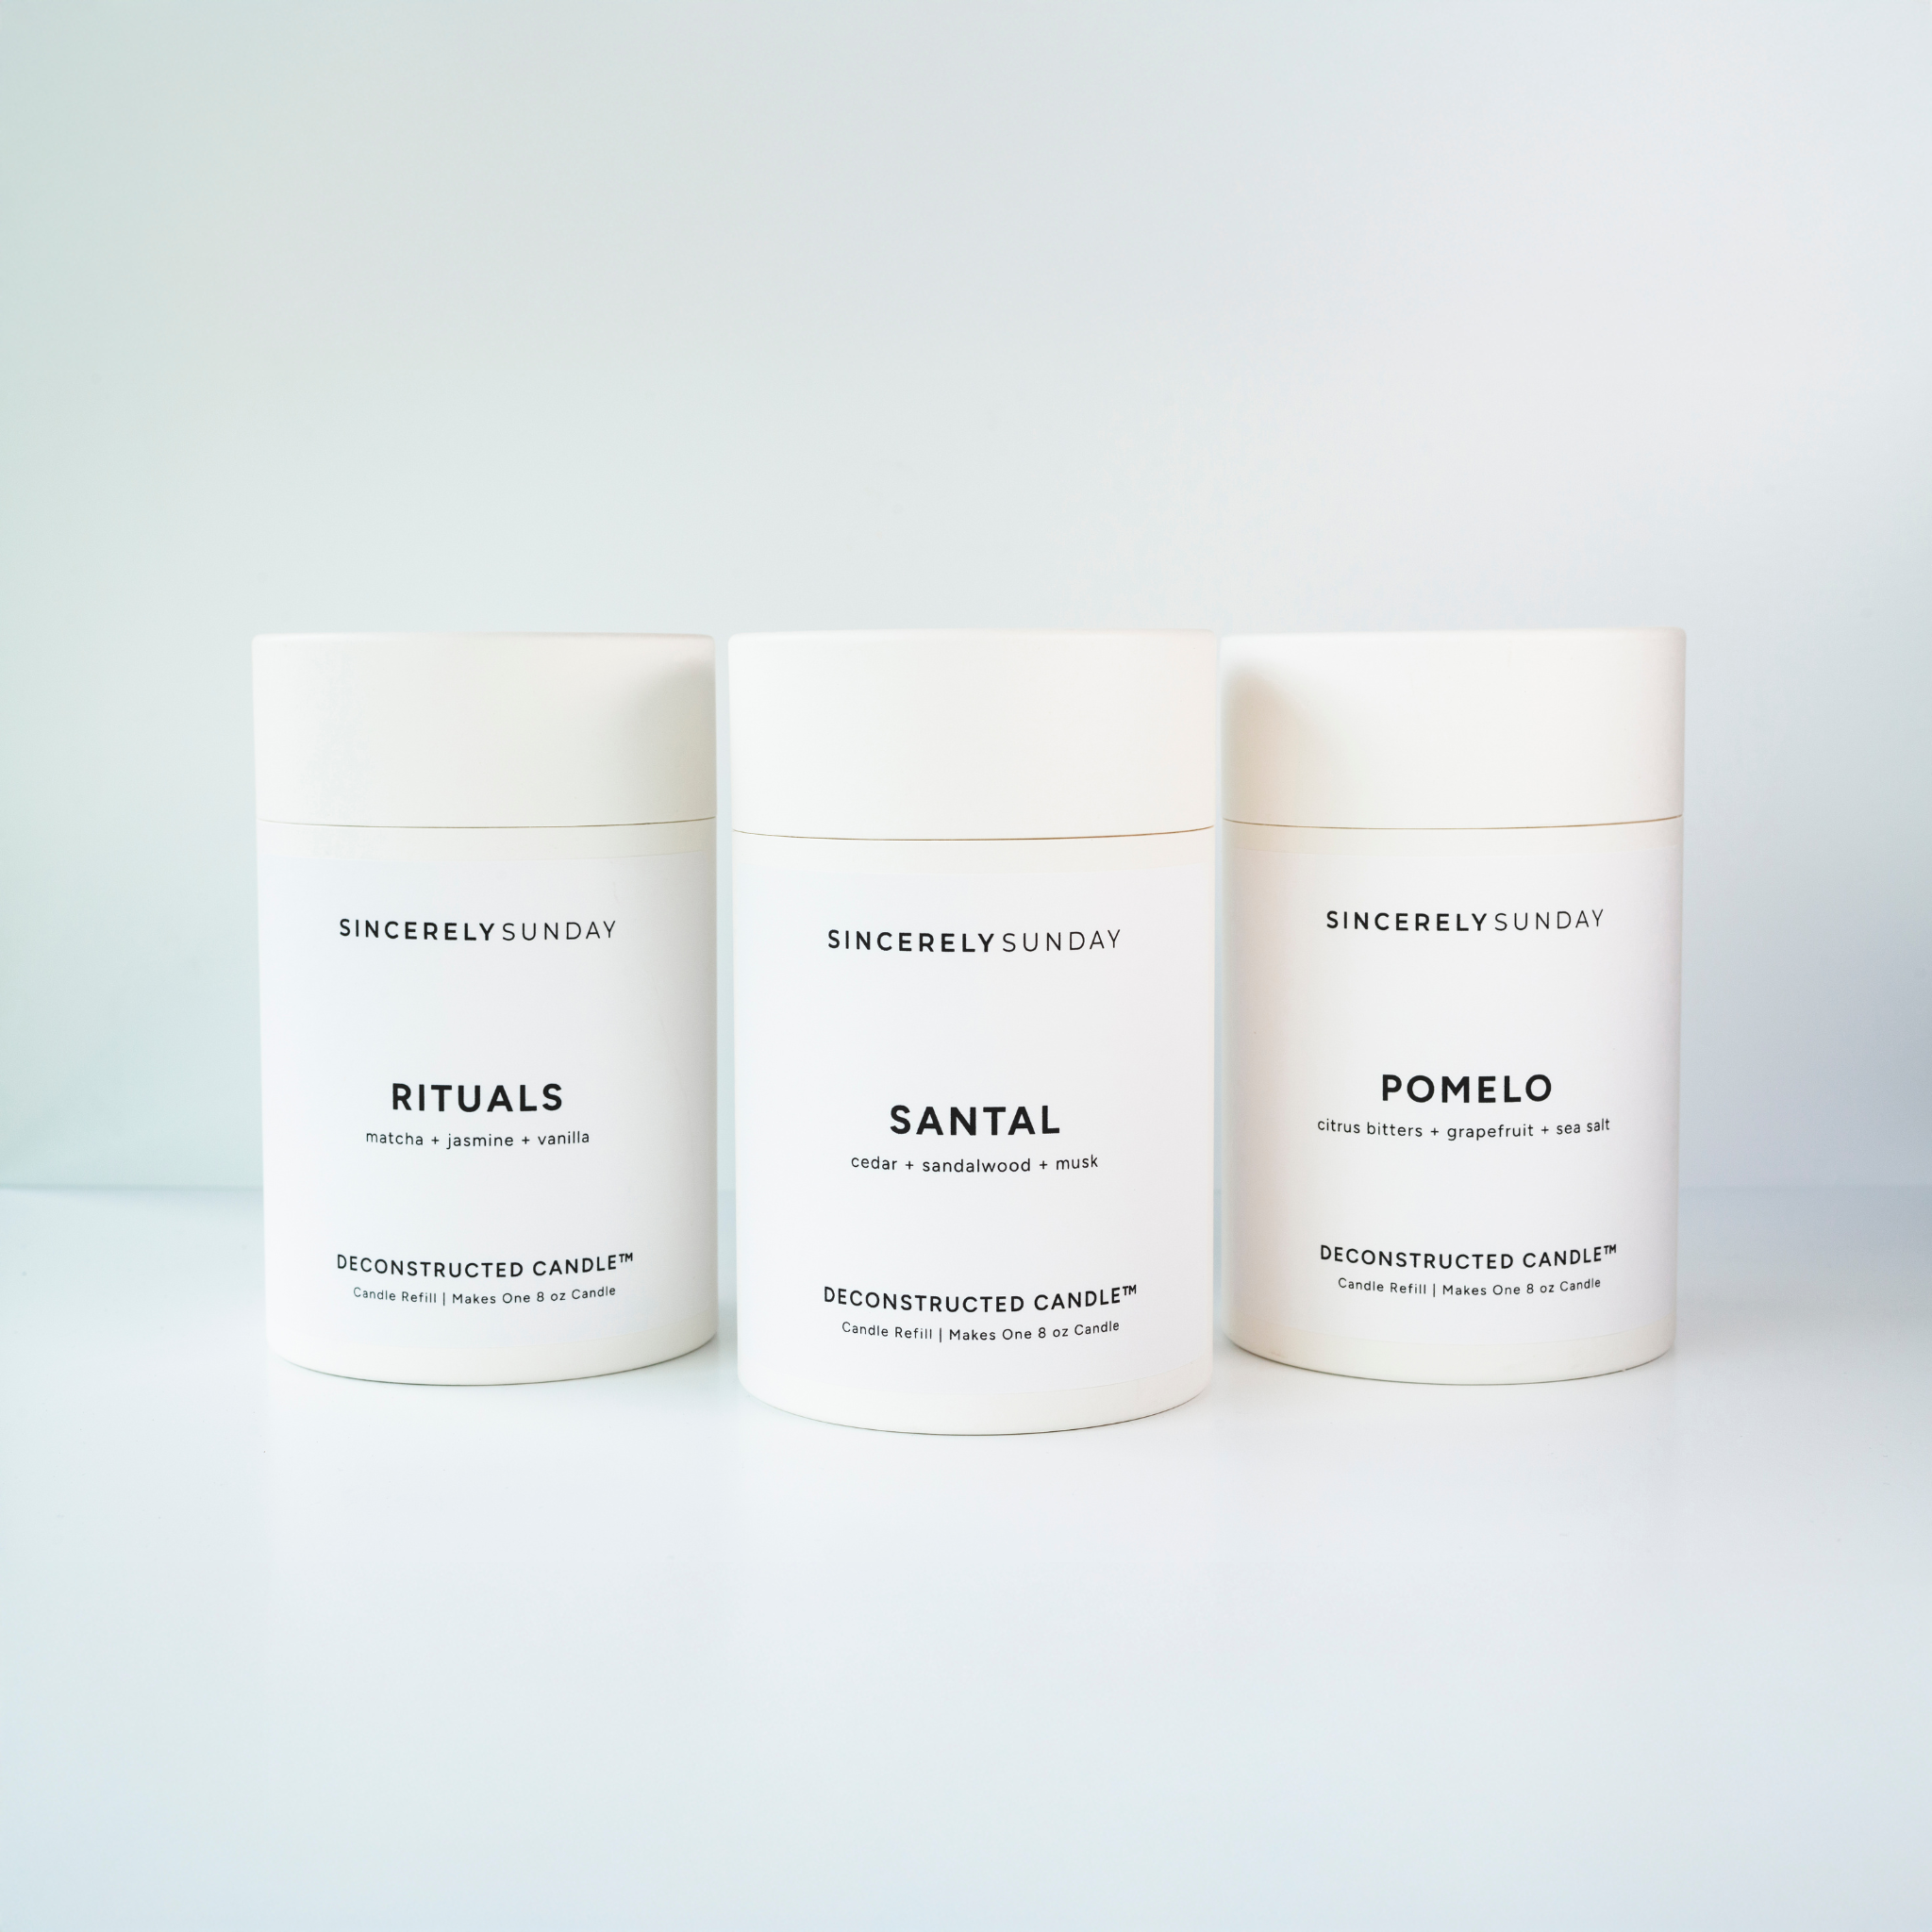


This pomelo is delicious! I would 1000% purchase this again
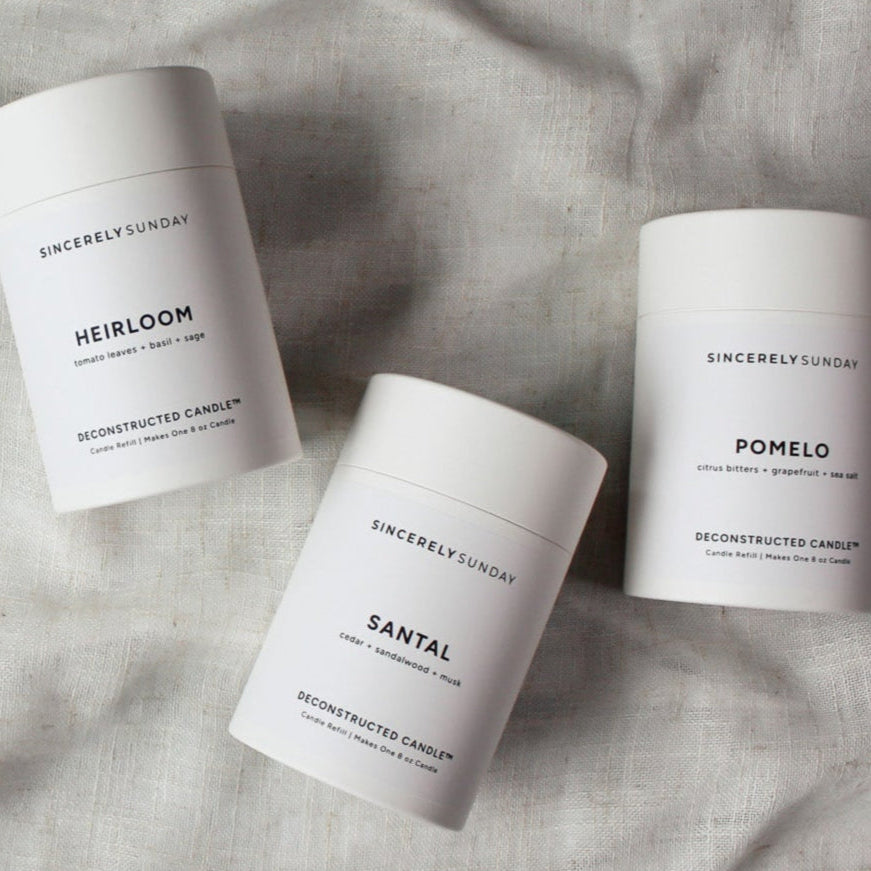
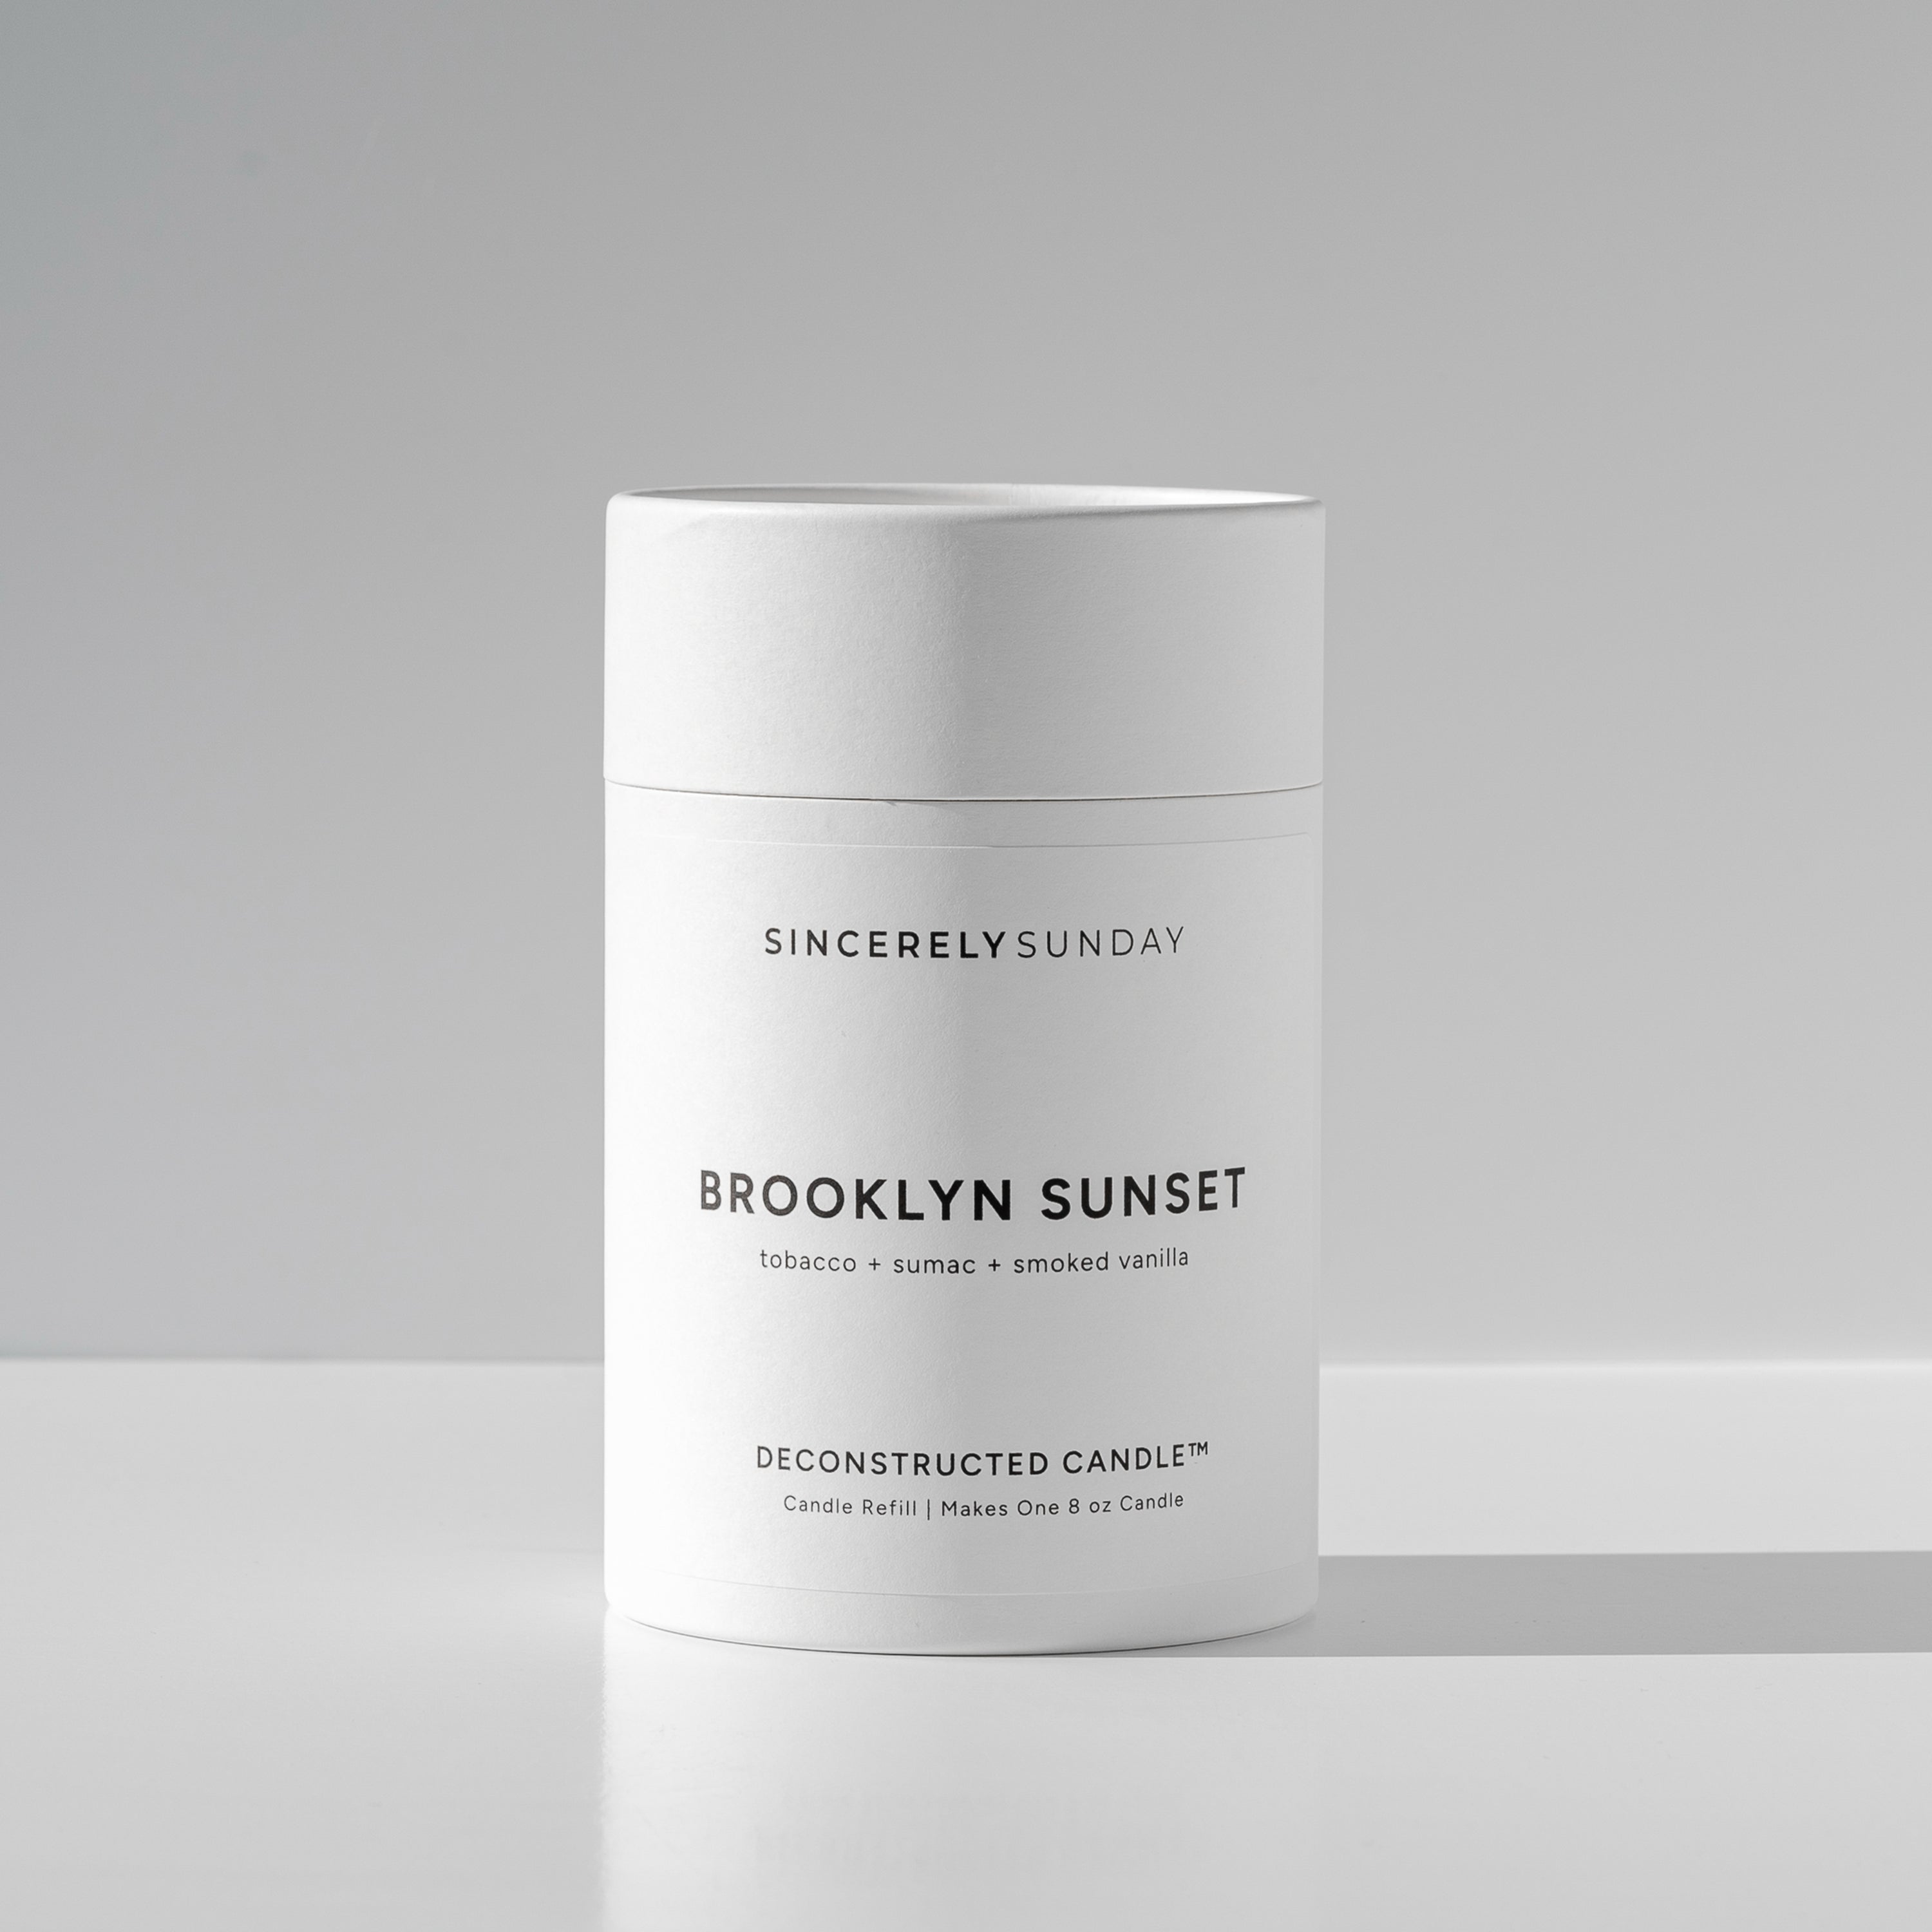
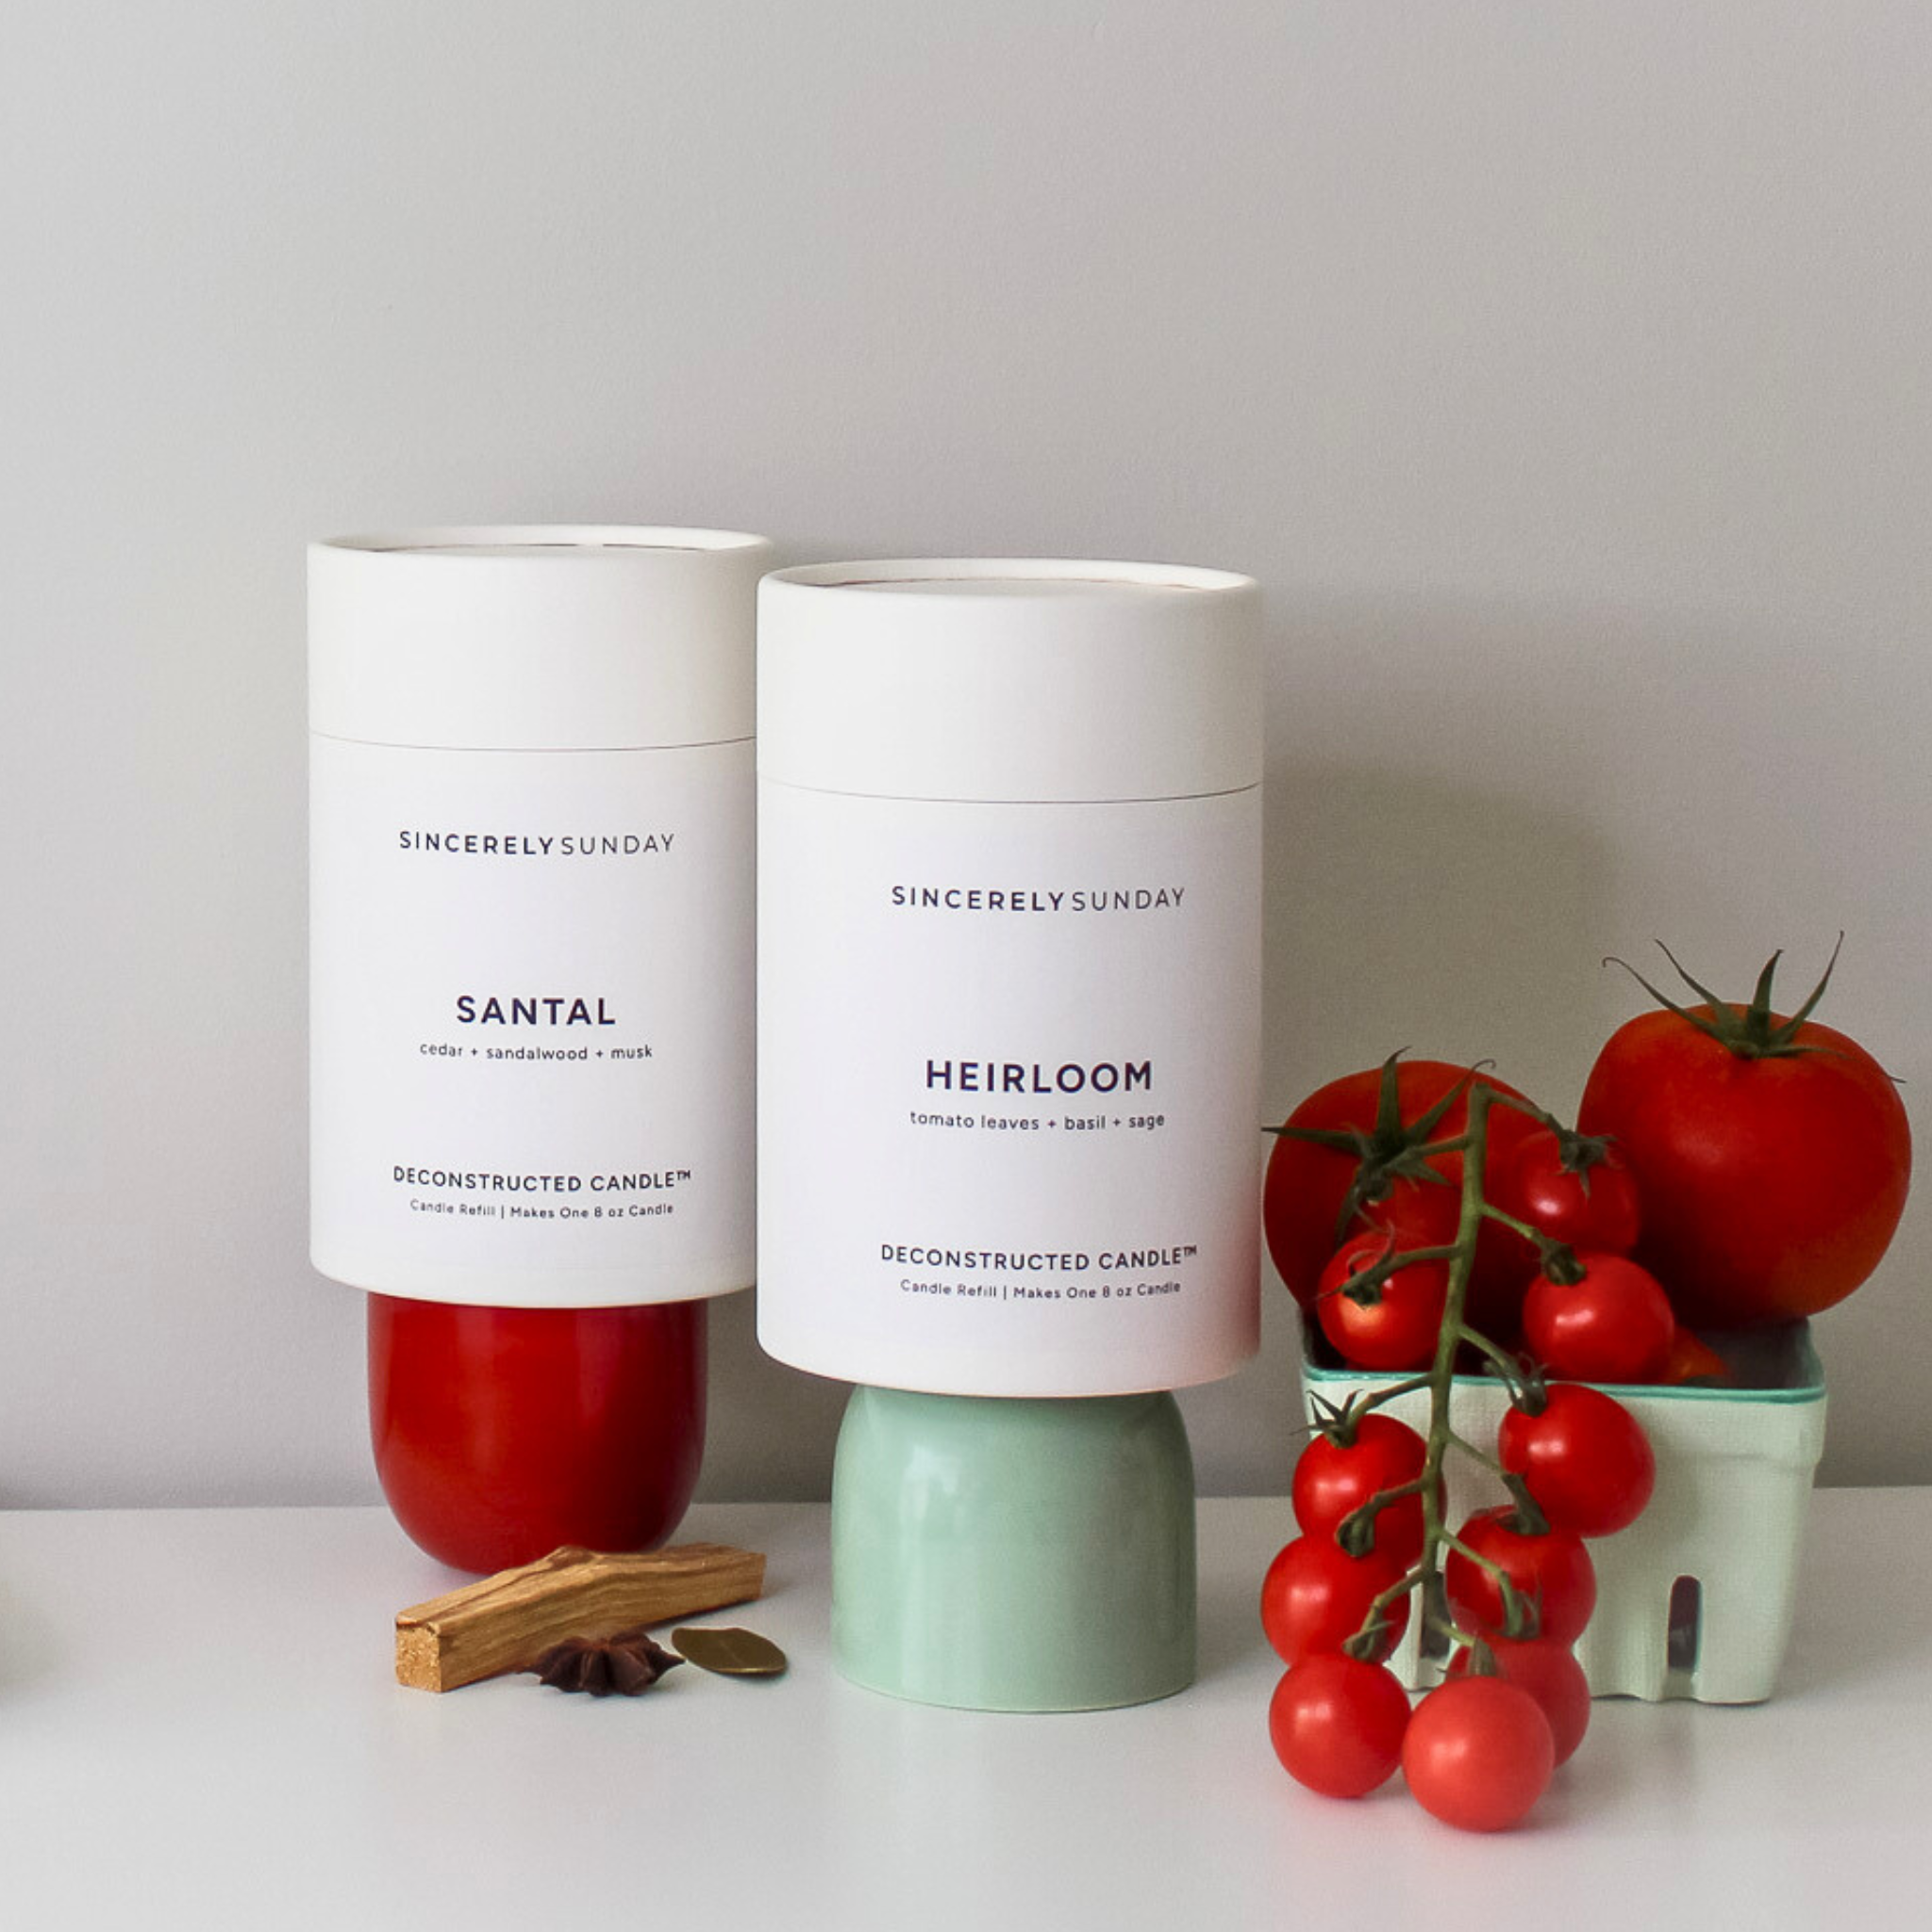
This deconstructed candle kit is so well thought of, so clever and convenient. Being able to reuse my beautiful vessles is a game changer.
Highly recommend this Sorry Not Sorry scent!
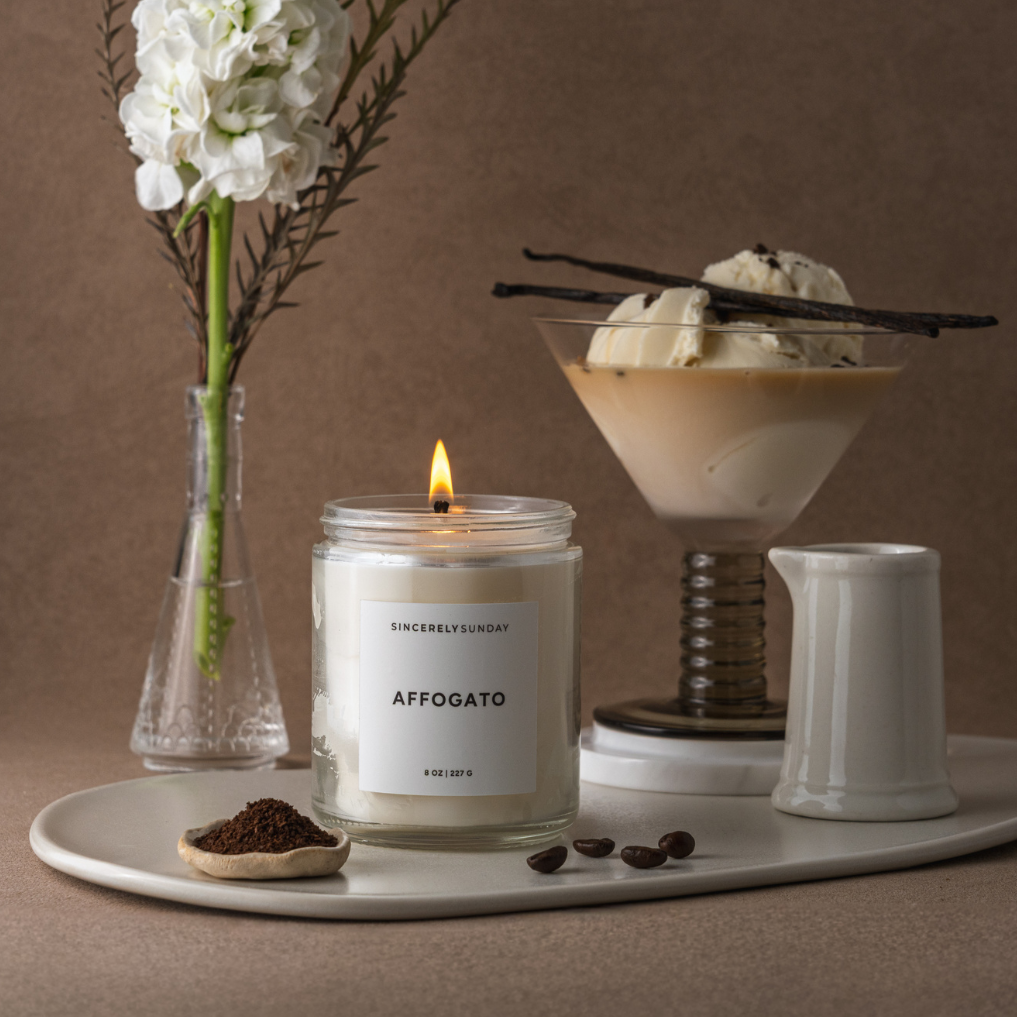
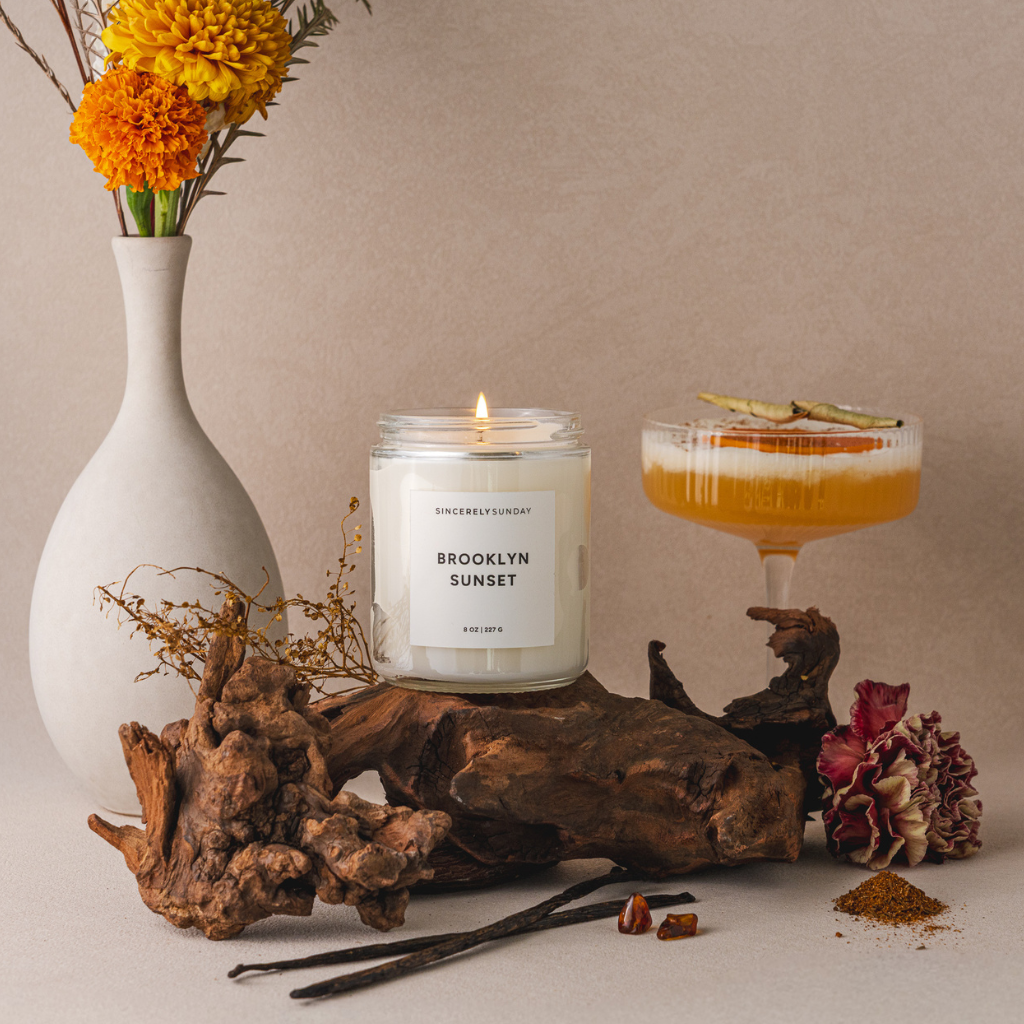
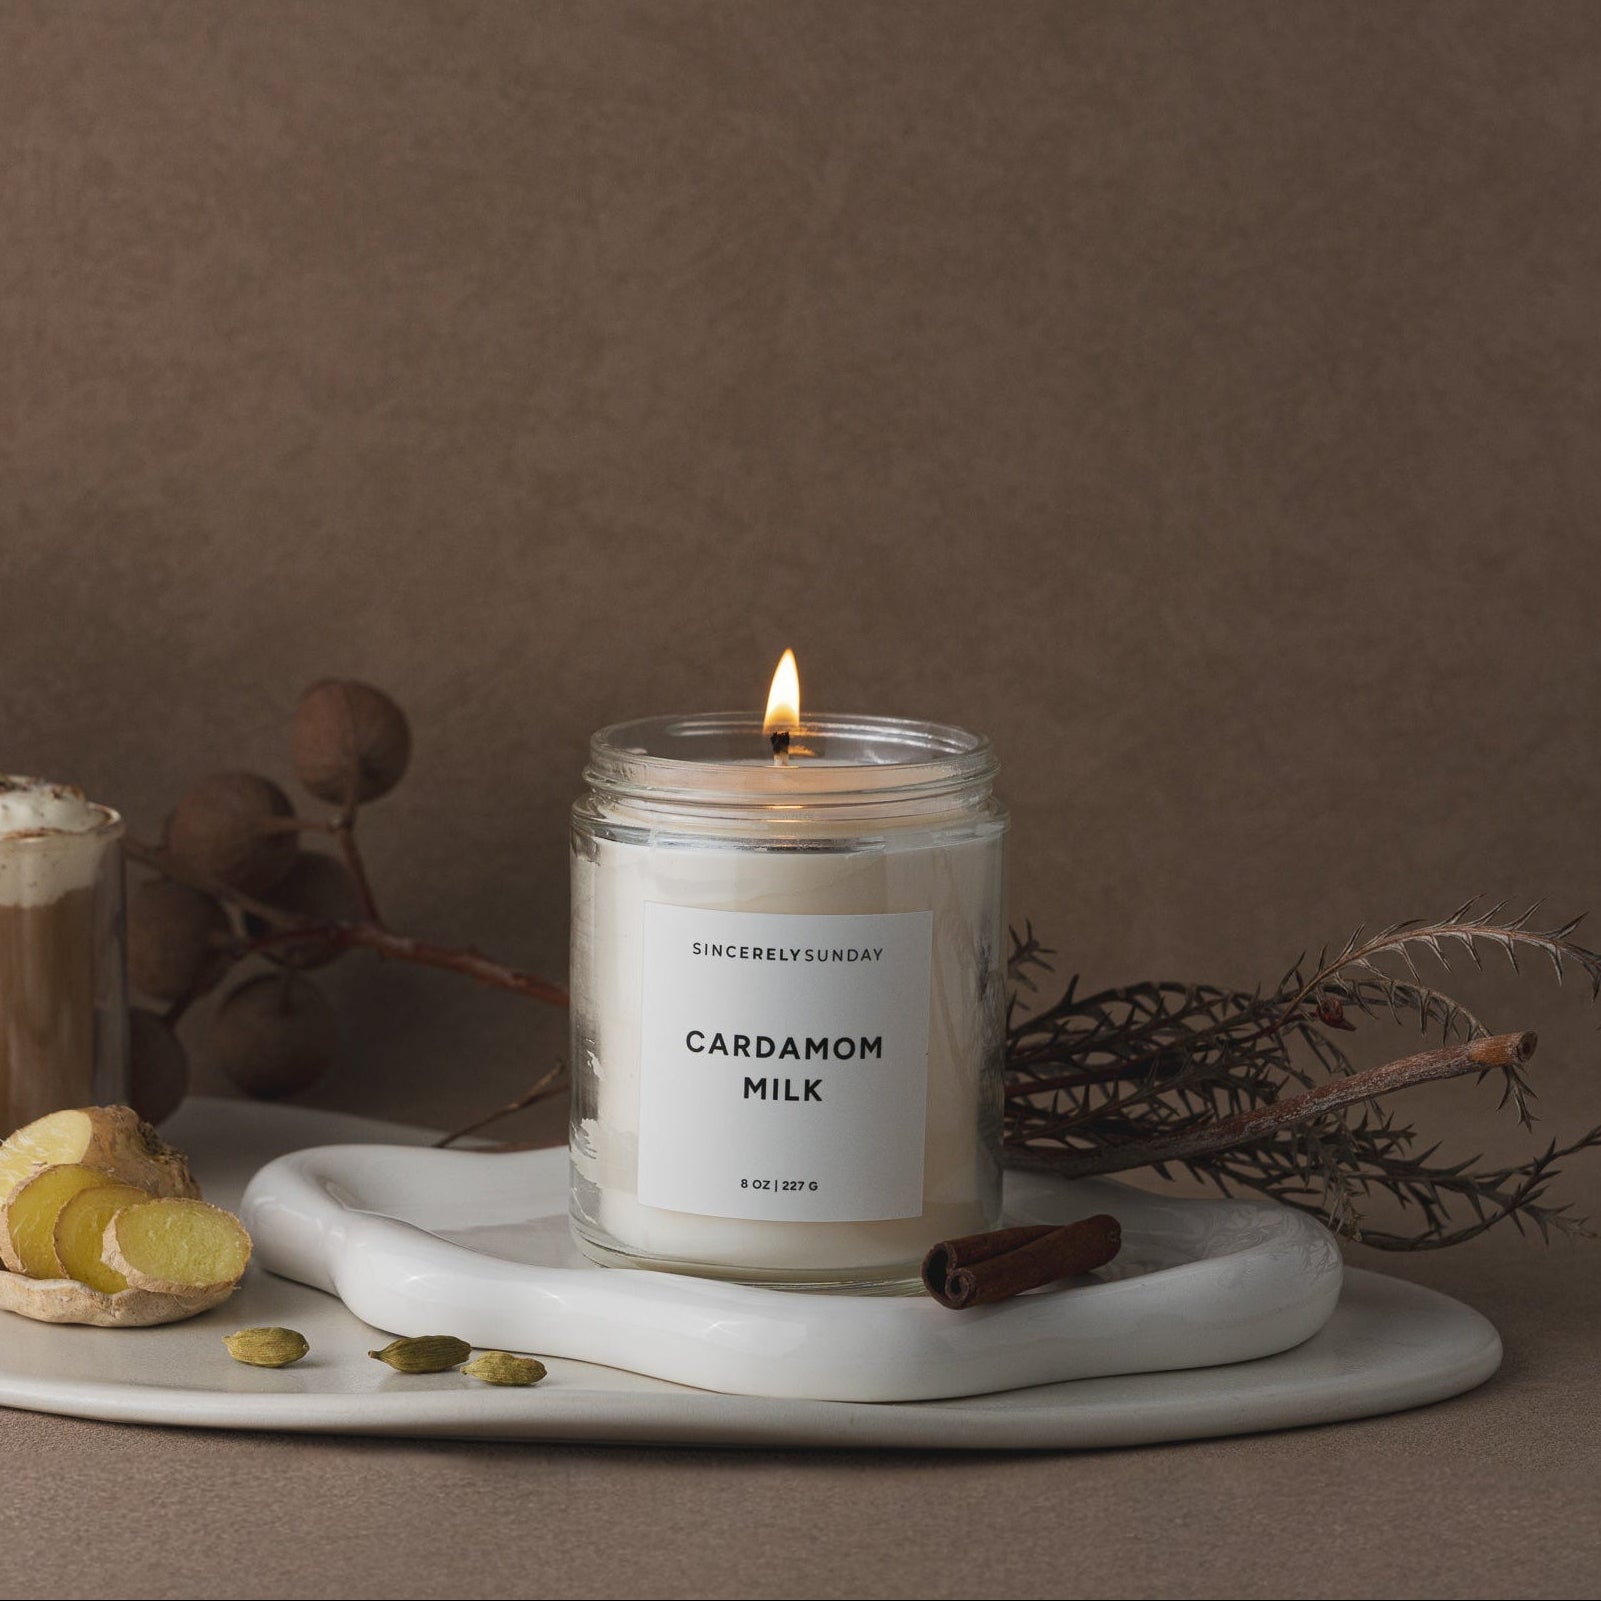
This one owns me!! It has this calm, golden warmth that makes any room feel better instantly. I actually begged Jenny to bring it back because nothing else hits the same, it’s easily my favorite candle I’ve ever bought.
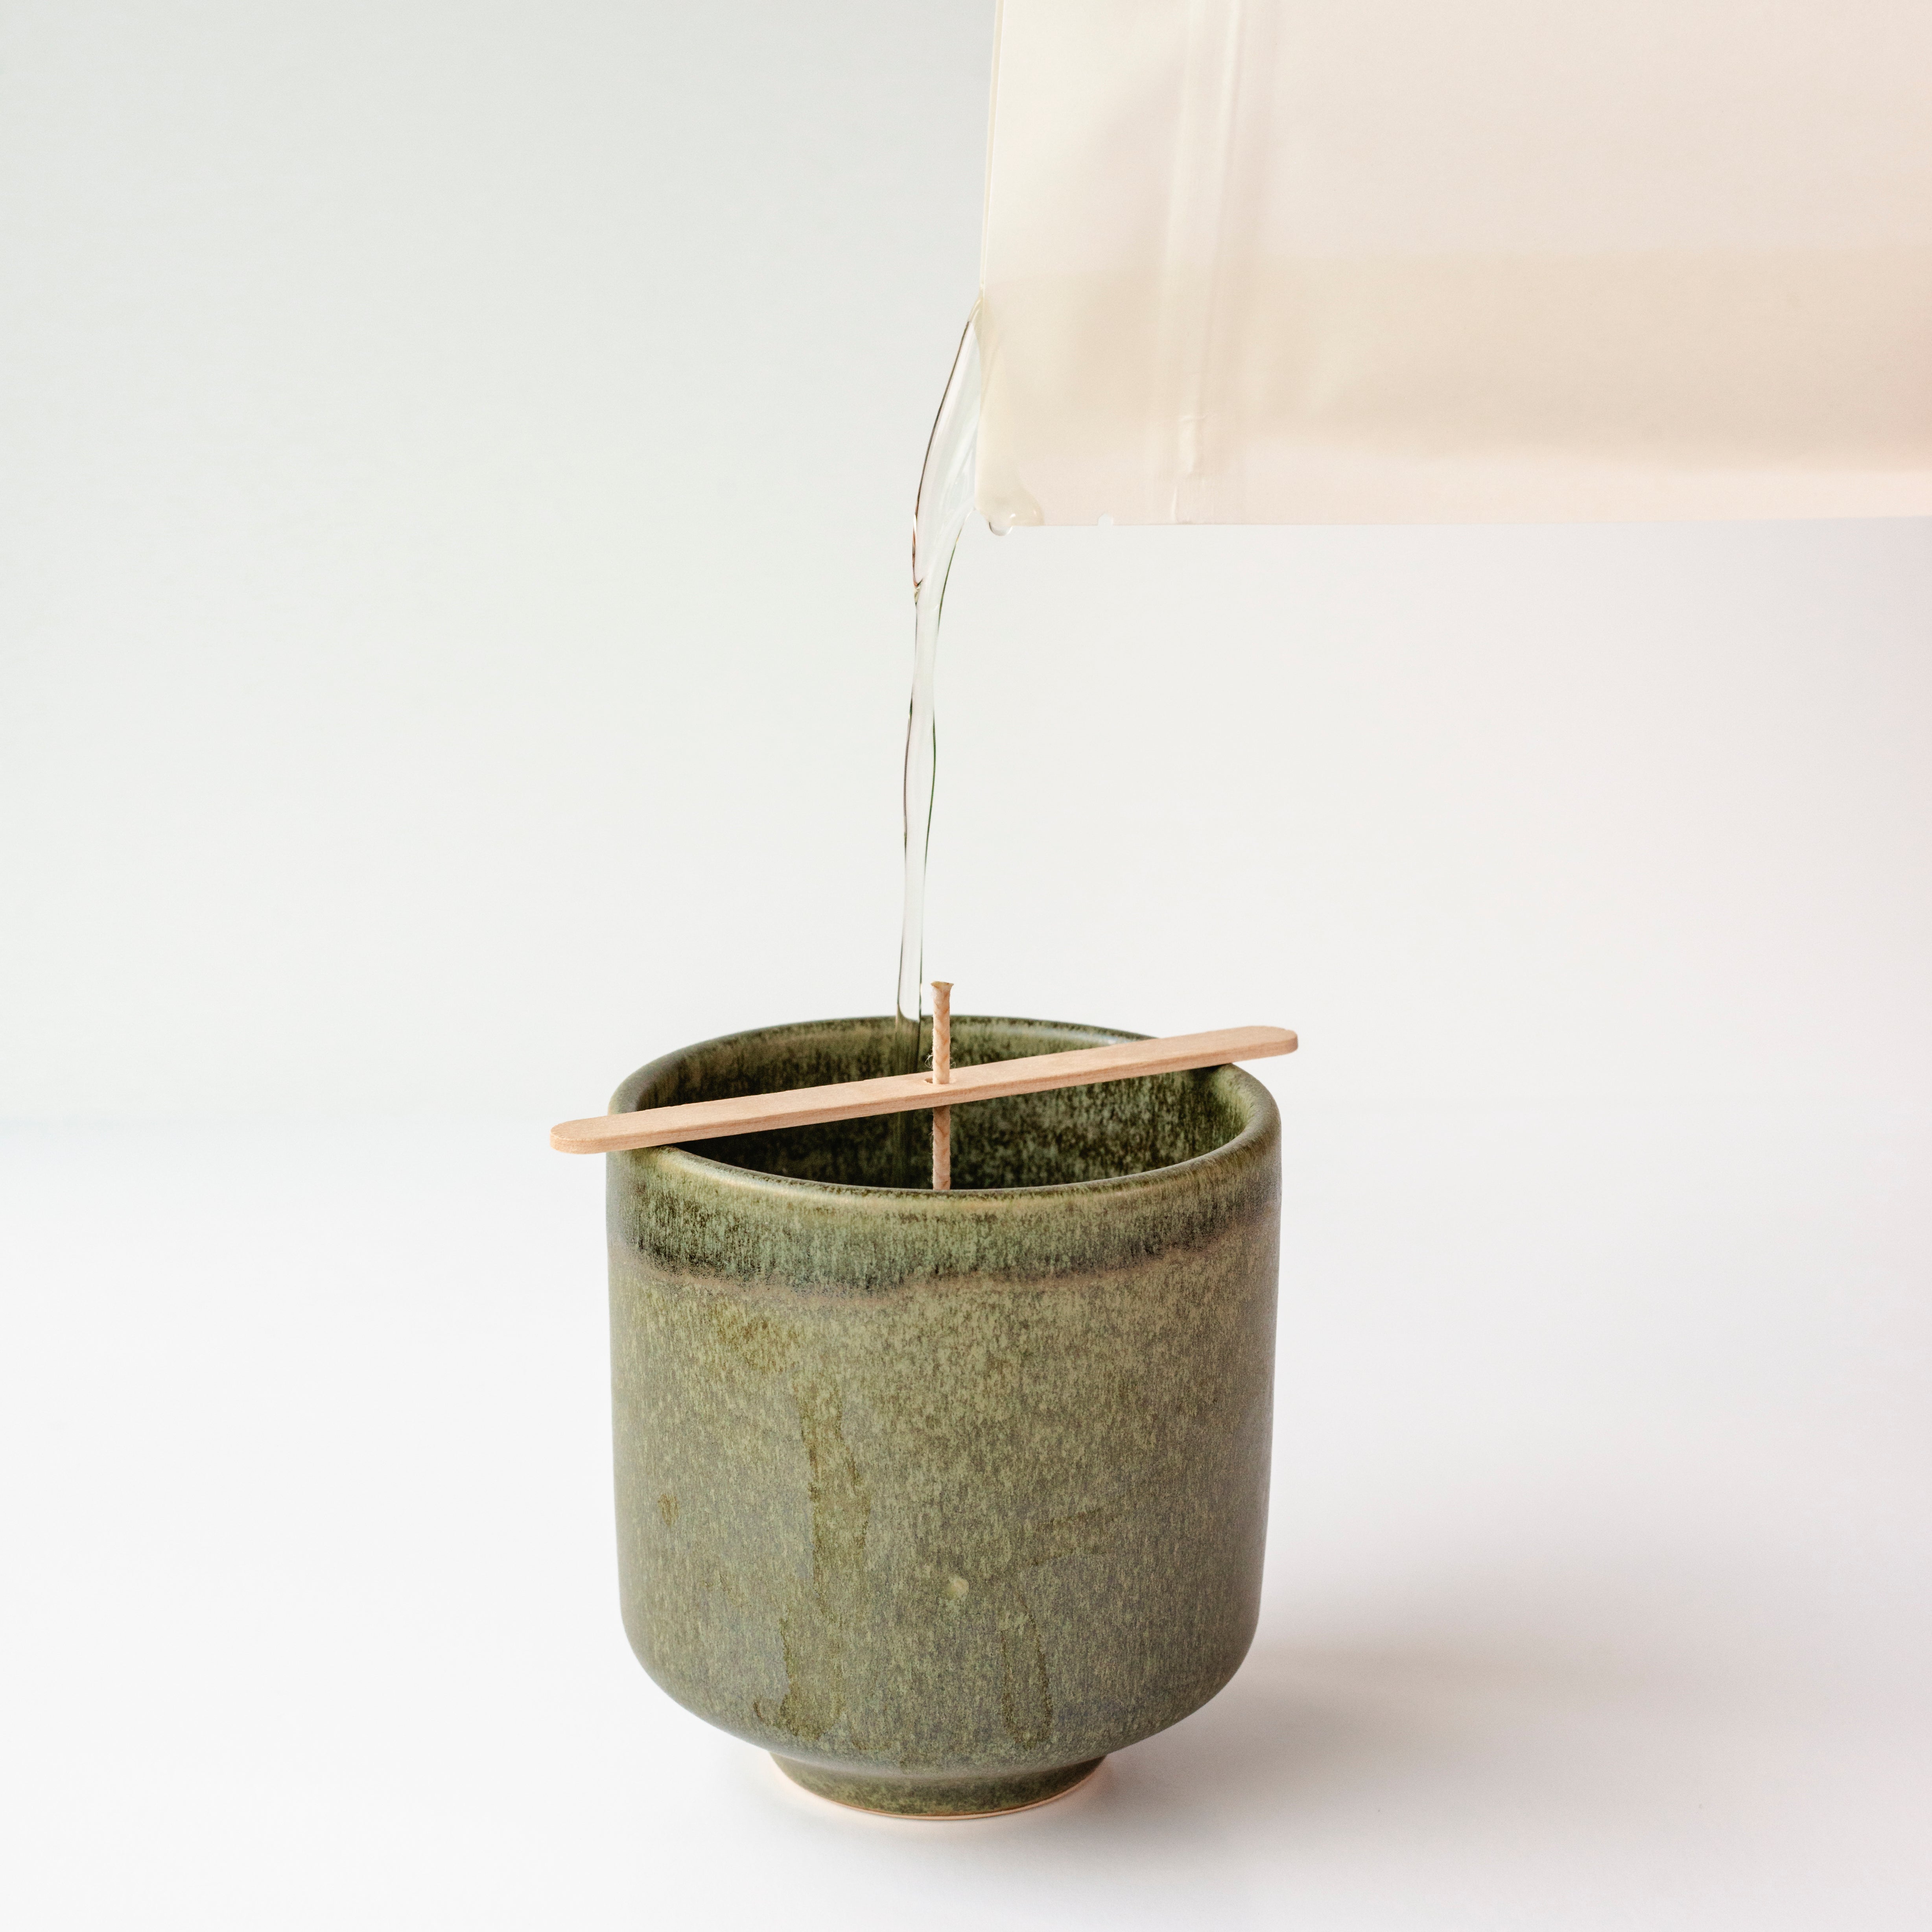
Such an effortless process and I love how simple it is to make!
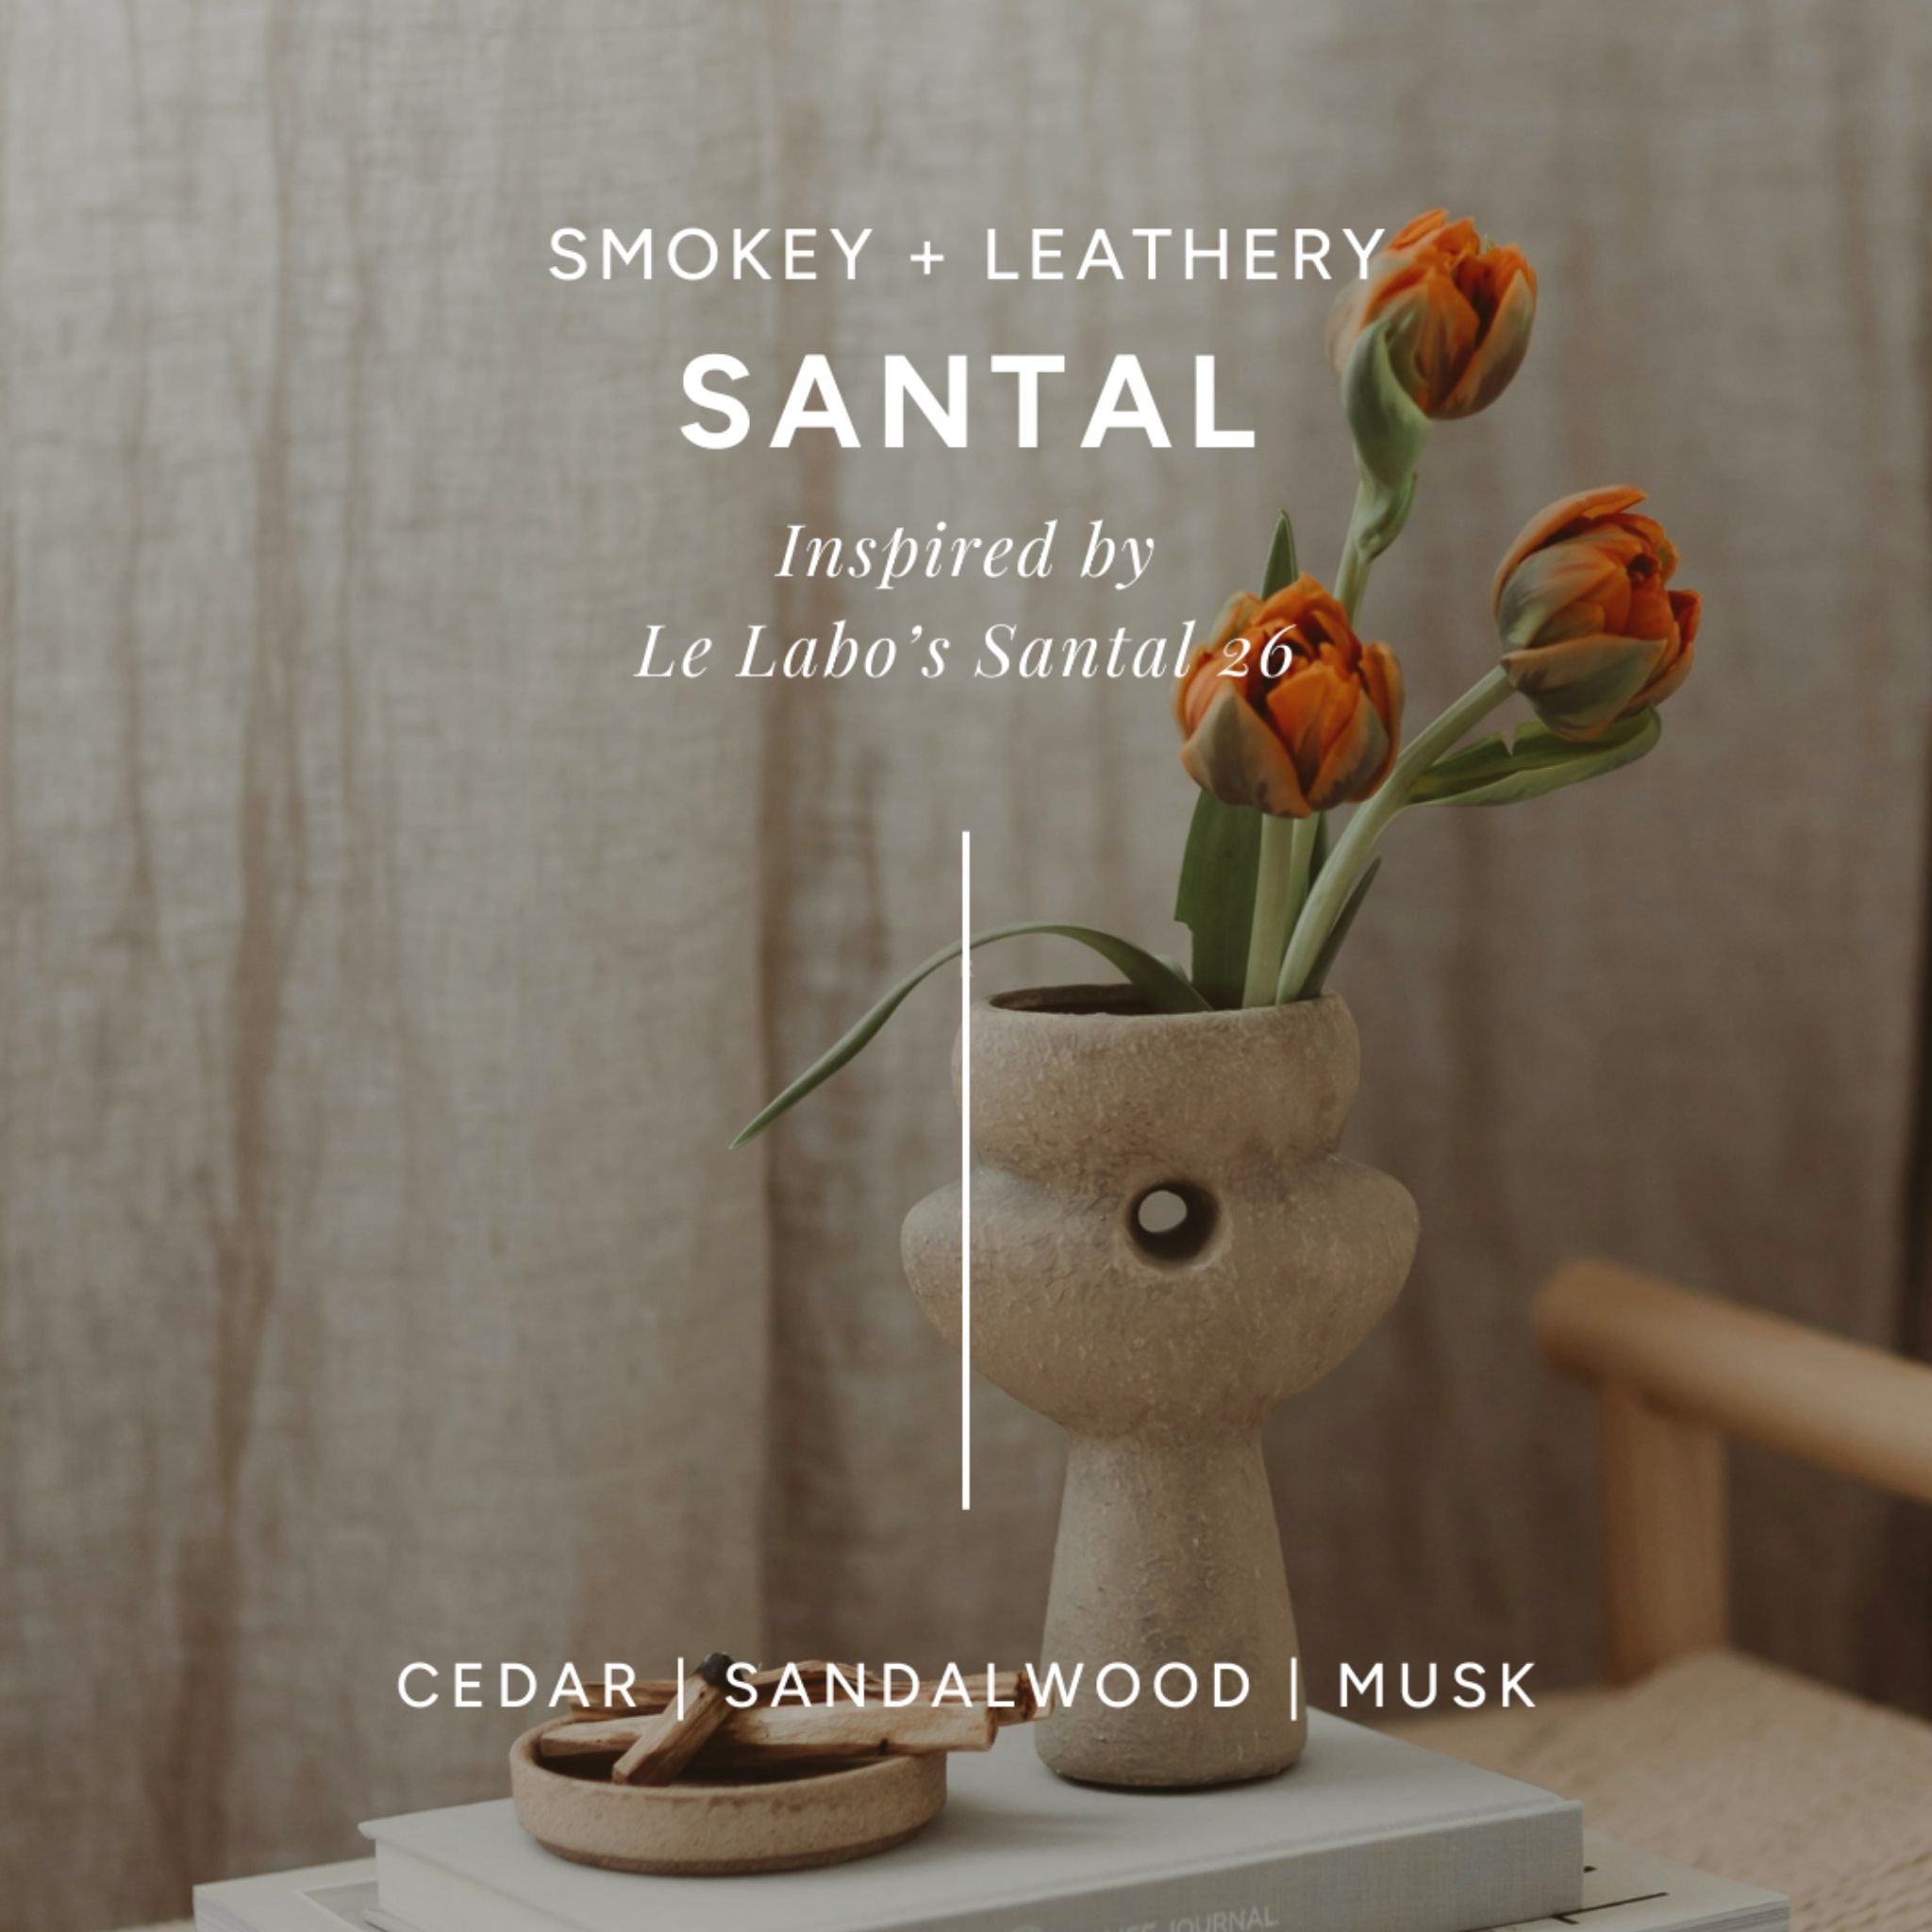
Santal Noir is clean and smooth with that quiet confidence to it, smells expensive without trying.