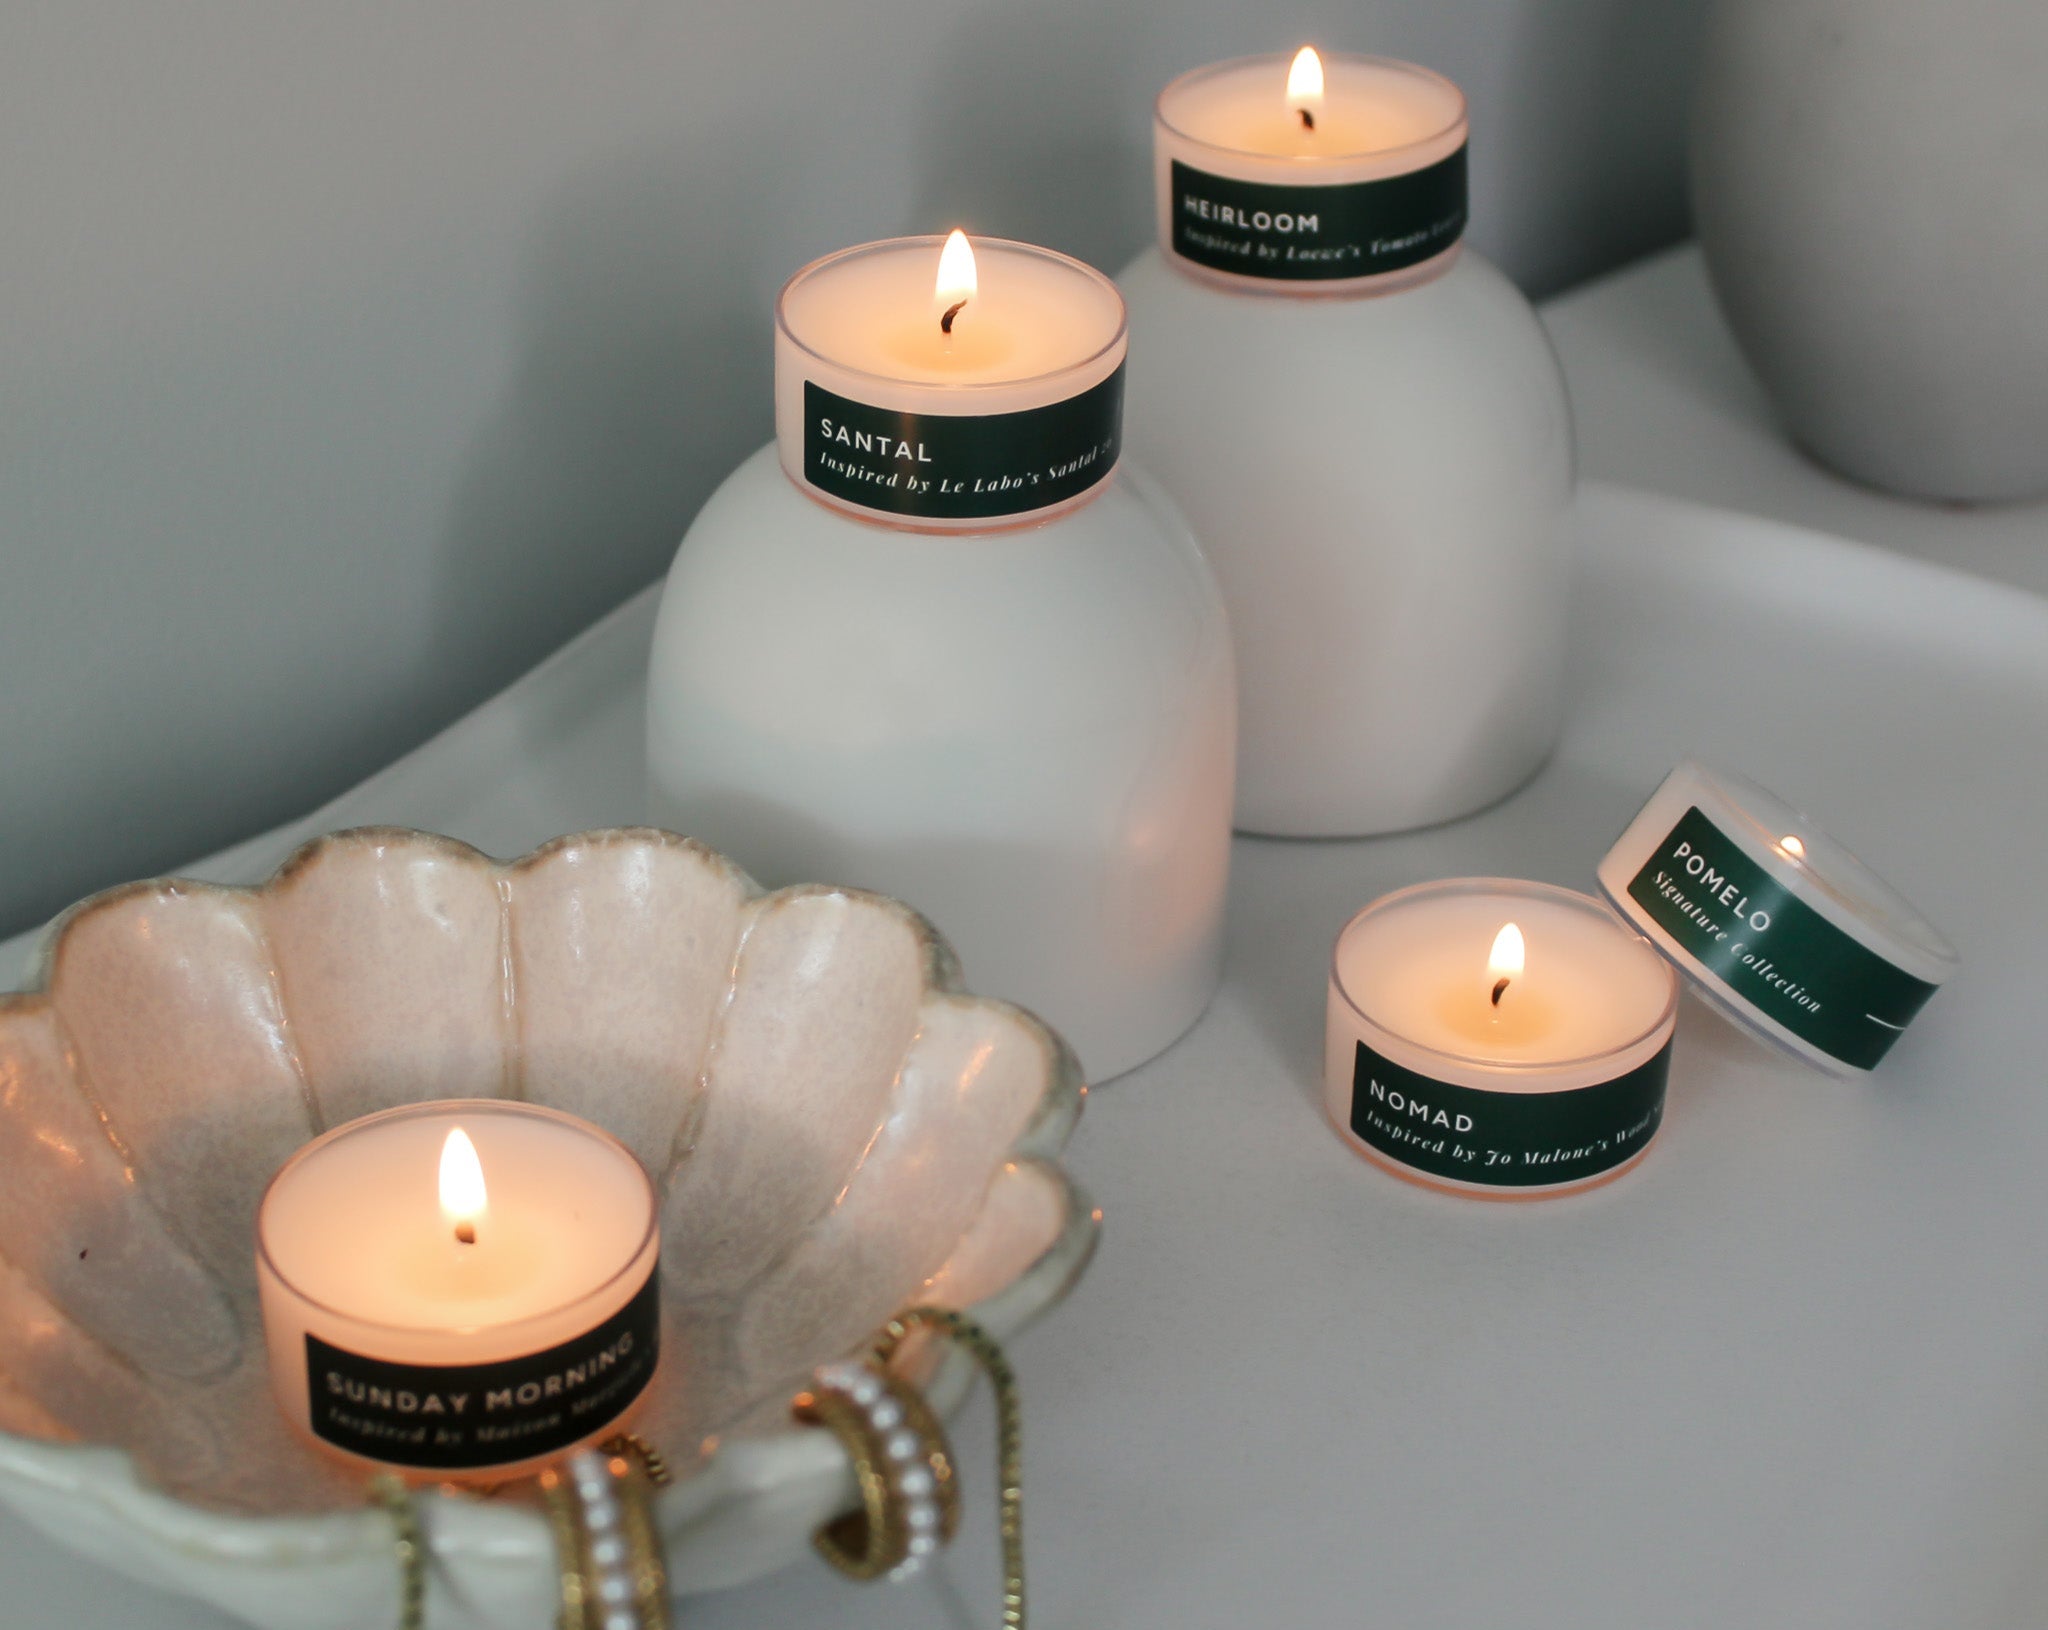


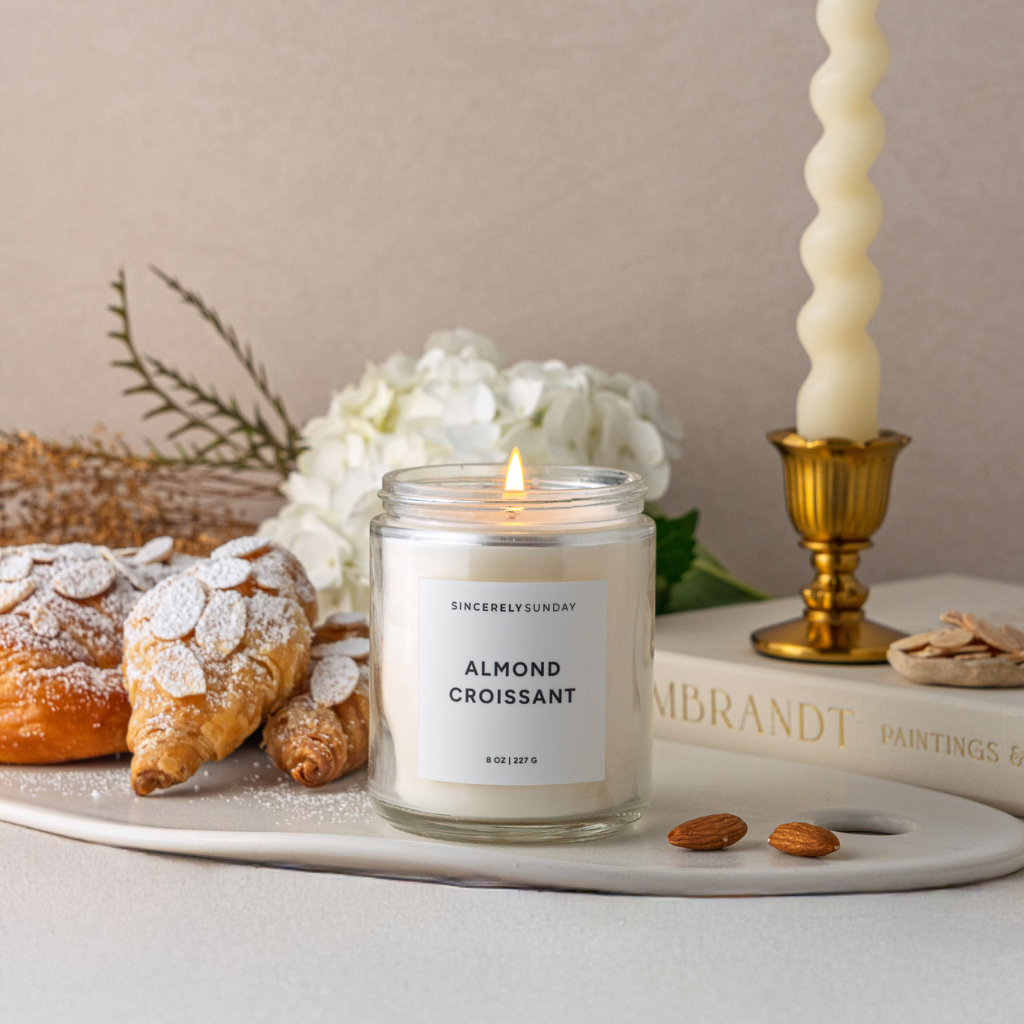
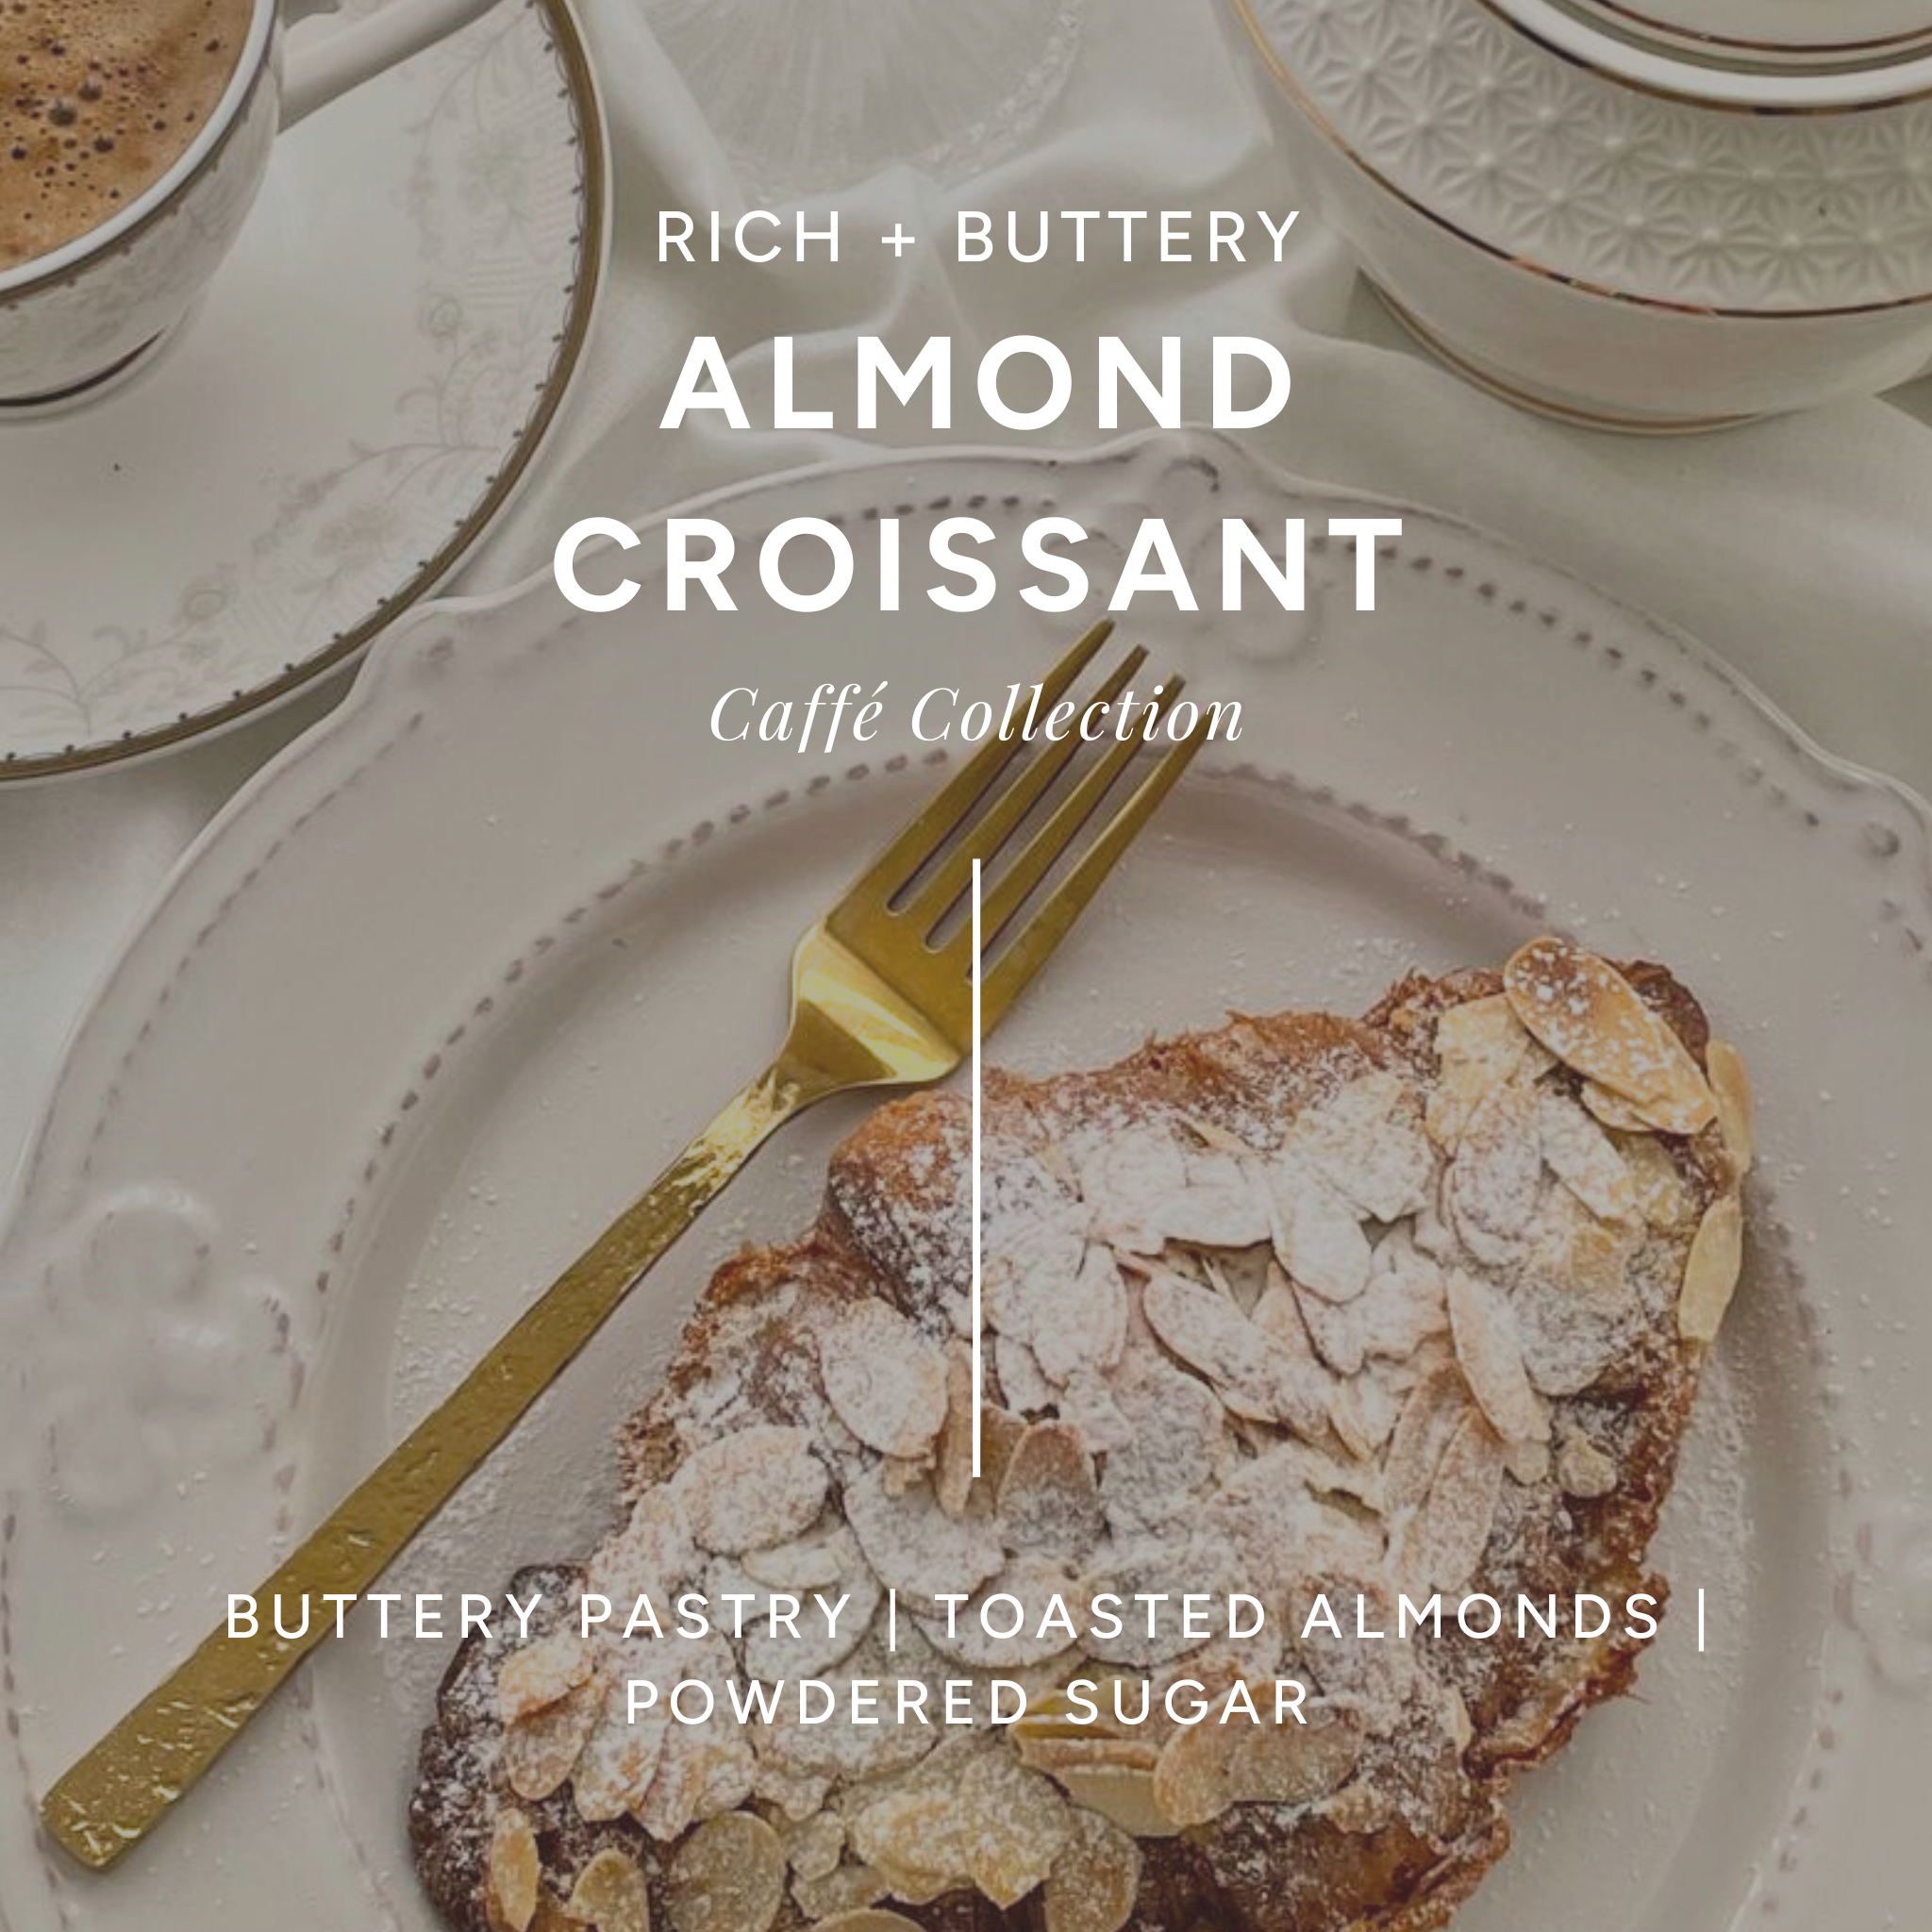


This scent is absolutely beautiful. It smells like a fresh almond croissant straight out of a bakery — buttery, lightly sweet, and warm without being overpowering. The almond note is smooth and realistic, balanced perfectly with a soft pastry warmth that fills the room in a subtle, elevated way.
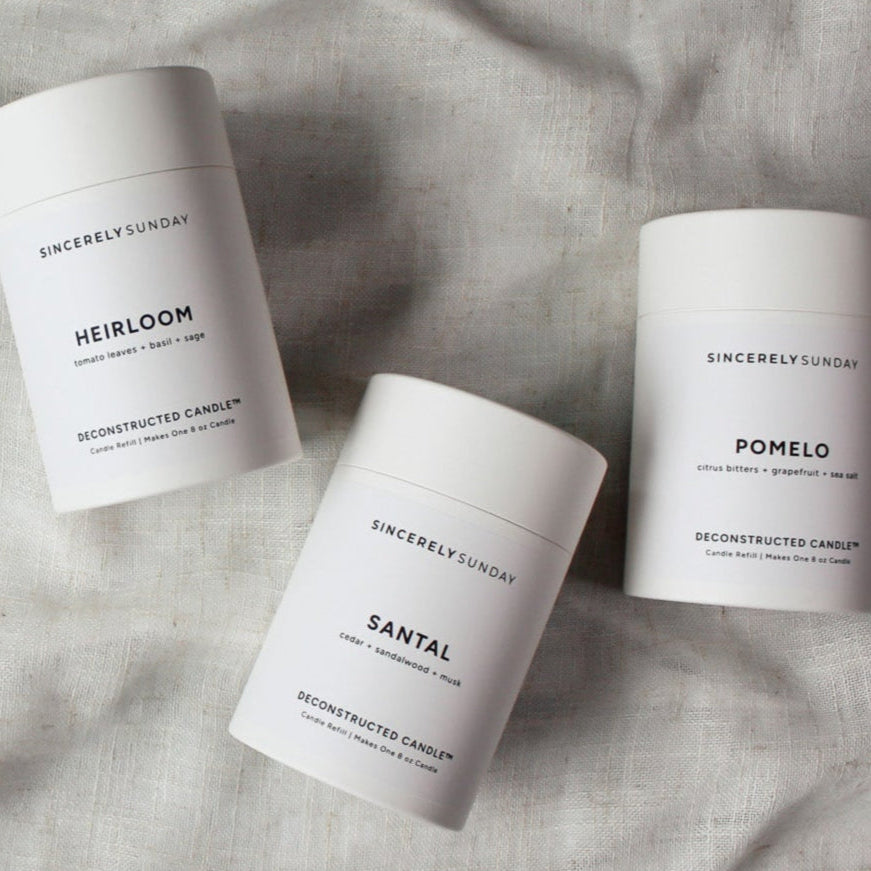
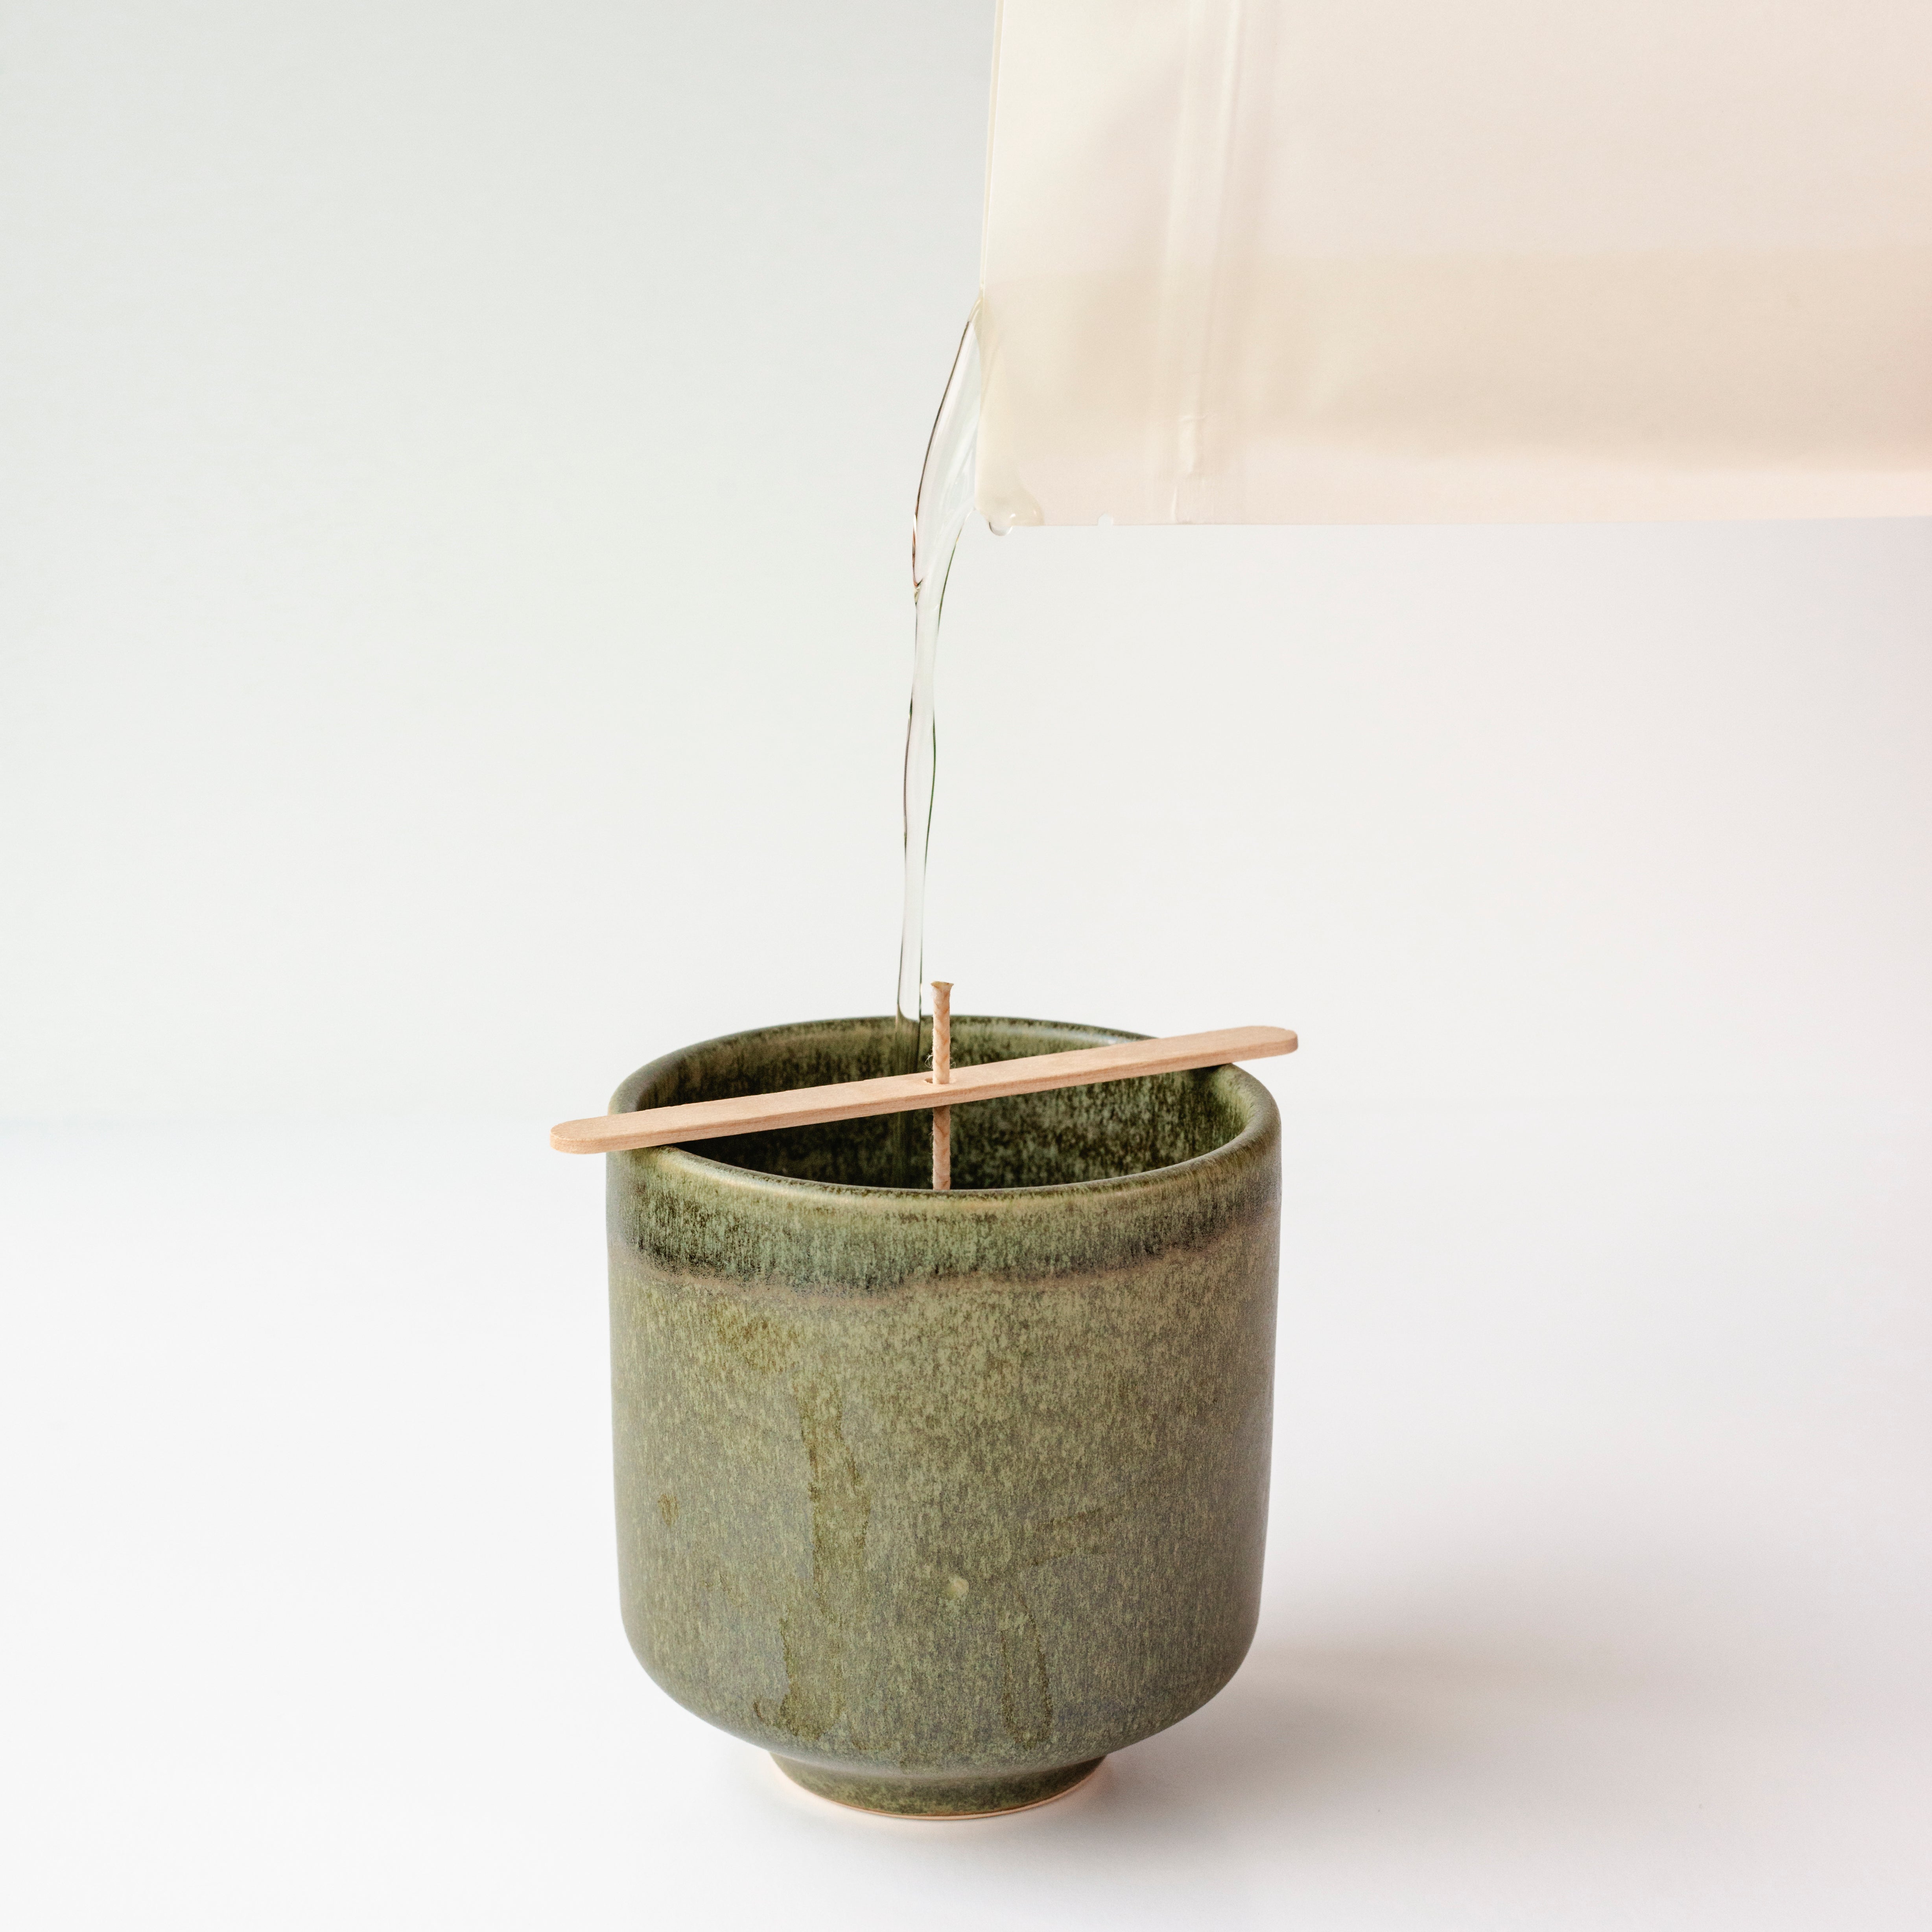
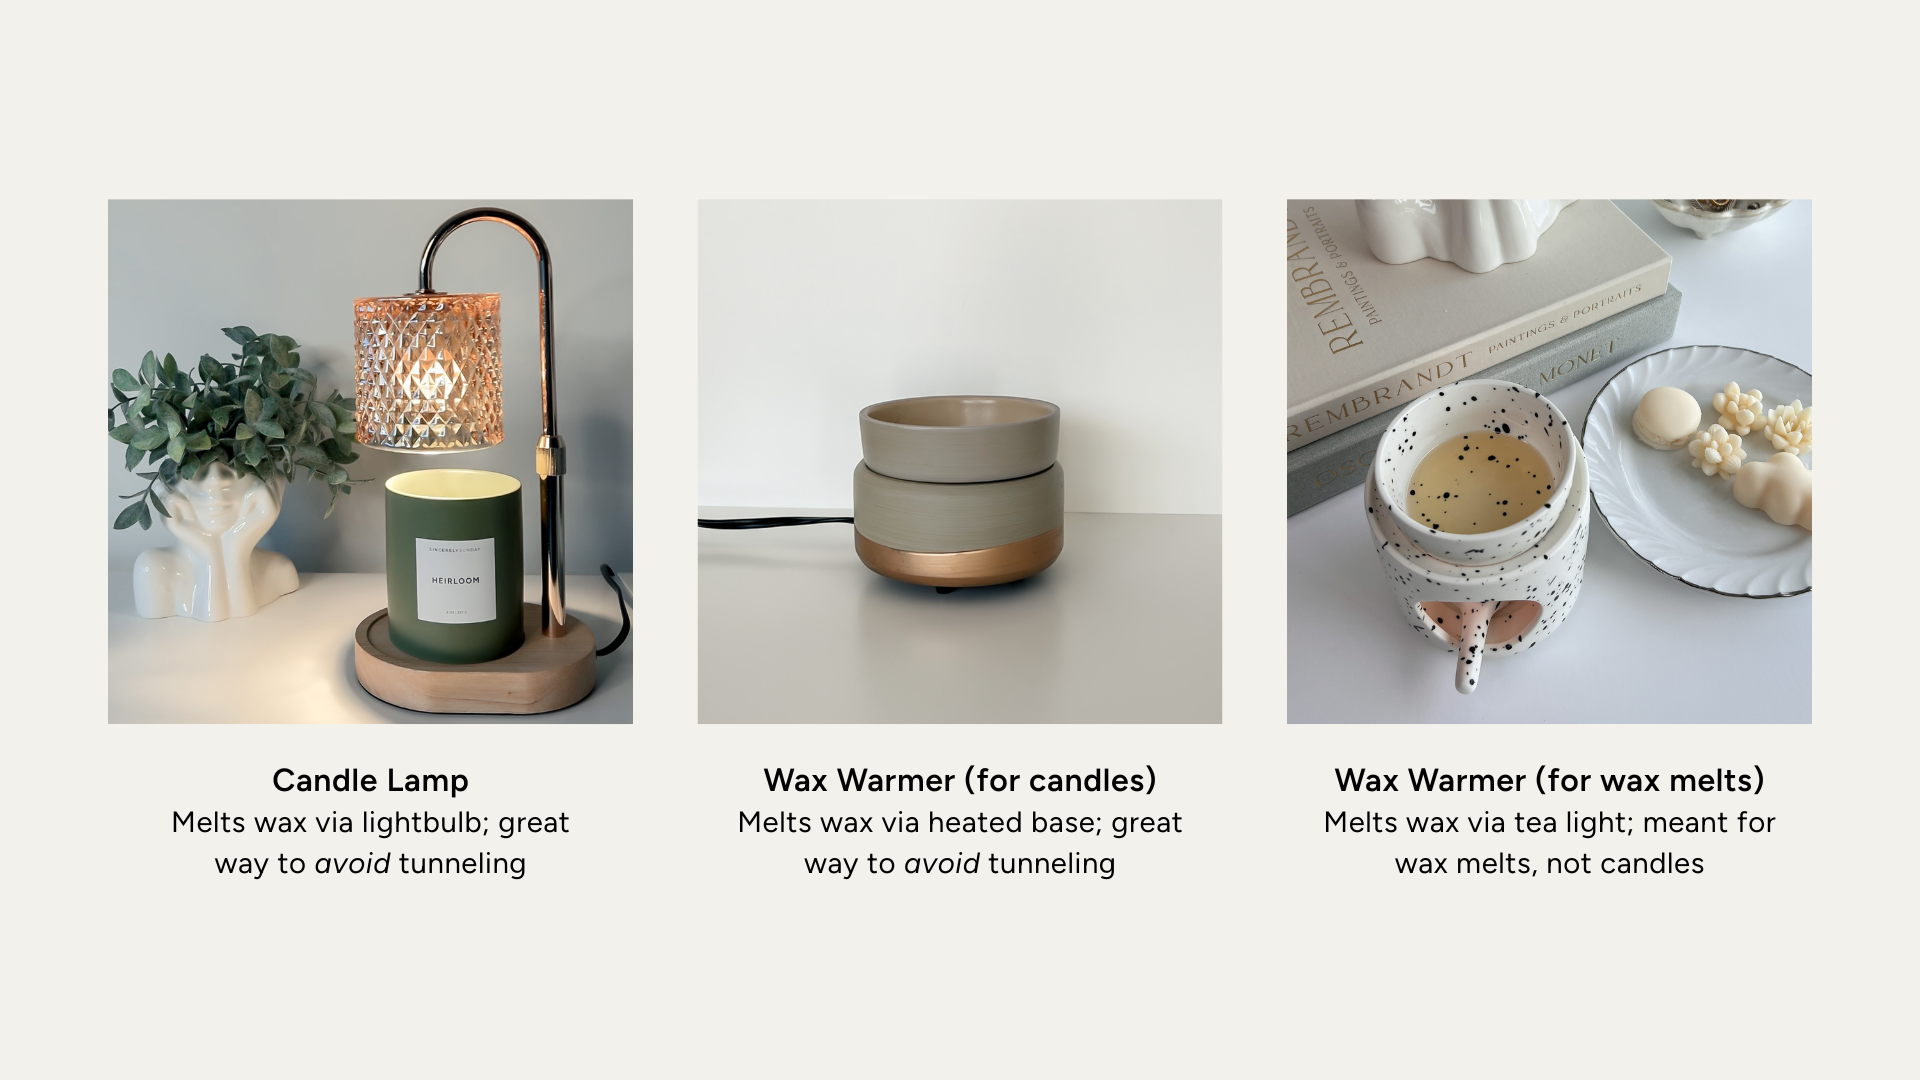
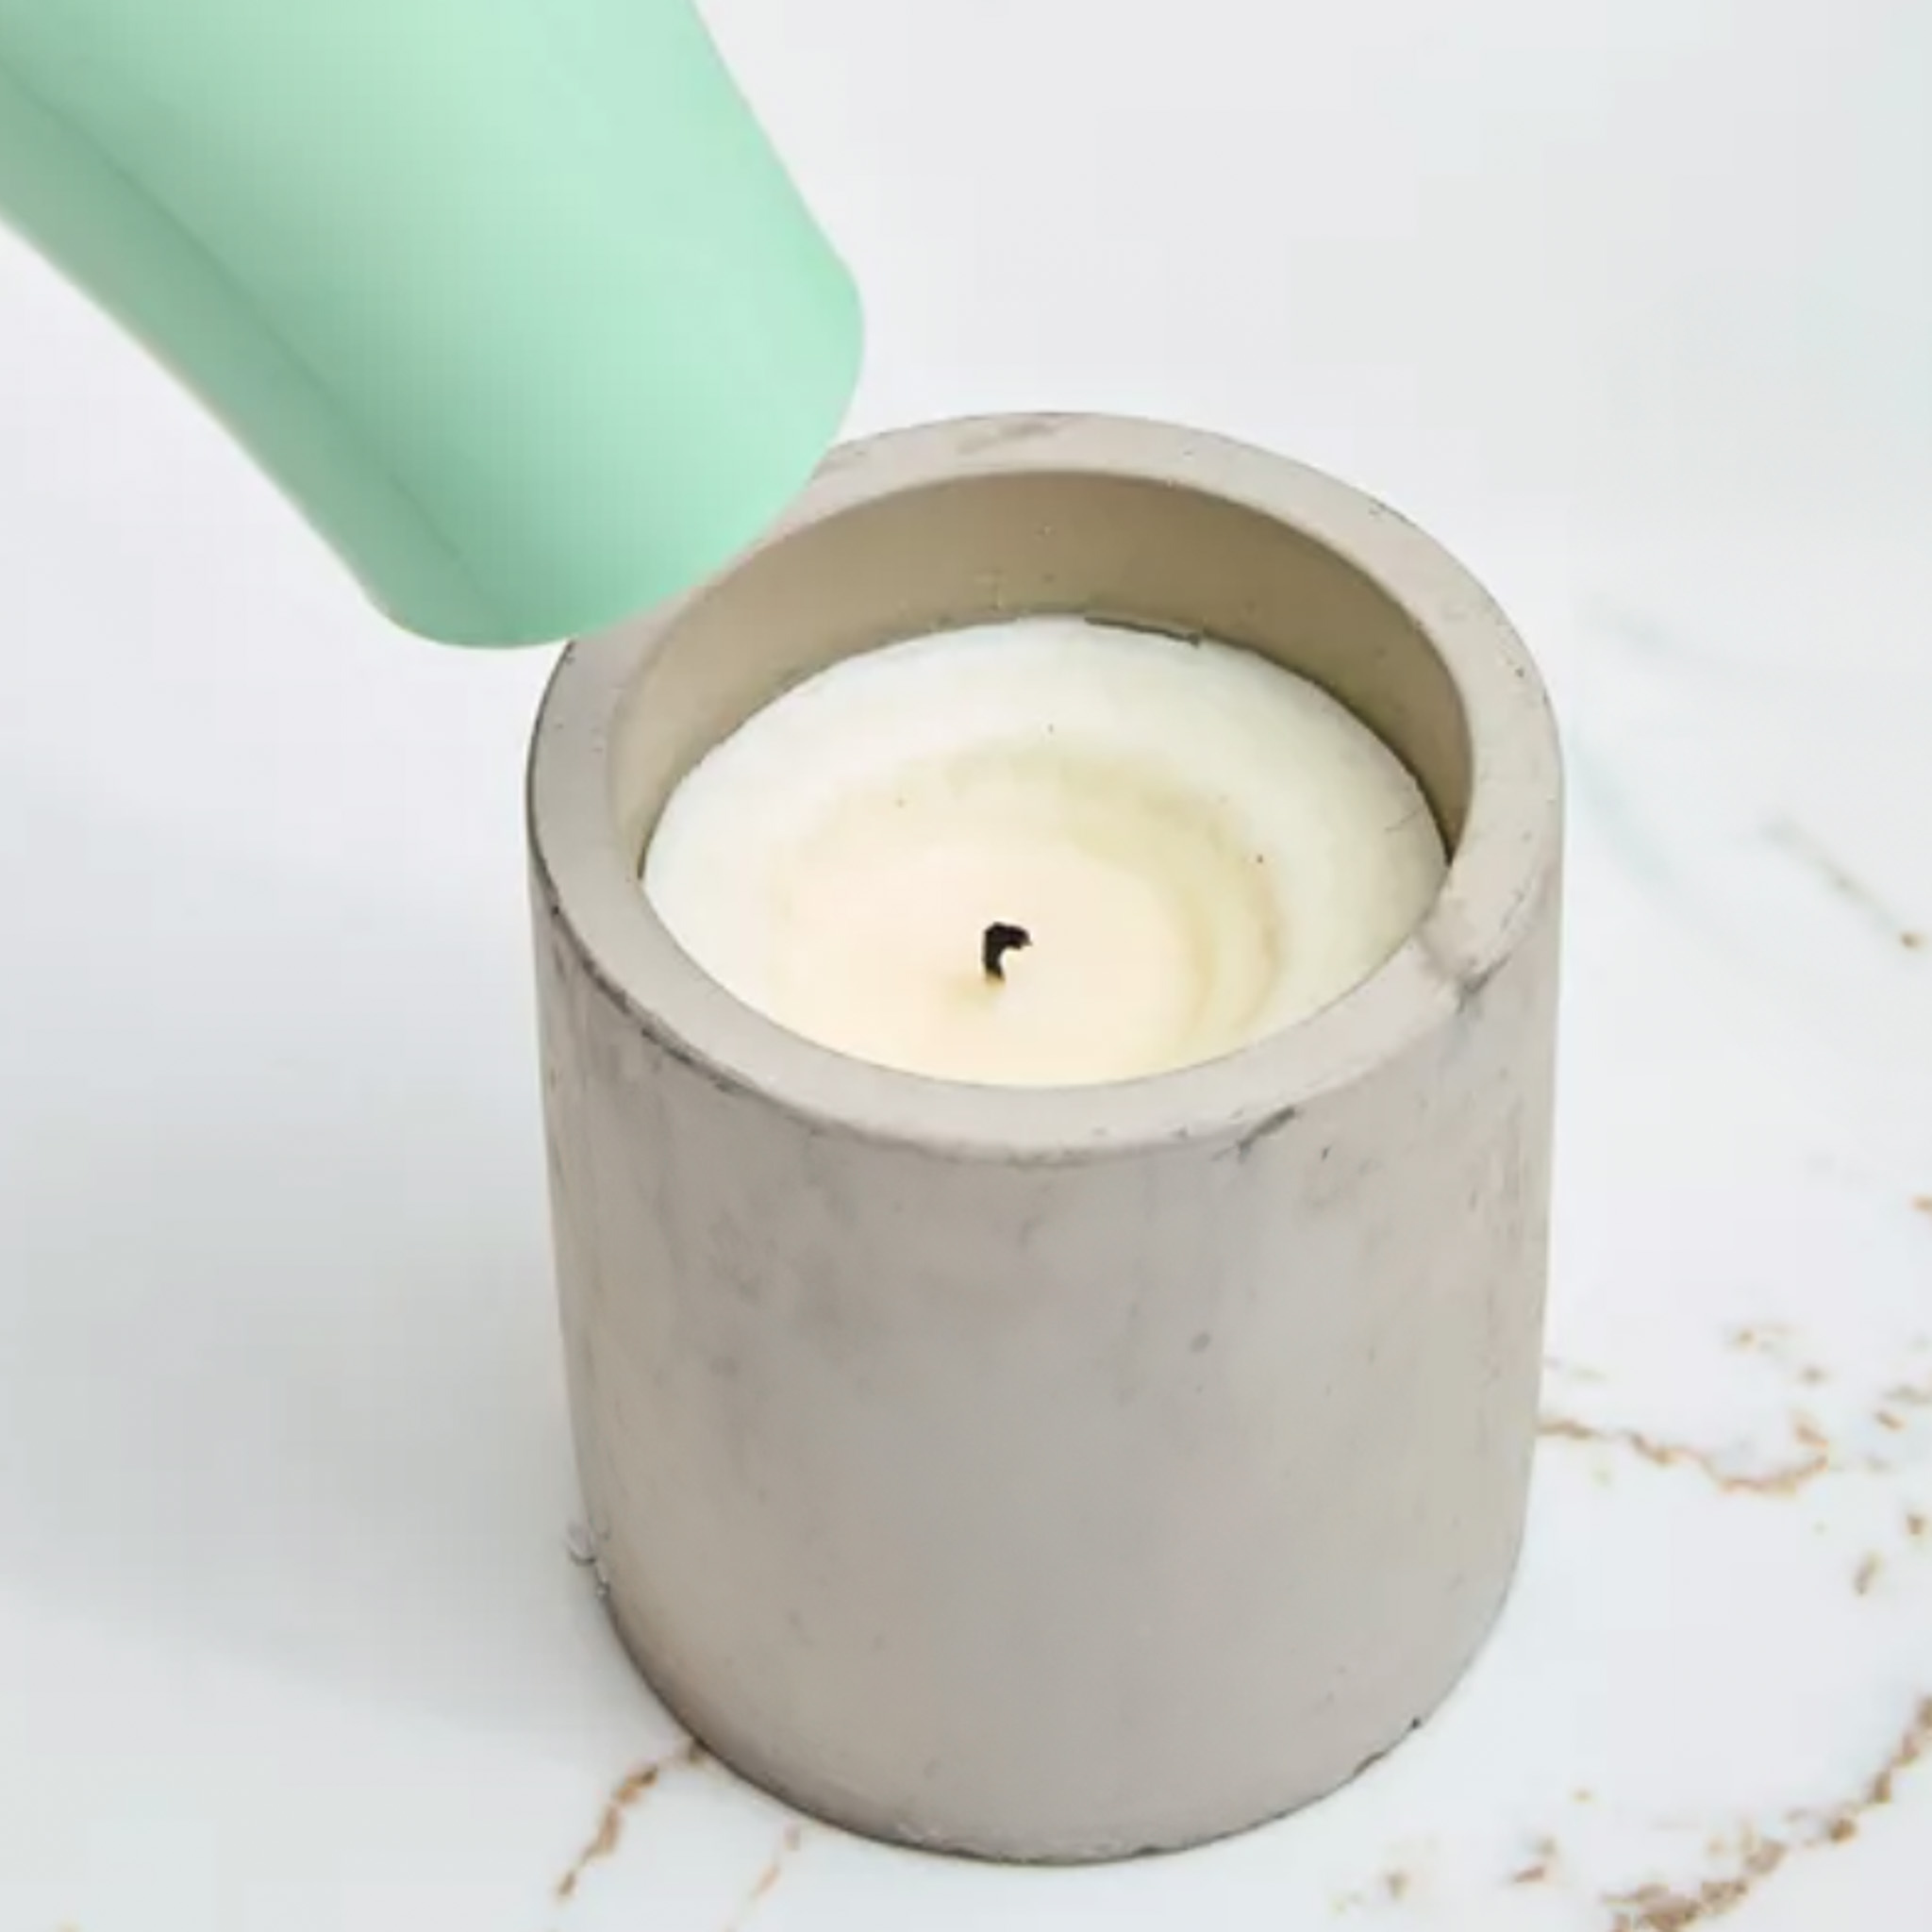
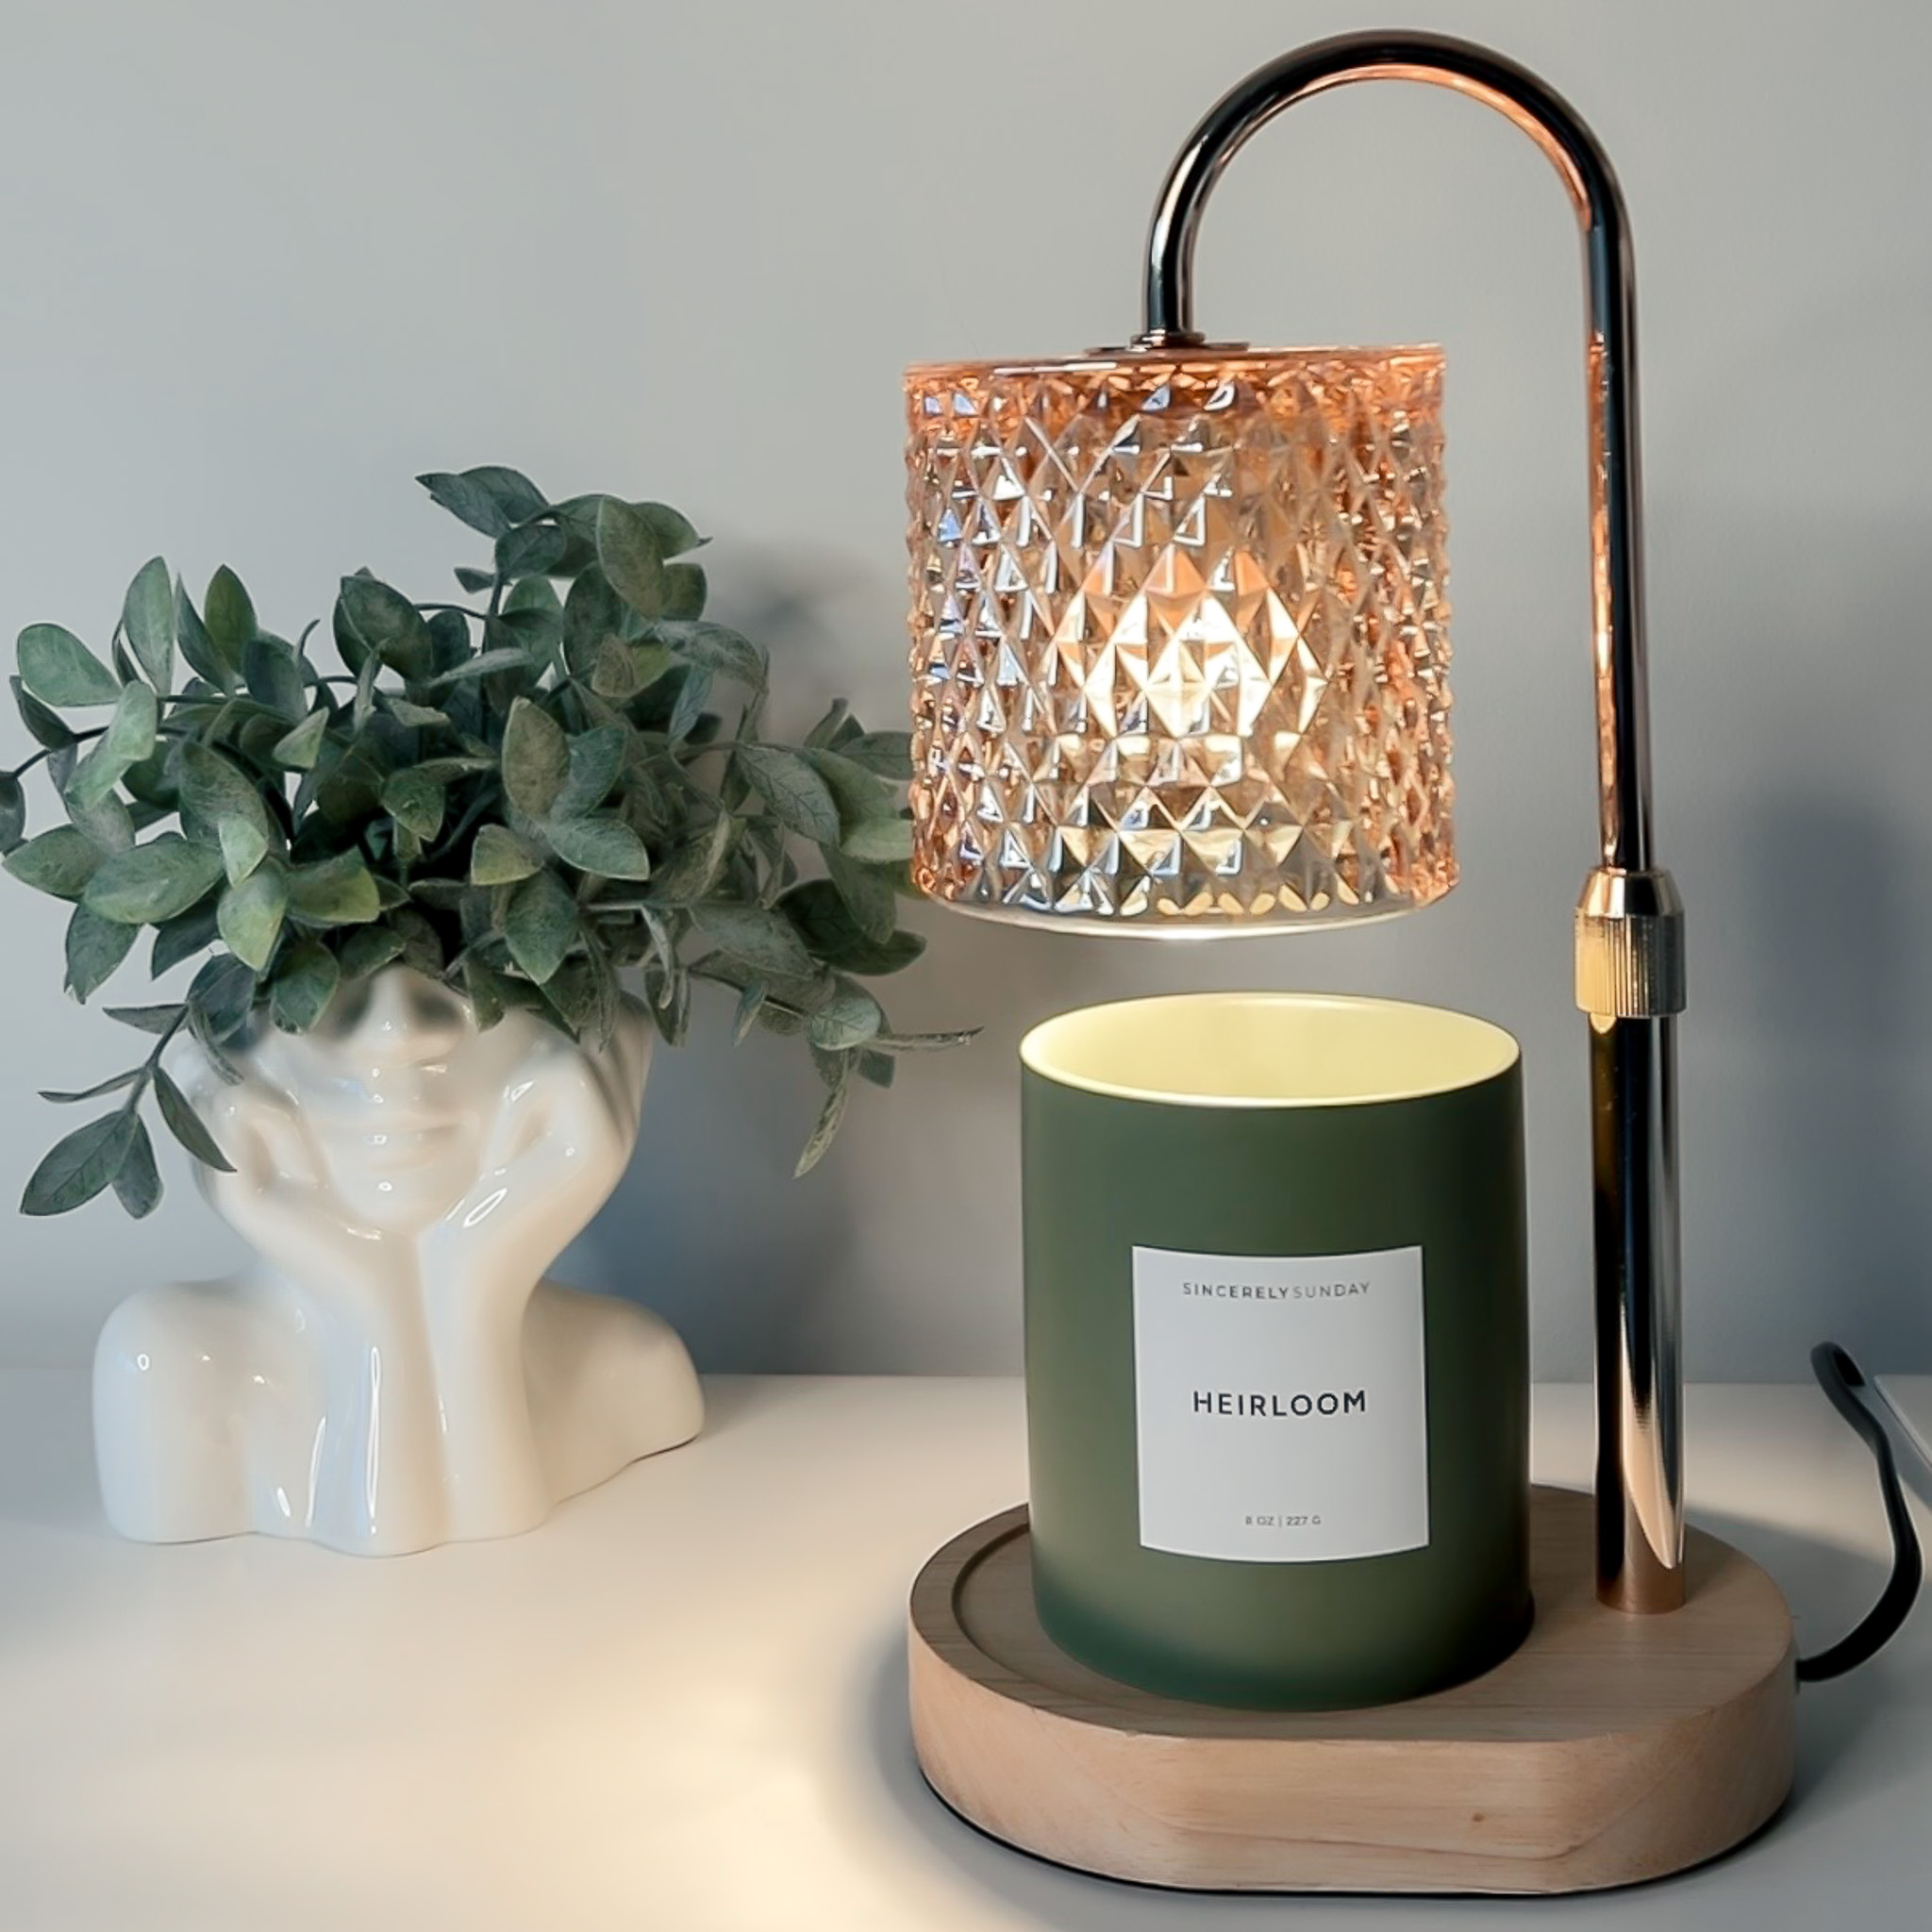
I also love the concept of the refill kit itself. It’s thoughtful, easy to use, and feels intentional rather than wasteful. The throw is impressive without being heavy, and the scent lingers nicely even after it’s been extinguished.
If you enjoy bakery-style fragrances that feel refined and not artificial, this is a standout. I would absolutely repurchase and try other scents from this brand.
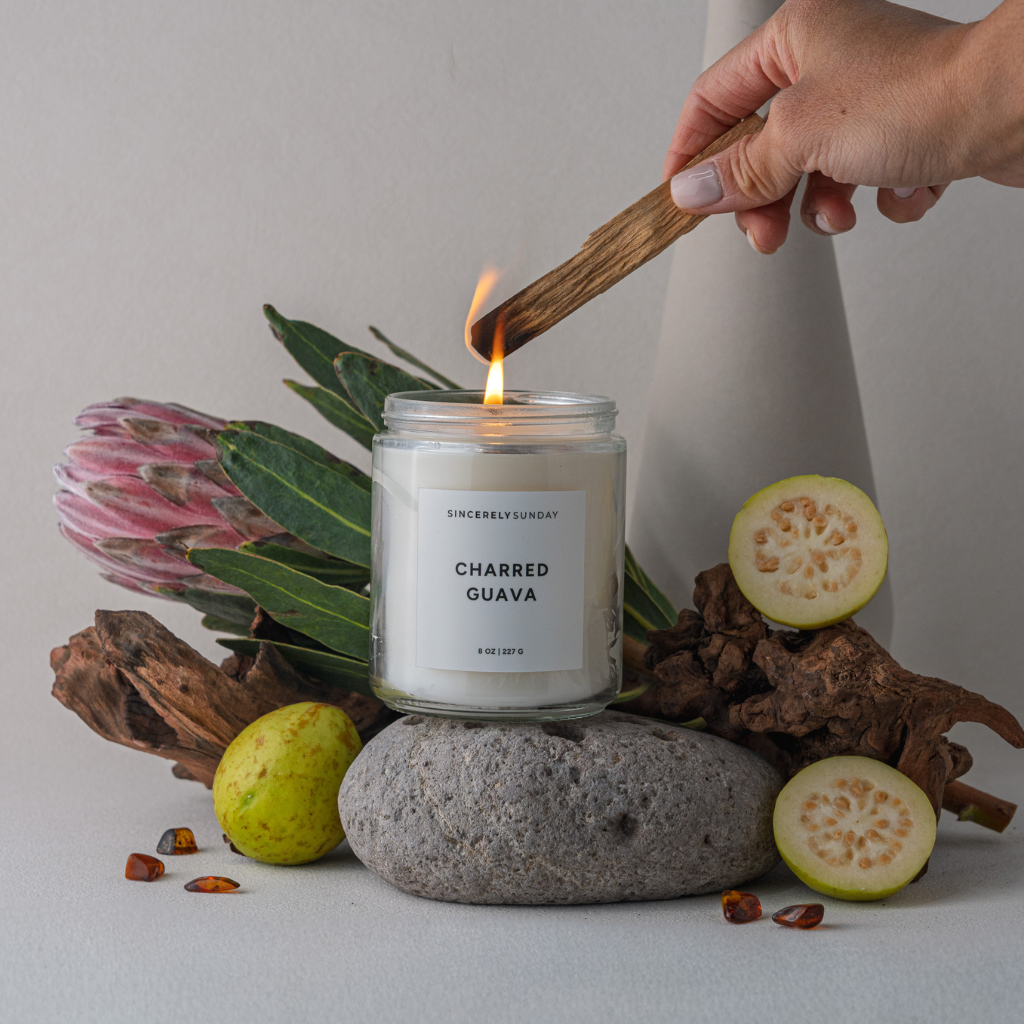
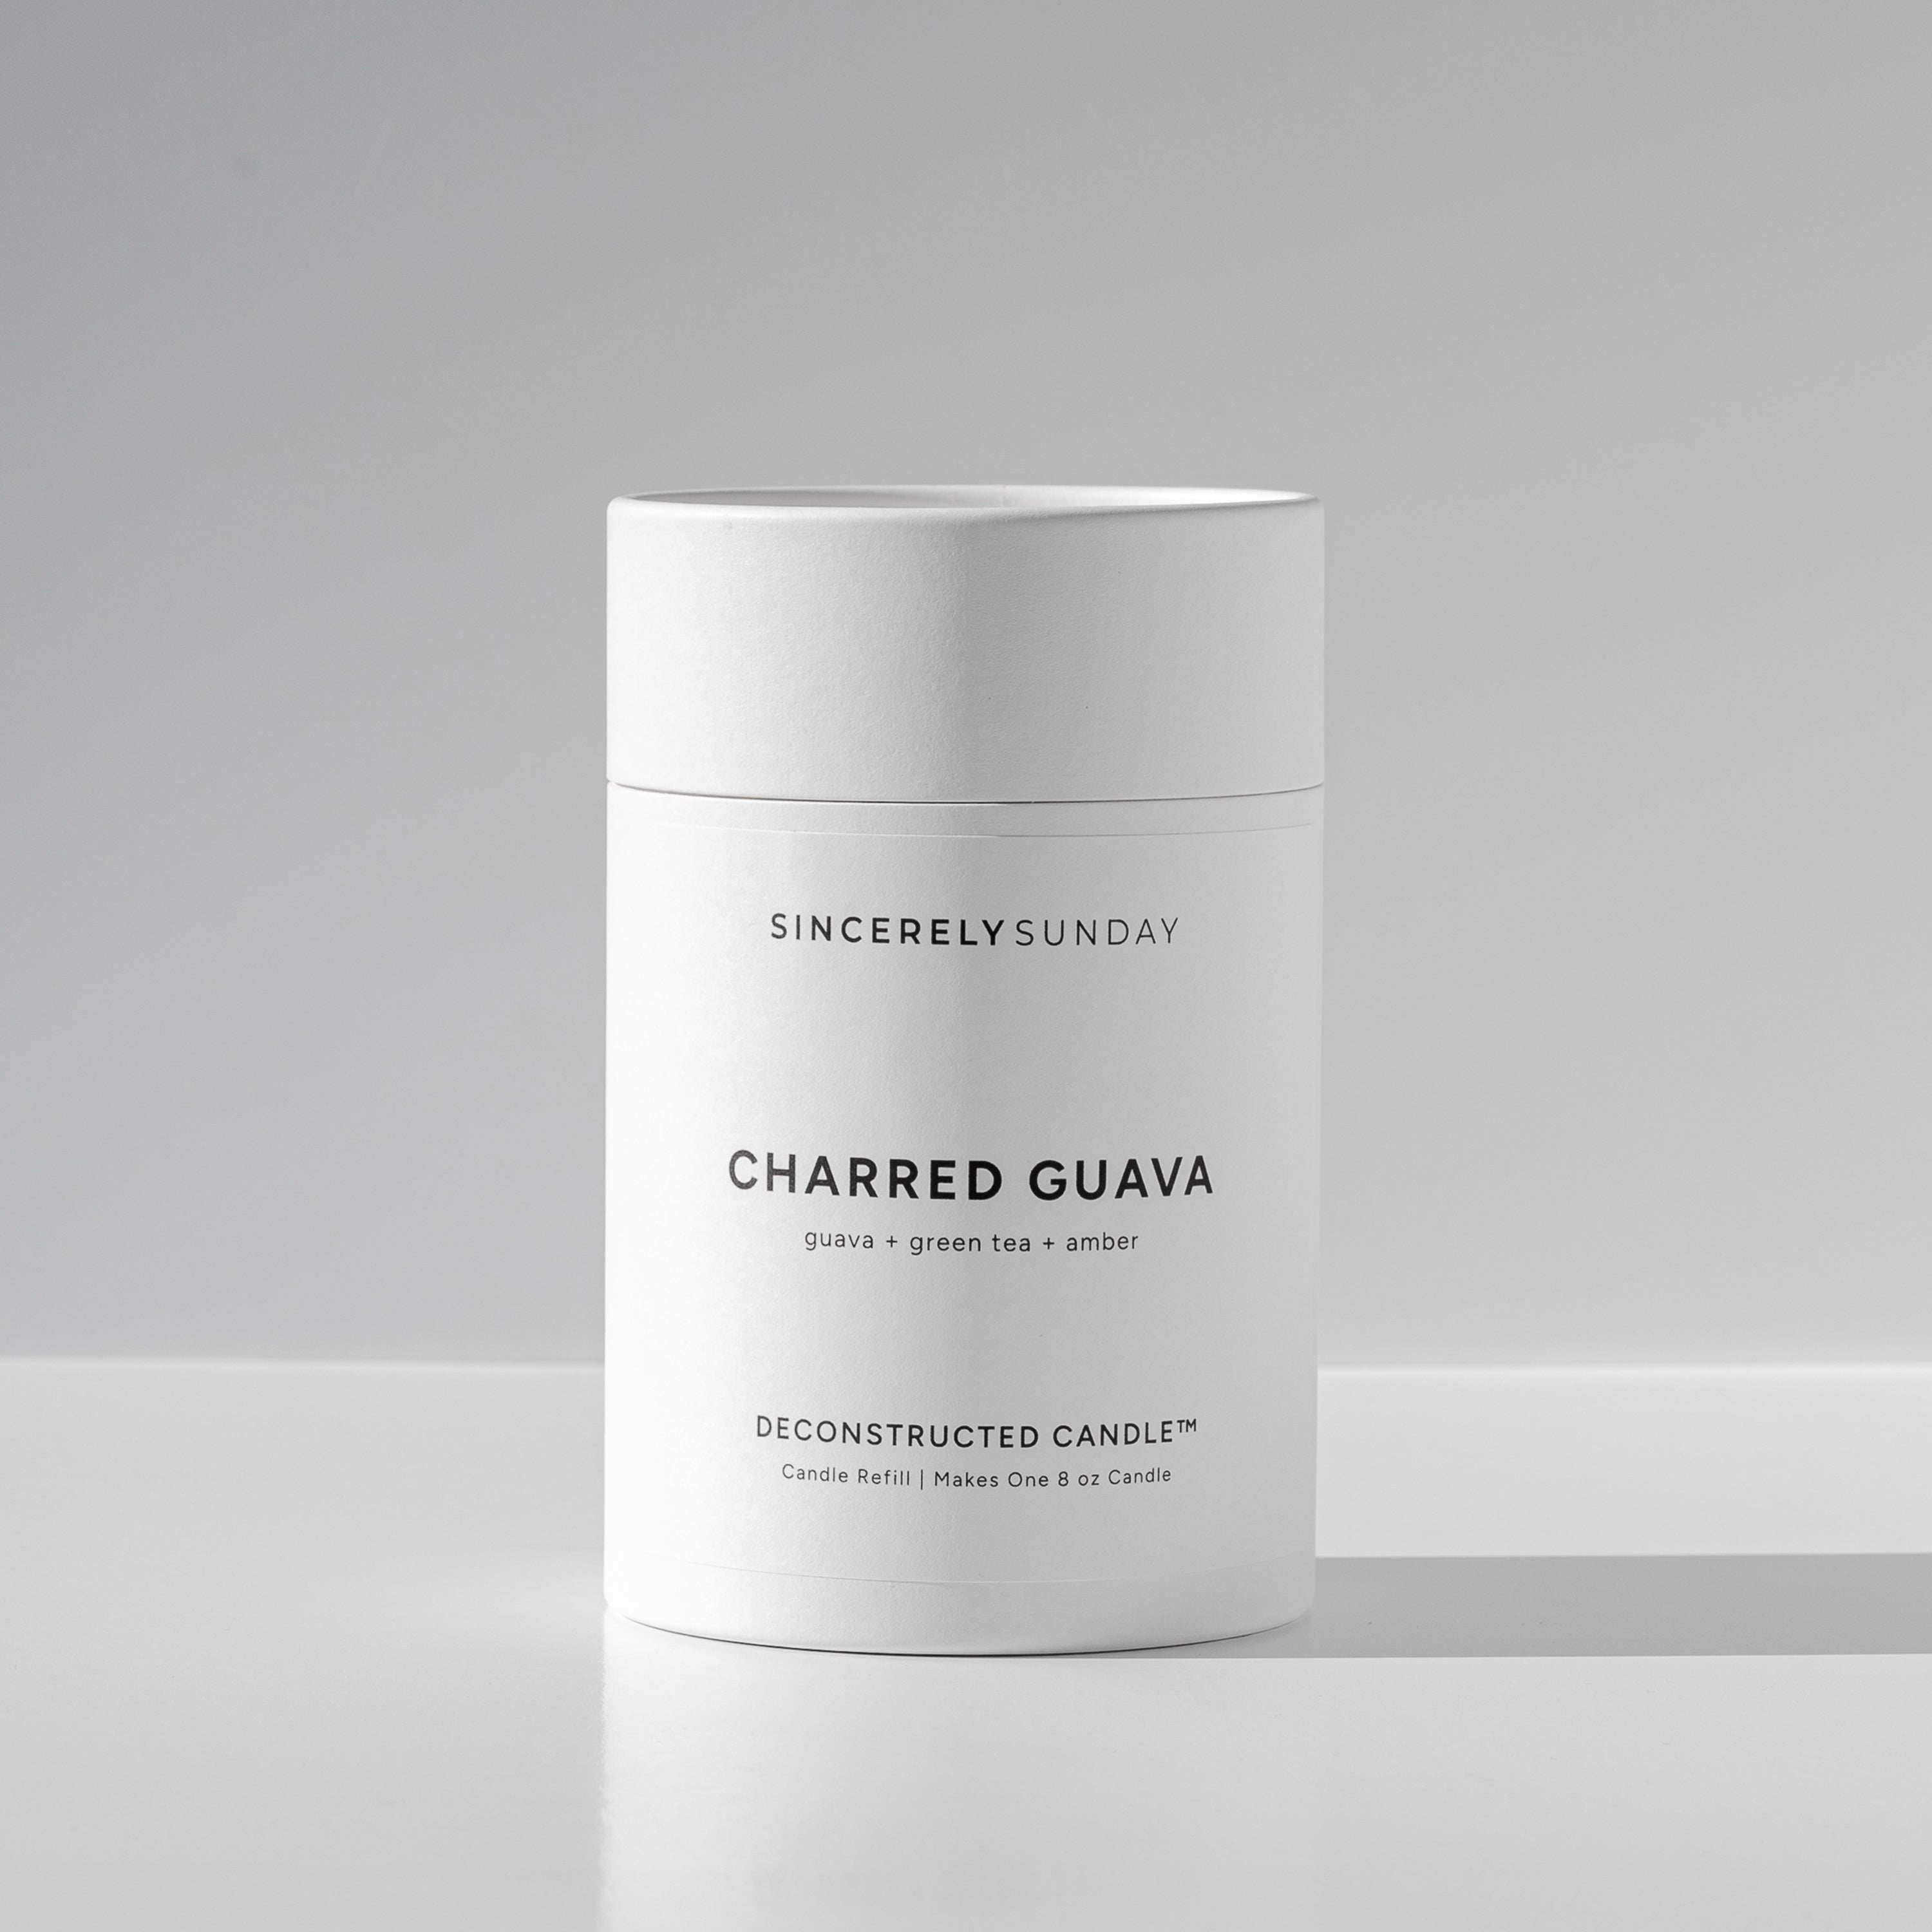
I’m obsessed with this one. The charred guava smell is fruity, warm, and unique it feels like a luxury dessert candle without being too sweet. The throw is strong in the best way. I’d absolutely repurchase this scent.
This blend is beautiful calming, smooth, and so elegant. The Earl Grey and lavender balance perfectly without being overpowering. The refill kit was super easy to use, and the scent fills the room in such a soft, relaxing way. Definitely one of my favorites.
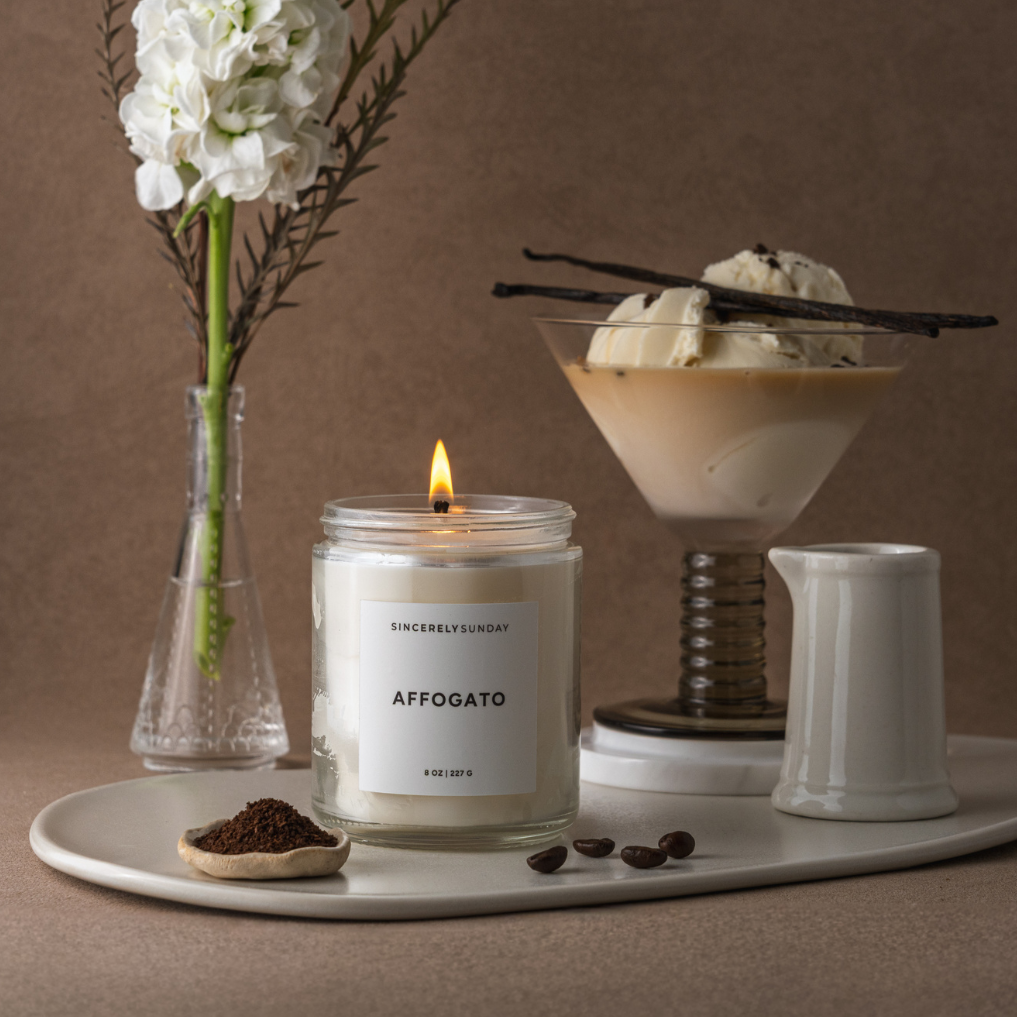
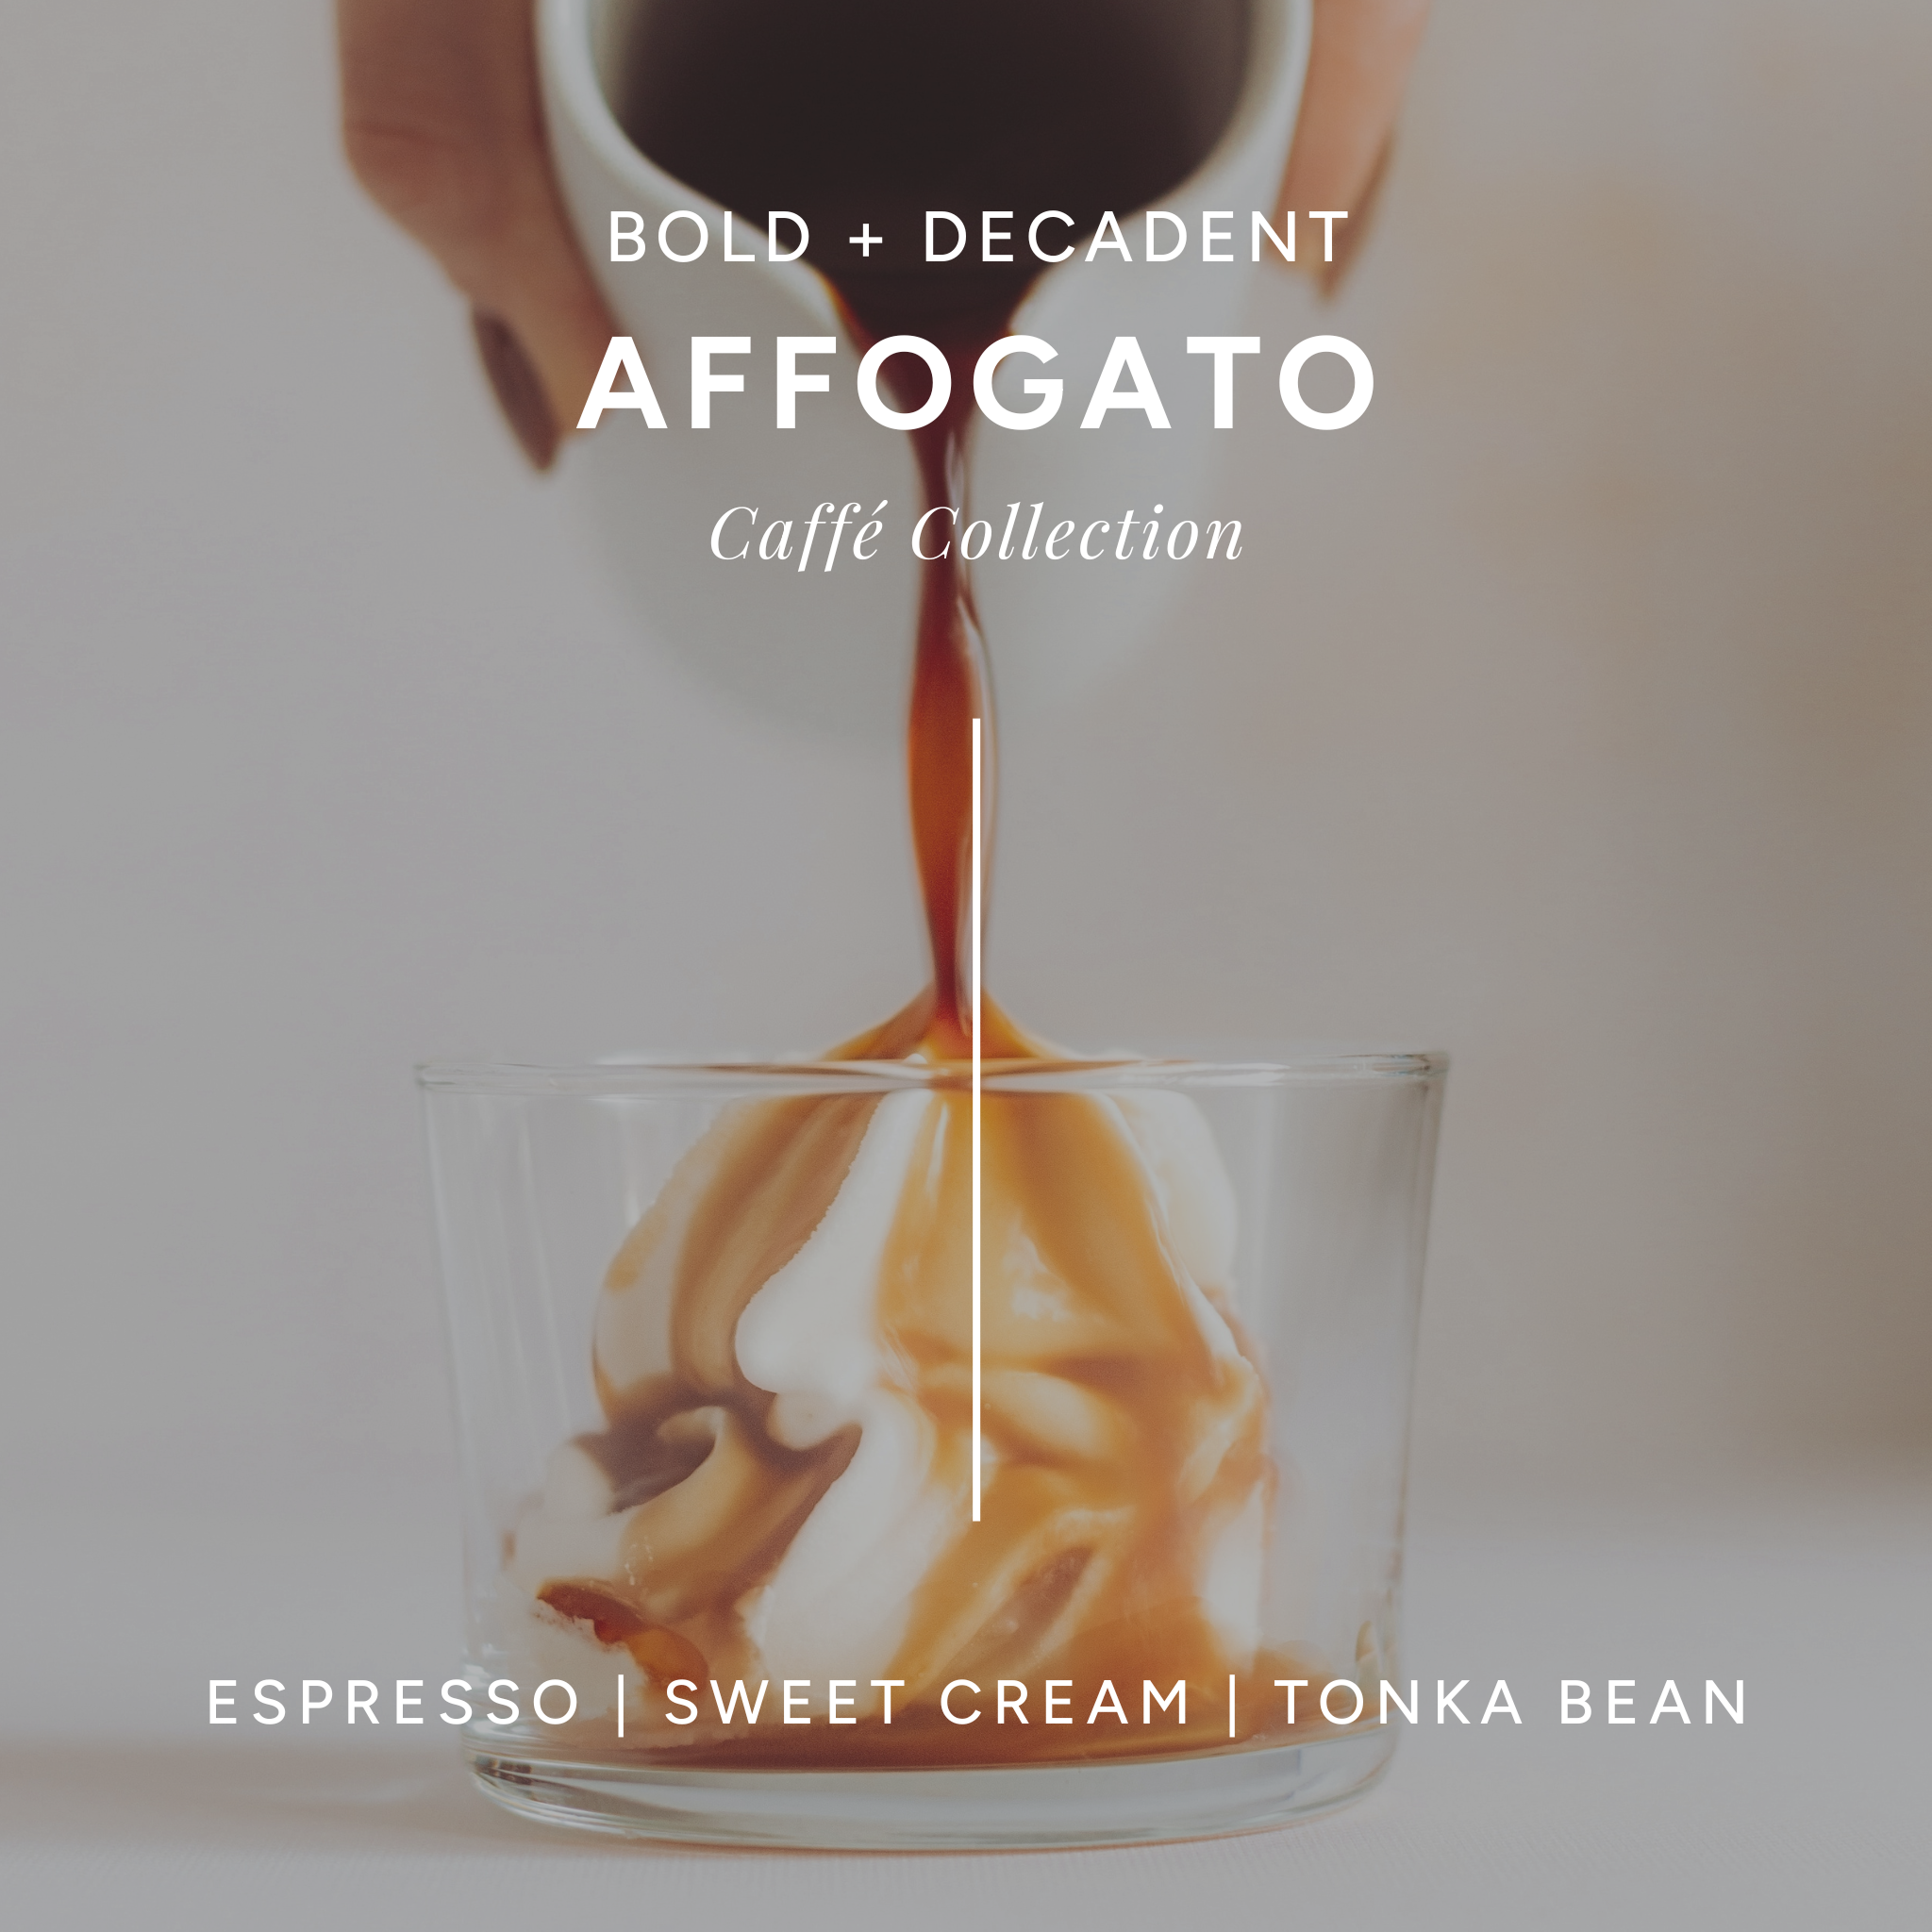
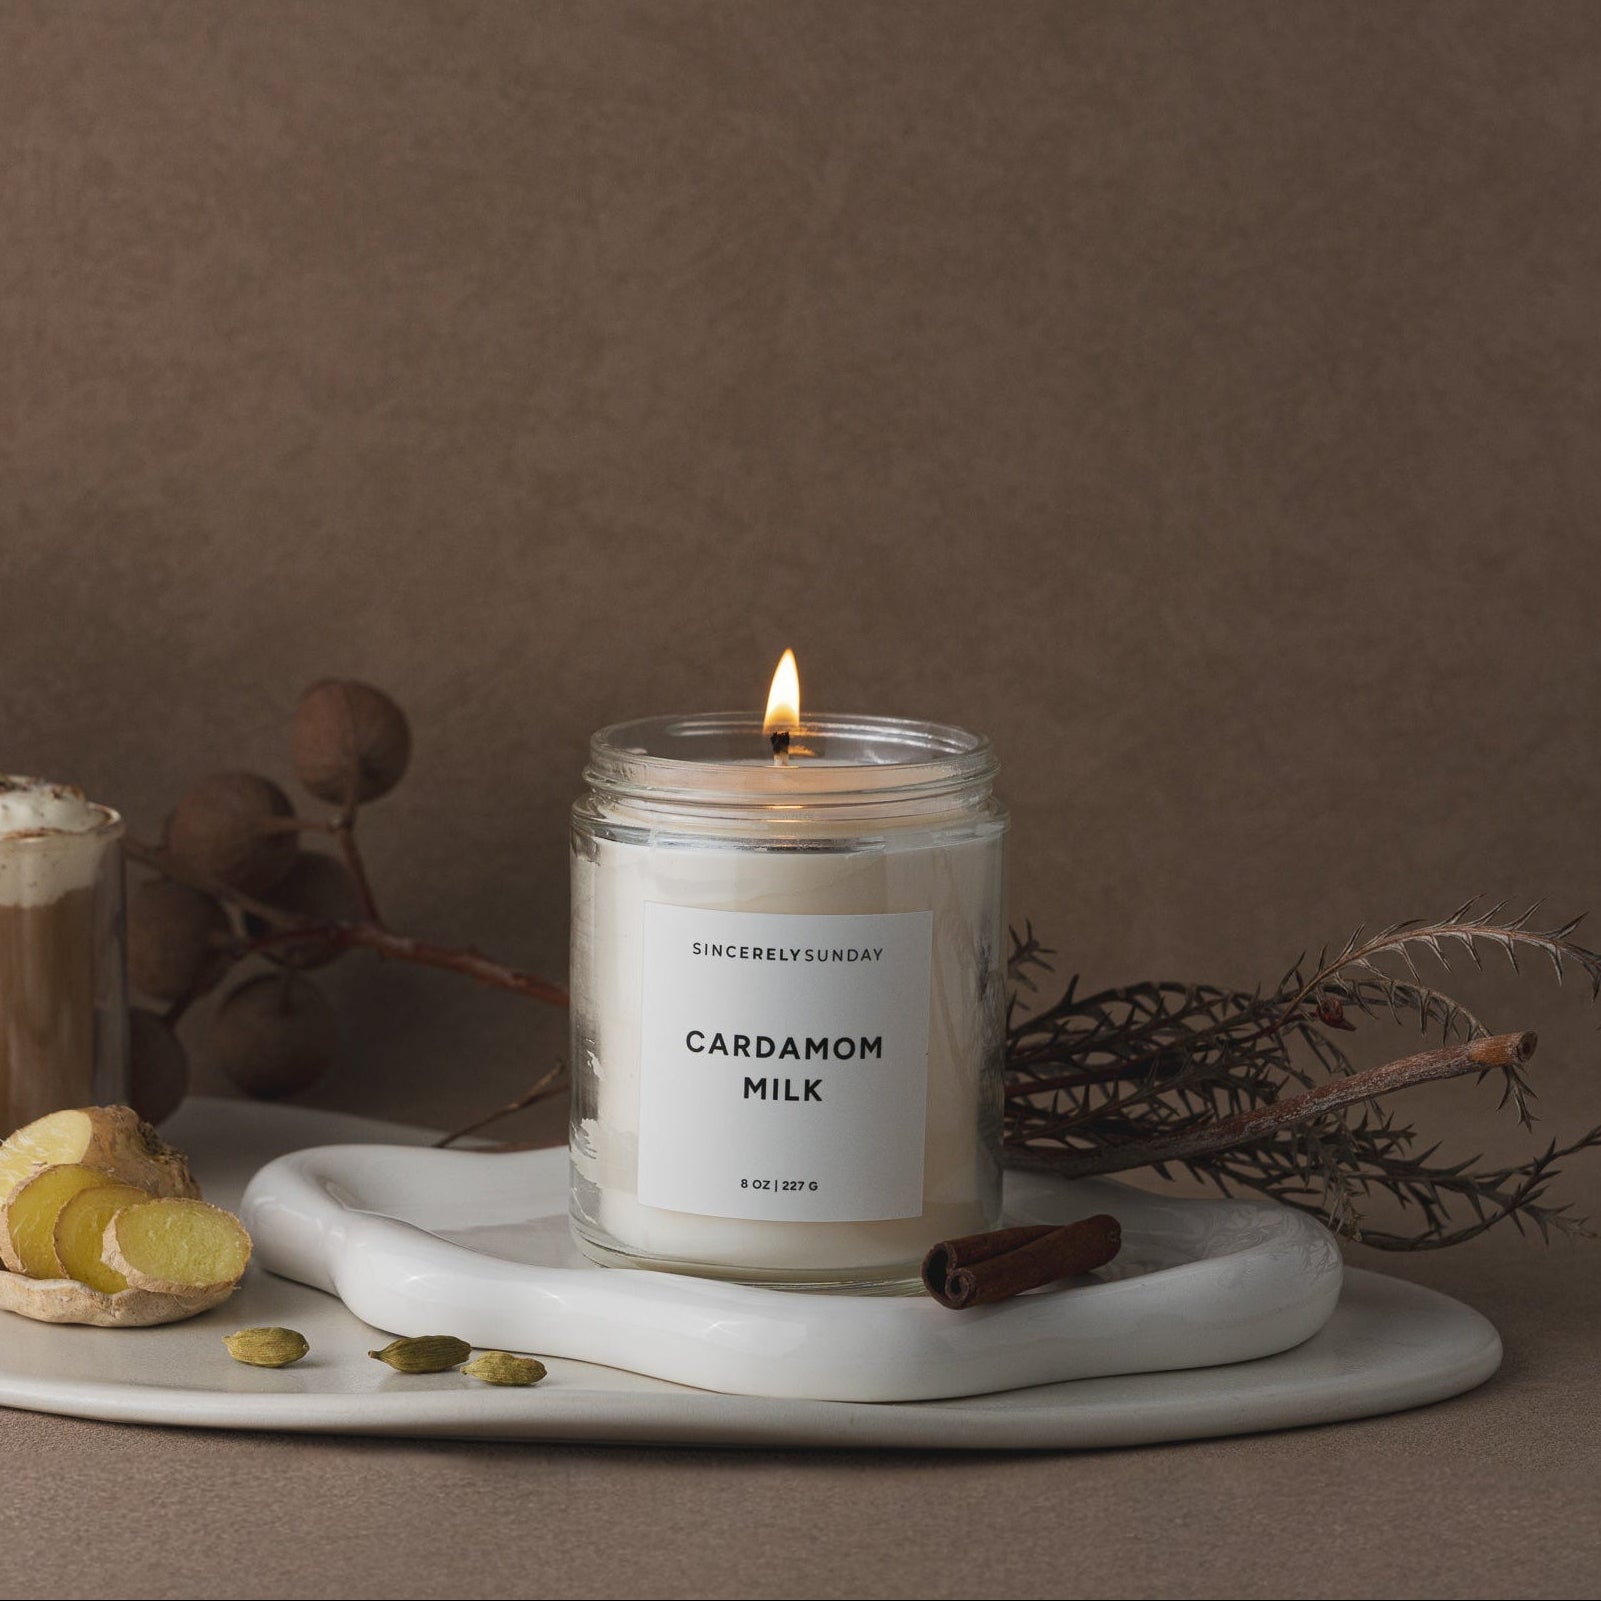
The scent is warm and rich without being overwhelming, and the refill process was super easy. It made my space smell like a fresh affogato café moment. The quality feels premium, and the burn is really smooth. I’ll definitely be ordering again!
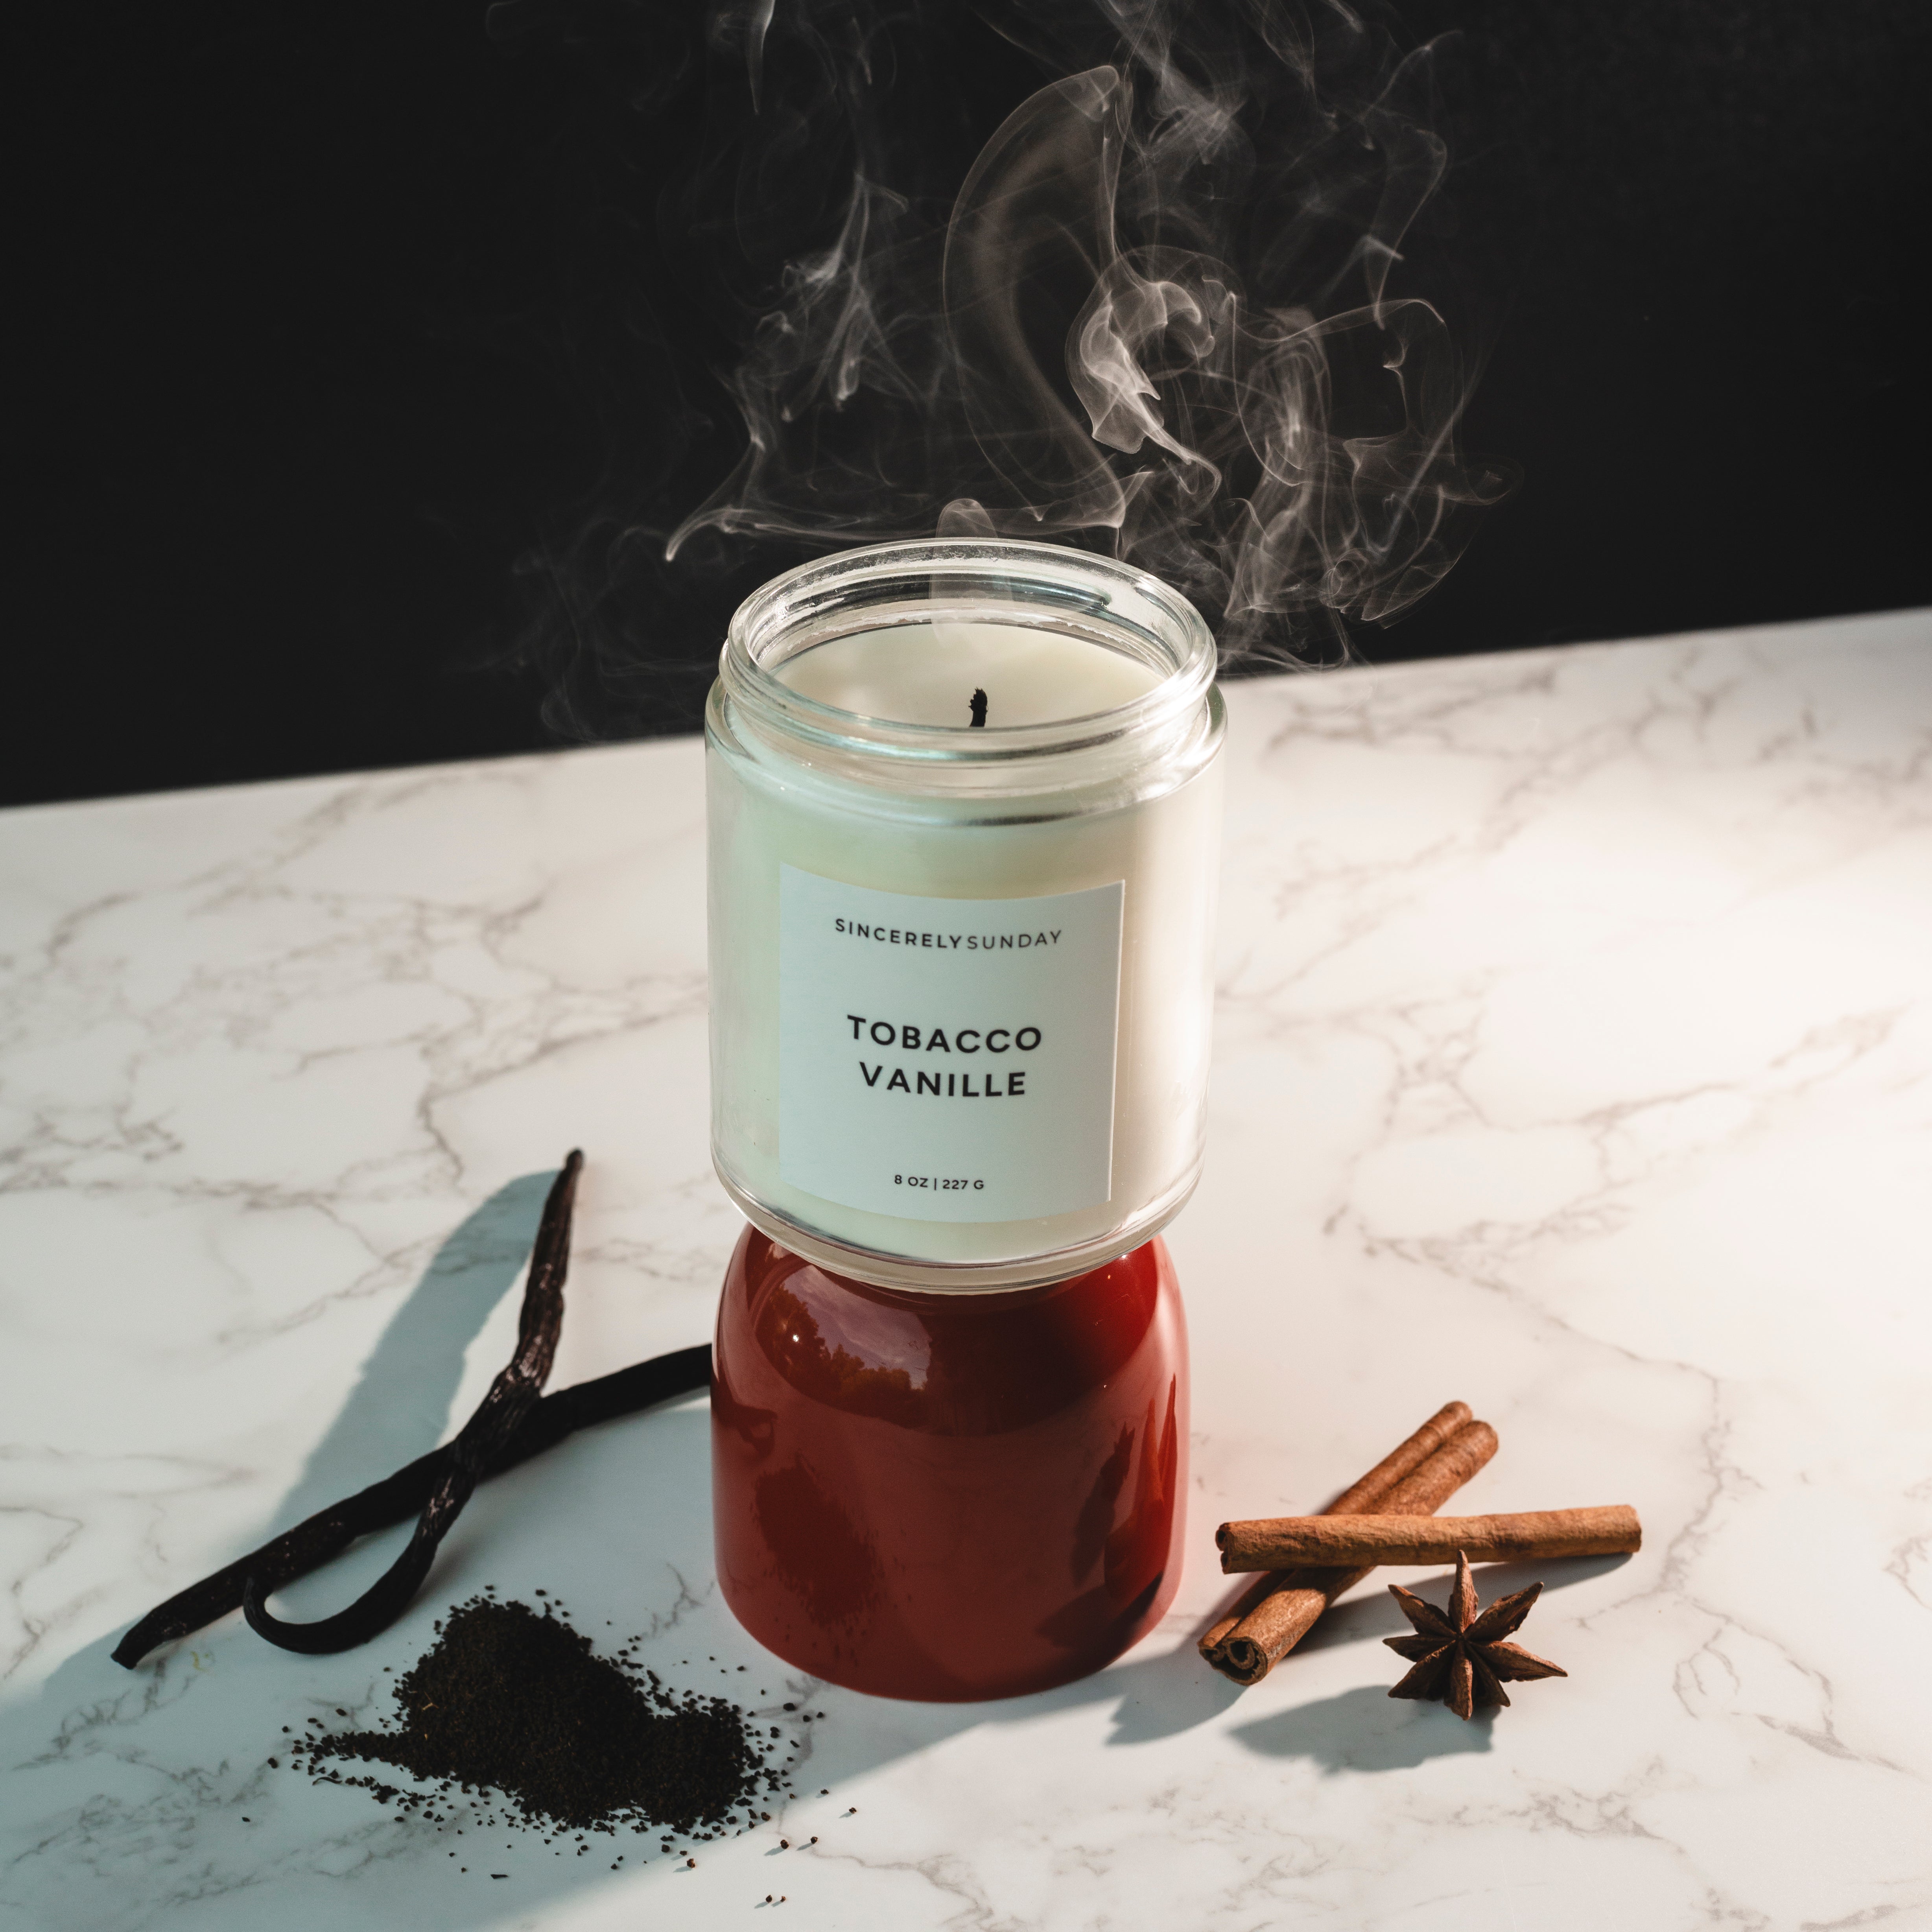
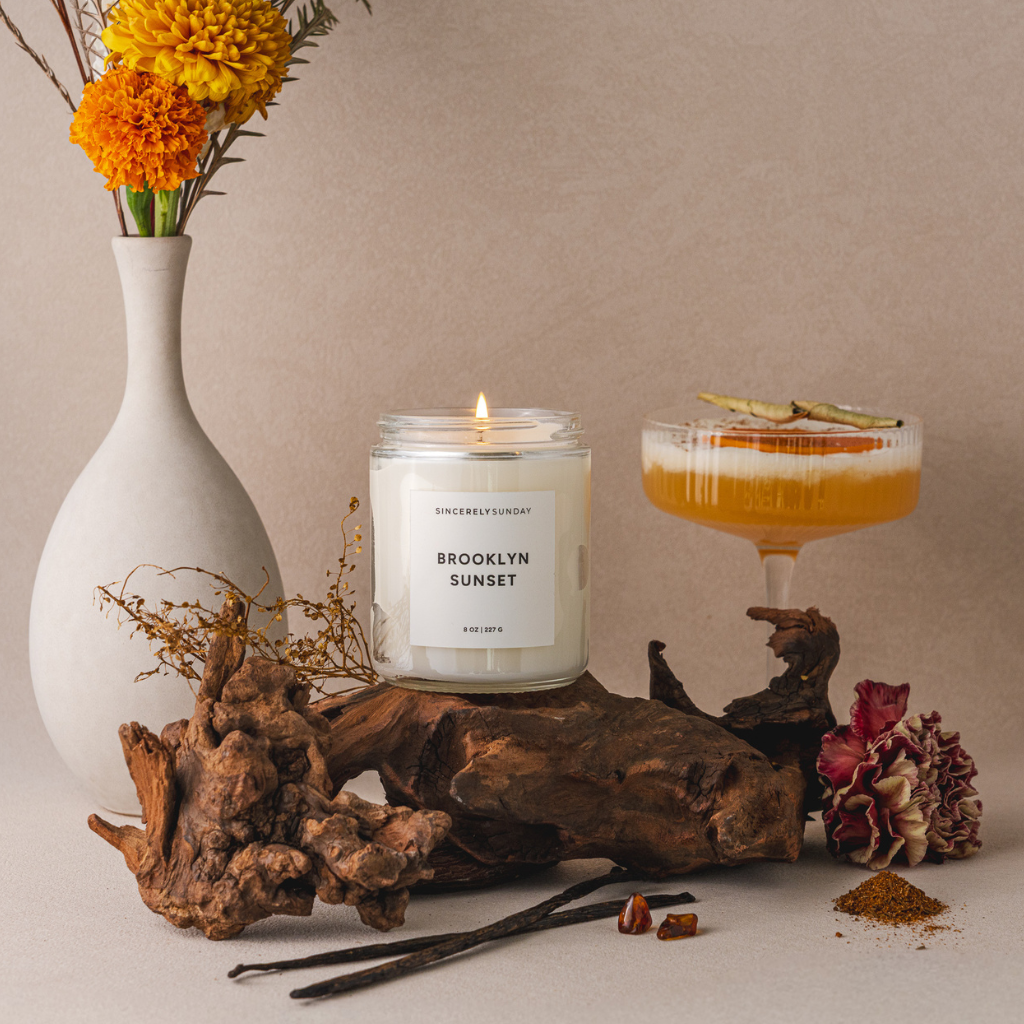
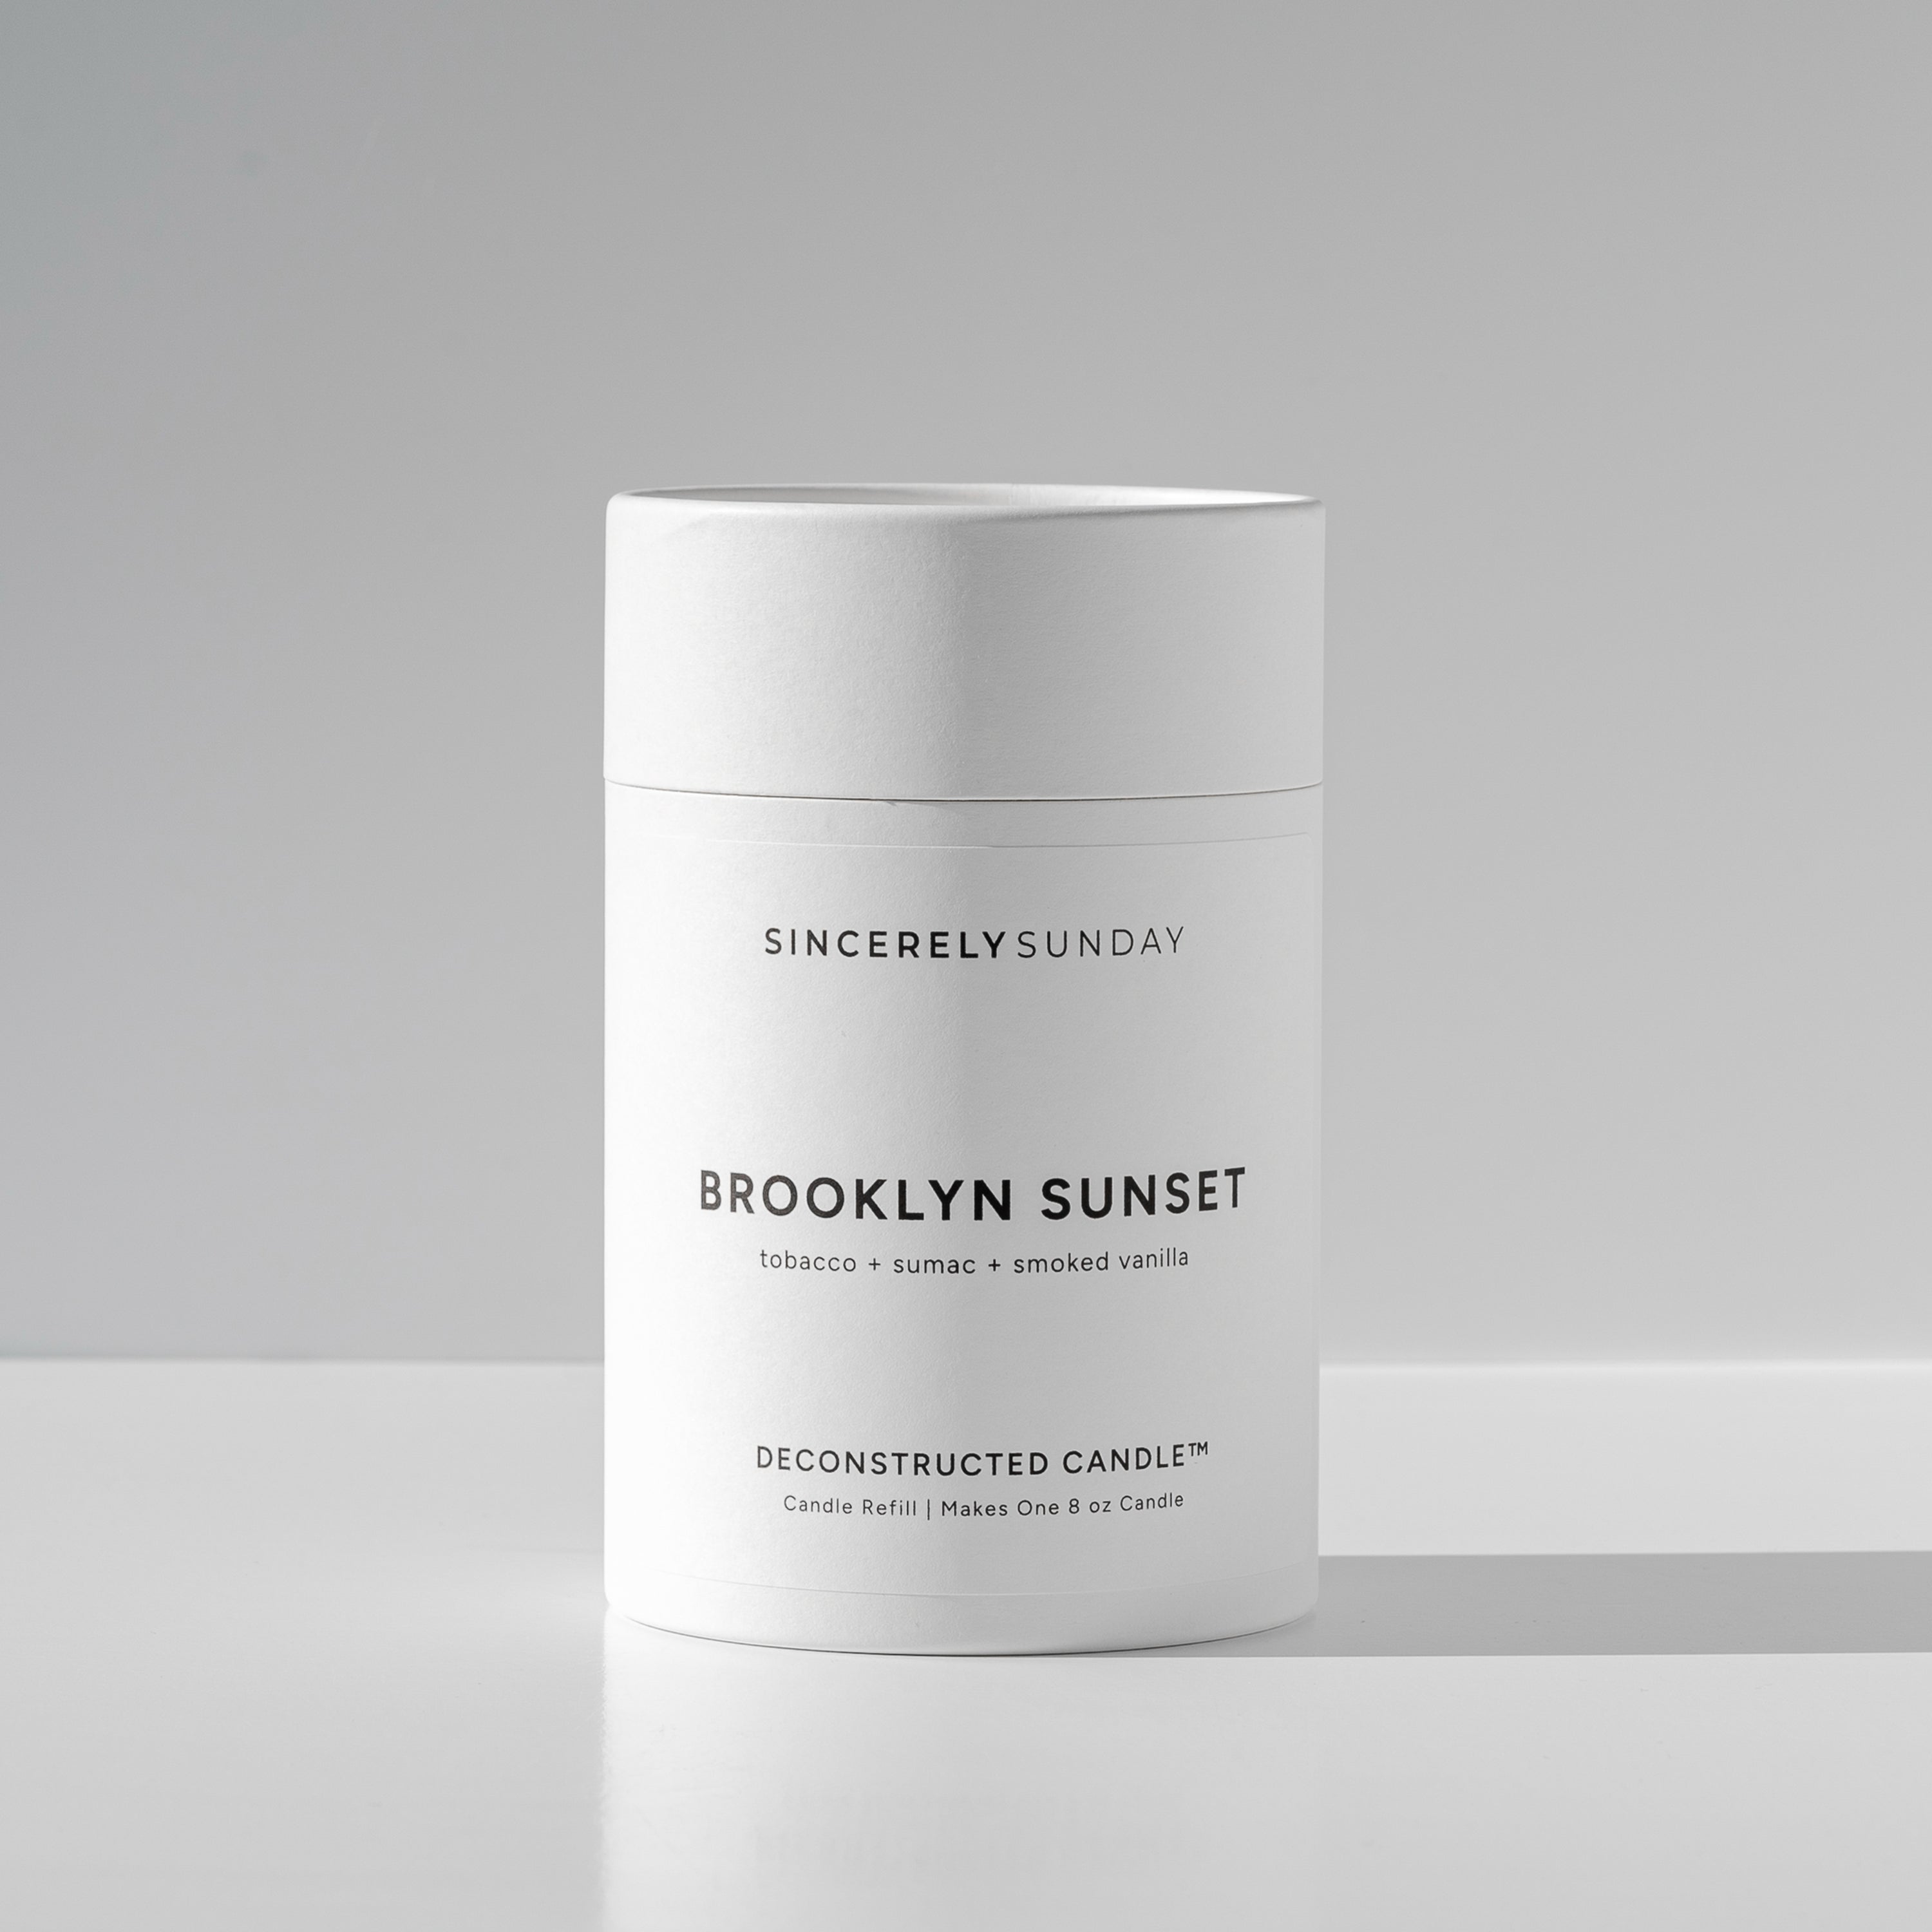
Think warm tobacco leaf wrapped in creamy vanilla and soft spice… rich, deep, and dangerously sexy. The kind of scent that lingers when you walk away! Who knew a candle could make you feel confident