


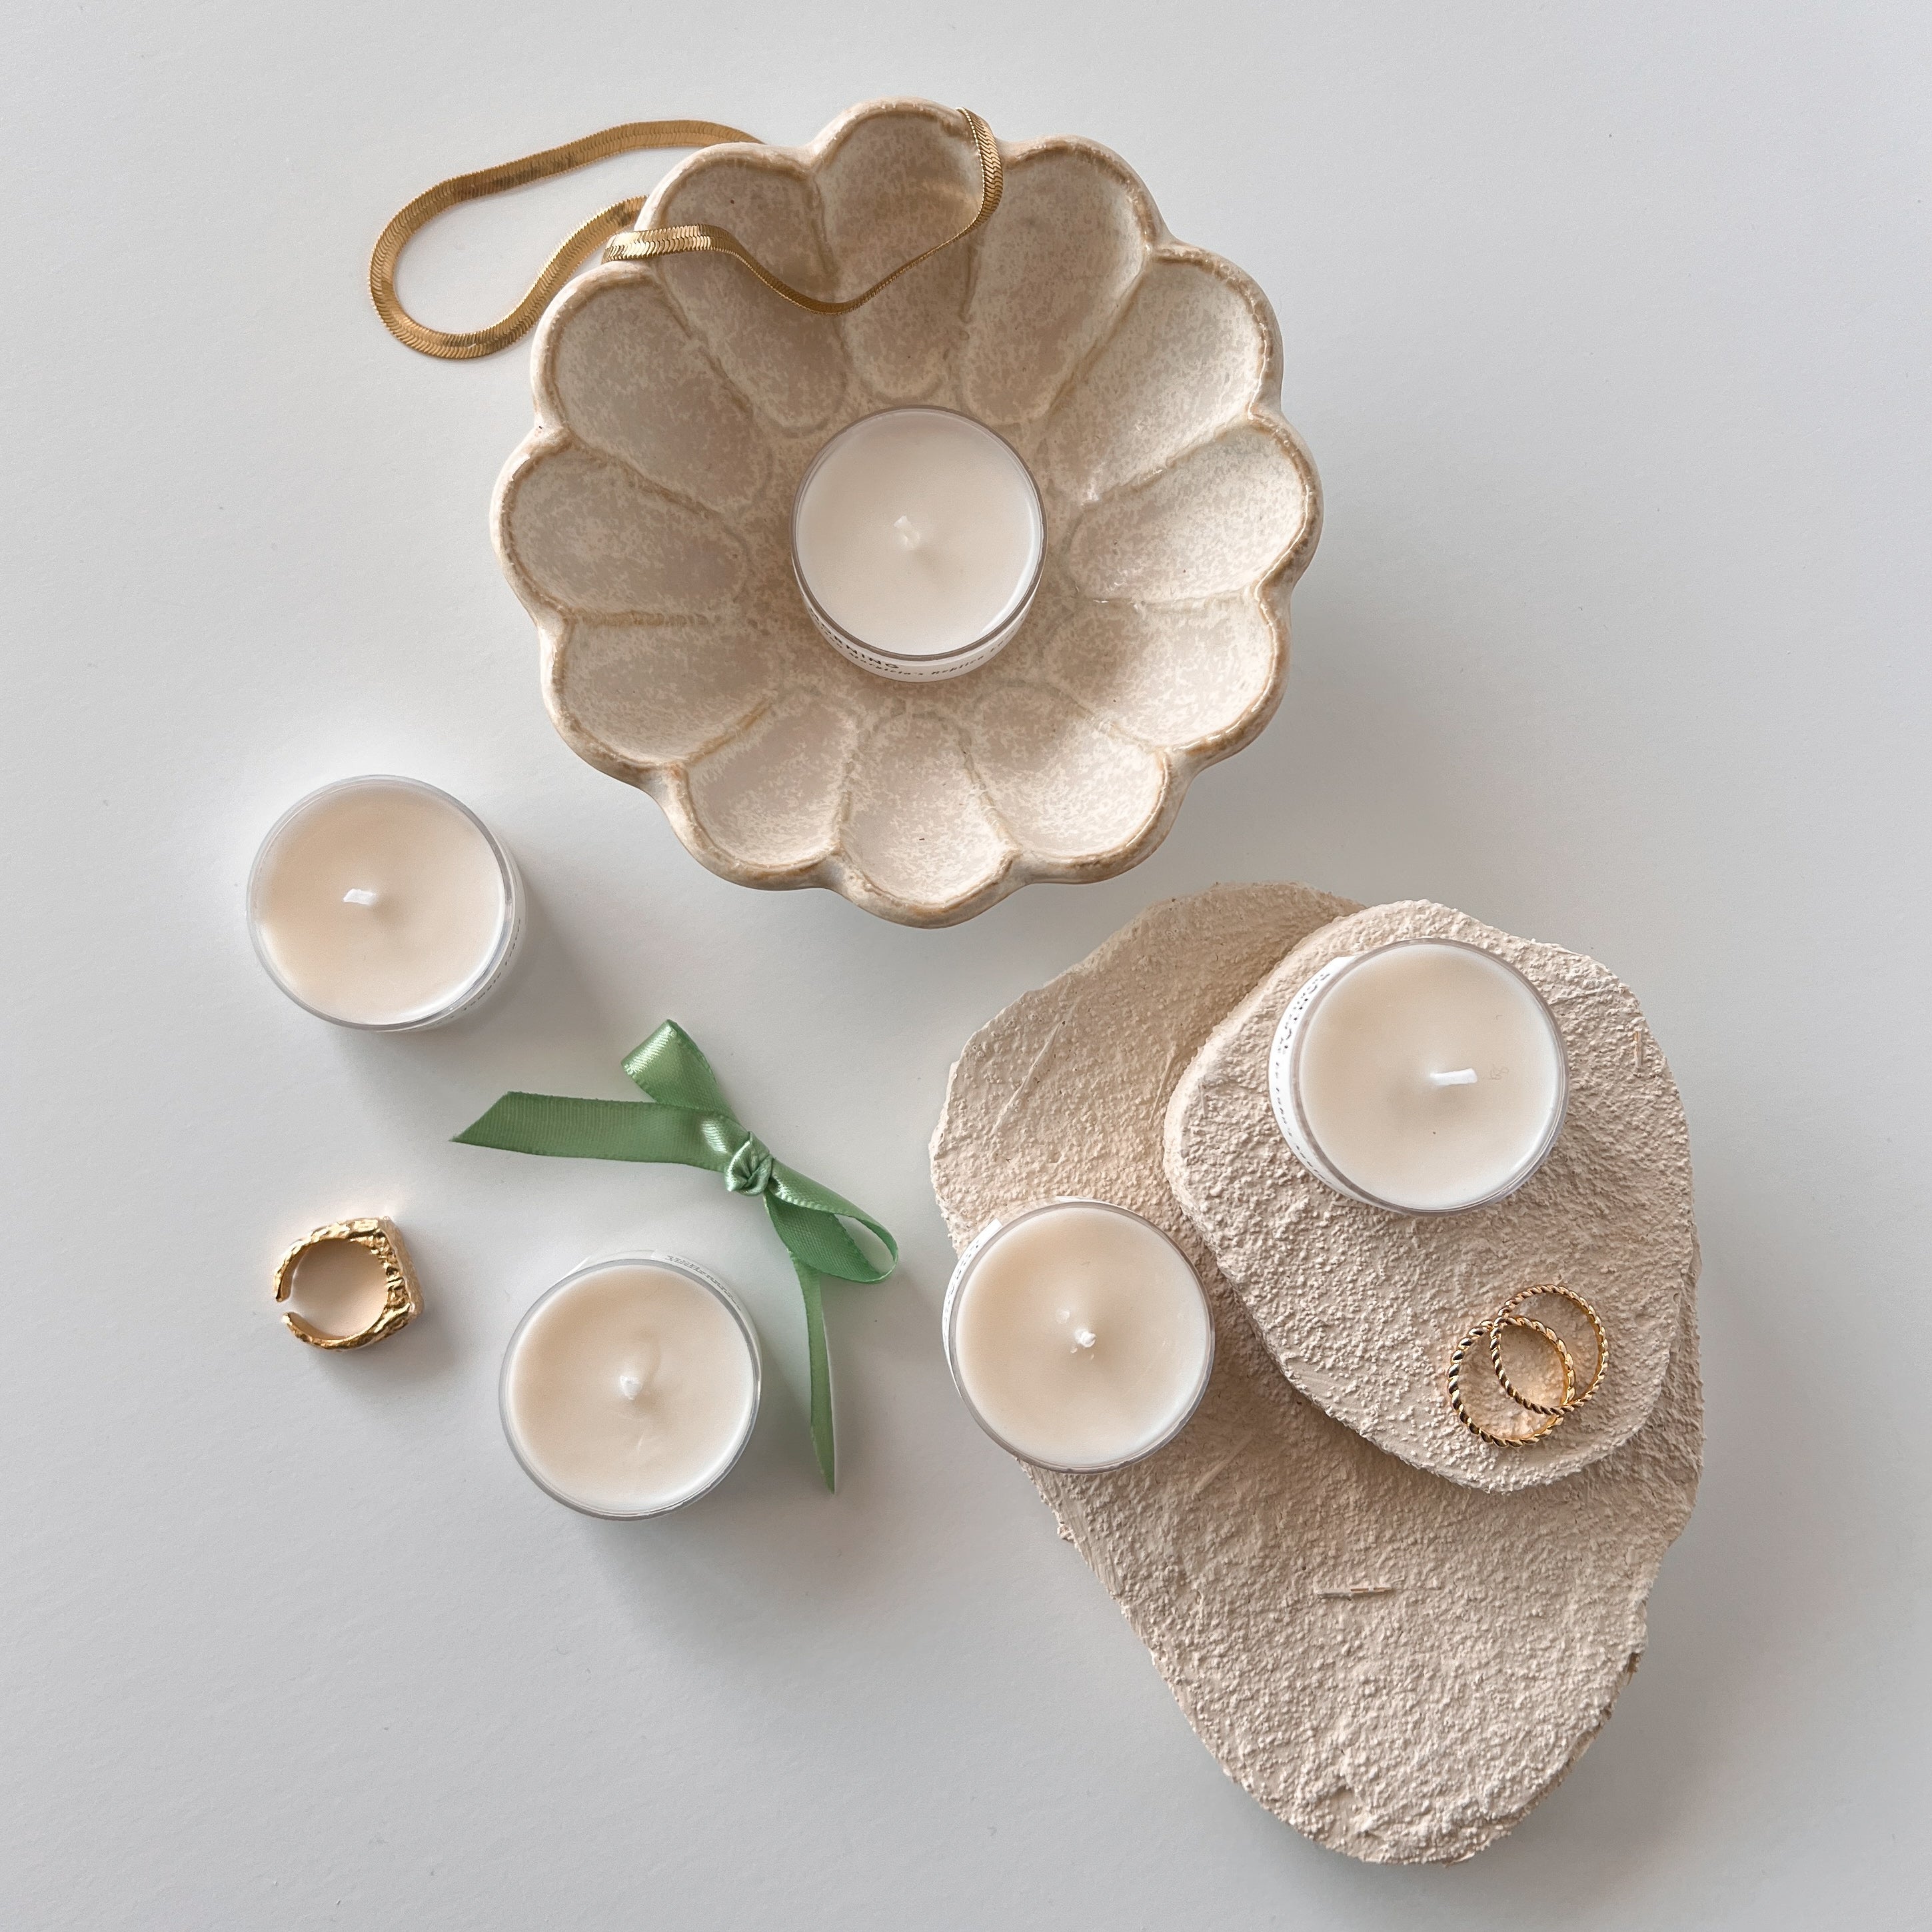
Complete Guide on How to Trim Your Candle Wicks and Why You should Do It
If your candle is burning unevenly, tunneling down the center, or leaving behind black soot around the rim — chances are, the problem isn’t the wax, the fragrance, or even the vessel. It’s the wick or more specifically, not trimming it.
Skipping this small step might seem harmless, but over time, an untrimmed wick can lead to faster burn times, candle tunneling, and excess soot, all of which affect how your candle looks, smells, and performs.
In this guide, we’ll break down why it’s important to trim your candle wick, how to do it properly, and the best tools to keep your candles burning cleanly and evenly – every single time.
What Does “Trim Your Candle Wick” Mean?
Trimming your candle wick simply means cutting off the burnt, blackened tip before lighting it again.
Each time you burn a candle, the wick collects carbon buildup, usually forming a small, mushroom-like cap on the tip. This charred part is one of the main culprits behind uneven burns, excess smoke, and faster wax consumption.
Why You Should Trim Your Wick
It might seem like a tiny detail, but trimming your wick can completely change the way your candle burns. With just one small step, you’re giving your candle a clean slate, so it burns slower, cleaner, and more evenly.
Here’s why it matters:
1. It Makes Your Candle Last Longer
When your wick is too long, it creates a larger flame—and the bigger the flame, the faster your candle burns through the wax. If you’ve ever burned through a candle way too fast, there’s a good chance the wick was to blame. Sure, other factors can play a role, but an untrimmed wick is one of the most common culprits.
By trimming it down, you’re keeping the flame smaller and more controlled, which helps the wax burn slower and more evenly. That means more hours of burn time and more value out of every candle.
2. It Cuts Down on Smoke and Soot
You know that black ring that forms around your candle jar? That’s soot -- carbon buildup that happens every time you light a candle. Whether it's burning for five minutes or five hours, some level of soot is always released into the air. Naturally, the longer it burns, the more soot it creates.
When you light an untrimmed wick, you're lighting it right on top of that built-up soot -- which ends up releasing even more into the air. That means you're breathing in more toxins and speeding up how quickly your jar gets dirty.
3. It Creates an Even Melt Pool + Prevents Candle Tunneling
When your wick is trimmed, the flame burns low and steady -- allowing the wax time to melt evenly across the entire surface. This is what creates a full melt pool, helping your candle smell stronger and improving its overall scent throw.
Want to dive deeper into candle throw? Check out our Complete Guide to Cold Throw, Hot Throw, and Scent Performance.
4. It Prevents Candle Tunneling
Candle tunneling is what happens when the center of your candle melts down, but the wax around the edges stays solid. It's usually caused by blowing out the flame too early -- before the entire surface has had a chance to melt. But when your wick is too long, the flame burns hotter and deeper. So if you blow it out before it reaches the edge, it can create a dip in the middle, which may lead to candle tunneling.
Trimming your wick keeps the flame low and steady, helping the wax melt evenly from edge to edge -- so you’re not left digging out wasted wax or trying to fix a sunken center.
Want a deeper dive on candle tunneling? Check out our Complete Guide on How to Fix Candle Tunneling.
How to Trim a Candle Wick
Now that you know why trimming matters, let’s talk about how to actually do it. The good news? It’s quick, easy, and you probably already have what you need at home!
Here’s how to trim your wick properly:
- Blow out the candle and let it cool until the wax begins to solidify.
- Use a wick trimmer, scissors, or another cutting tool to snip the wick down to about 1/4 inch.
- Be sure to remove the charred tip, and avoid letting the debris fall into the wax (a wick trimmer with a built-in tray helps here).
- Discard the blackened debris in the trash.
Keep an eye out for “mushrooming” -- that puffy black ball that forms on the end of your wick. It’s a sign your wick needs trimming ASAP.
For more candle care tips, check out our guide on How to Make Candles Last Longer, Burn Evenly, and Stay Clean.
The Best Tools for Trimming Your Wick
You don’t need a fancy tool to do it right, but the right tool can definitely make it easier. Here’s a breakdown of the best wick trimming options, and when to use each:
-
Wick Trimmer: The gold standard. With long handles, angled blades, and a debris-catching tray, this tool is designed for the job.
- Pros: Elegant, easy to use, perfect for deep jars or nearly finished candles, works for both cotton and wooden wicks
- Cons: Honestly? None. We love them.
-
Scissors: Simple and effective, especially for cotton wicks.
- Pros: You already have them. Easy and accessible.
- Cons: Can be tricky to angle inside jars, especially when wax is low. Doesn’t catch debris. Not ideal for wooden wicks.
-
Nail Clippers: Great DIY option and surprisingly effective -- especially toenail clippers with a wide base and straight edge.
- Pros: Compact, great control, works for cotton and wooden wicks
- Cons: Needs cleaning after use to avoid soot transfer
-
Damp Paper Towel or Tissue: Perfect for those lazy moments or when you can’t find your usual tools.
- Pros: No tools needed. Quick and easy fix.
- Cons: If your candle is almost finished and the wick is low, you might get a little soot on your hands while reaching inside the jar. Just give your hands a quick rinse and you’re all set.
How Often Should You Trim Your Wick?
By now, you probably know that trimming your wick makes a difference — but it’s not a one-and-done kind of thing. To keep your candle burning its best, it’s something you’ll want to do regularly.
- Before the First Burn: Yes, even brand-new candles need a check. If the wick looks long, trim it down to about 1/4 inch. This helps set up a clean, even melt from the beginning. Remember: your first burn sets the stage for how your candle will behave.
- Before Every Burn After That: I know – it sounds like a lot. But it takes seconds, almost no effort, and it will make your candle last longer!
For more candle care tips, check out our guide on How to Make Candles Last Longer, Burn Evenly, and Stay Clean.
What If the Wick Is Too Short?
Accidents happen. If you trimmed a bit too much and now it won’t light, here’s what to do:
- Use a heat gun or hair dryer to gently melt the wax around the wick
- Pour out just enough wax to expose more of the wick
- Let it cool, then try lighting again
Repeat as needed until you have about 1/4 inch of wick exposed.
Wick Trimming: Let’s Recap
Wick trimming is one of the easiest, most effective ways to level up your candle game. It might take a little time to get used to, but trust us—it’s worth it. Here’s what to remember:
Why You Should Trim Your Wick:
- Slows down how quickly your candle burns
- Reduces soot and smoke buildup
- Prevents tunneling and promotes a full melt pool
- Keeps your jars cleaner and your scent stronger
When You Should Trim Your Wick:
- Before the first burn
- Before every relight after that
Like any good ritual, it becomes second nature with time. And once you see the difference it makes, you won’t want to light your candle without trimming first.


